
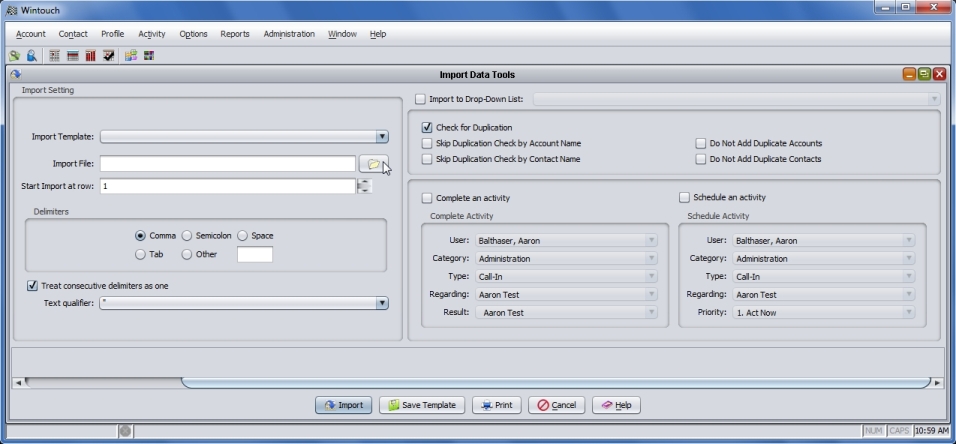
Import Data Tools
Import Example
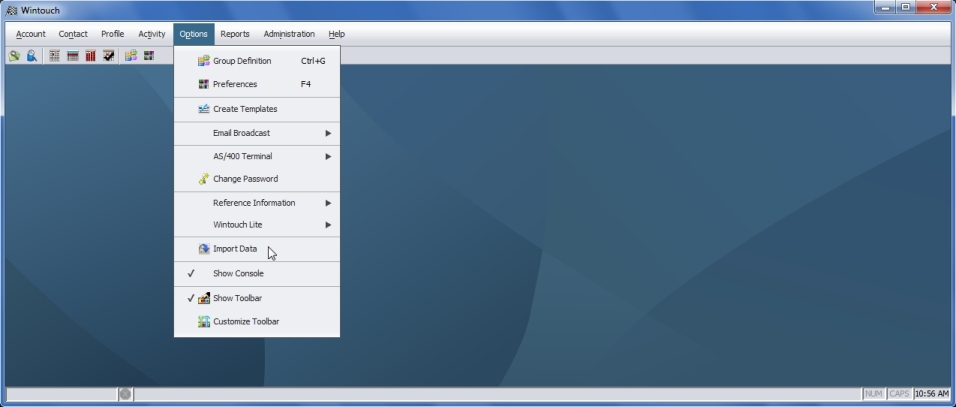
1. Under the Main Desktop Menu select Options - Import Data .
2. To select the file you wish to import, click on the open folder icon to the right of the Import File field.
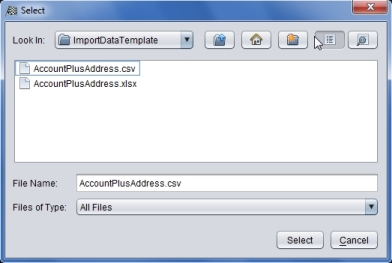
3. In the Select window, highlight the file you wish to import and click on the Select button.
4. After you have selected the file to import you will see the data populate the Design Pane.
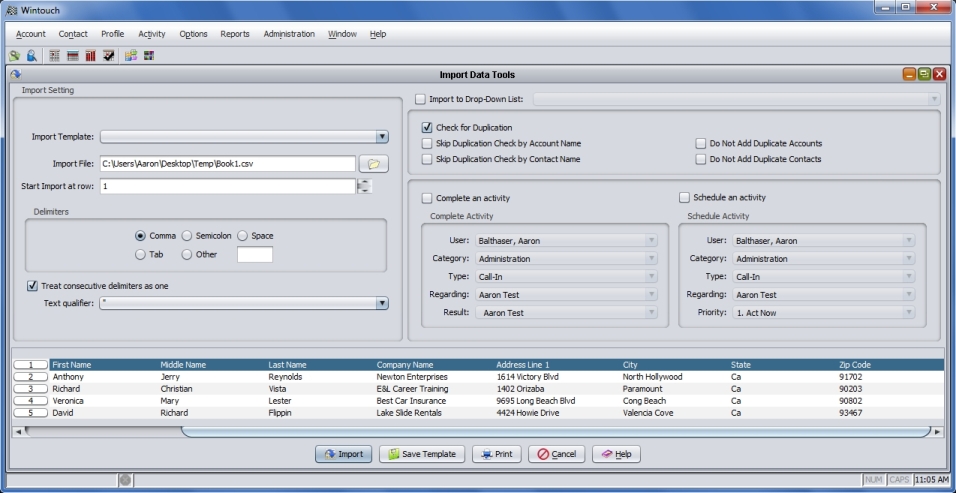
Note: Each column of data represents a specific field in Wintouch. You must select which field in Wintouch you want each column of data to be imported into. You must right-click in the column header and select the Wintouch field of your choice for each column of data.
Note: Notice in the example picture above in the first row numbered 1, the title of the Wintouch fields that we will be selecting for each column has been indicated. This has been done to make the example clear. Normally this row could have been removed from the Excel file prior to selecting the file. This row is easily removable as will be seen later in this example.
5. Right click on the column header of the first column.

6. After you have right-clicked on the column header a menu will open with the options for you to choose from. For this particular example select Contact - First Name .
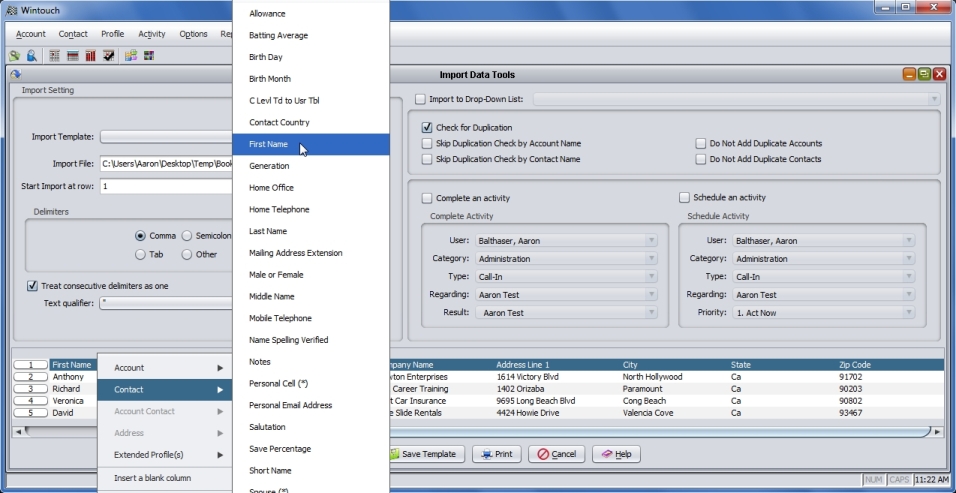
7. After you have made your selection you will see the column header become populated with the title of the selection you made. The below example was First Name .

8. Now continue with this process until all the column headers have been assigned the title of the Wintouch field you want them to represent. The below example is the completed selections.

Note: After you have completed step 8 above, if you decide you want to save the format of column headers as a template, select the link below for walk through instructions.
Follow this Link: Select this link for instructions for saving and using templates
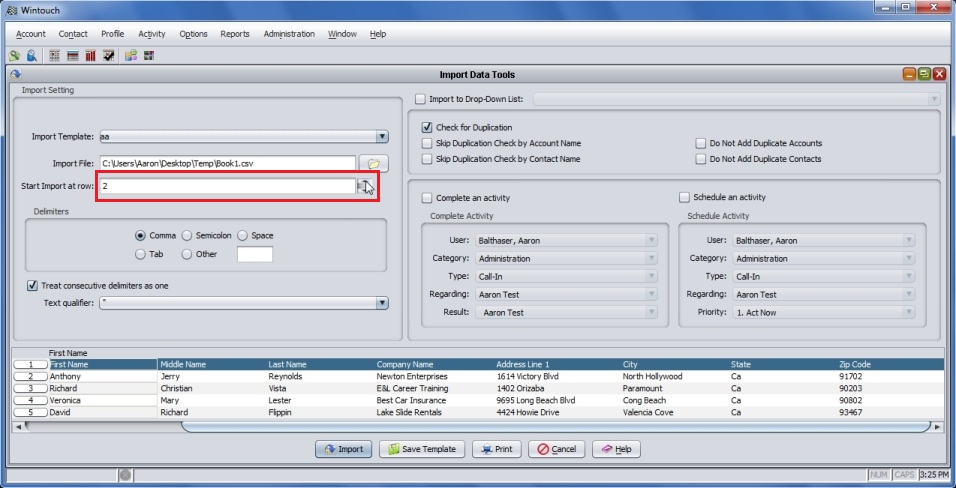
Note: Also see the picture below. When we import the data into Wintouch we do not want to import row 1. We were only using this row as a marker to establish which fields in Wintouch we were choosing for each column.

9. To remove row 1 locate the Start Import at row selection box as illustrated below and change the row value to 2 or simply right click on the row and select Delete .
Note: At this point you must decide if you would like to check for duplication account names or contact names. Select the link below for instructions. Also you must decide if you would like to associate any scheduled or completed activities to the accounts or contacts that you will be importing into Wintouch. Select the link below for instruction. For this specific example we will just skip these functions. We will skip the duplication check and we will not schedule or complete any activities.
Follow this Link: For Instructions for the Check for Duplicate Account or Contact Names Function
Follow this Link: For Instructions For Scheduling or Completing Activities When Importing Data
10. Select the Import button. You will see the following dialog box informing you of the import progress. When the import is complete the progress box will say Import Completed.

11. Now select the Close button and close the progress box.
12. Now go to the Main Desktop and select the Account -> Search function. In the Account Name tab enter the name of one of the accounts you imported and select Search .
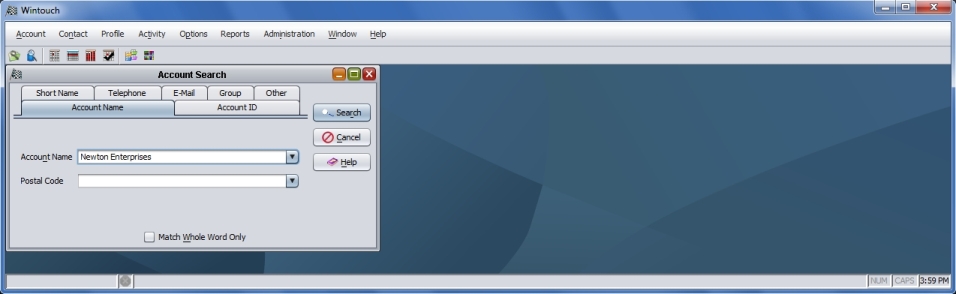
Note: The Account Summary to the newly generated account will open.