
Creating a Web Form
In the following example we will create a web form that will be displayed as a typical contact form on a web site contact page. First we will create the form in Wintouch Web Forms Designer, and then we will demonstration how to embed the form within the HTML web page to initiate the form.
Creating the Web Form in Wintouch Web Forms Designer
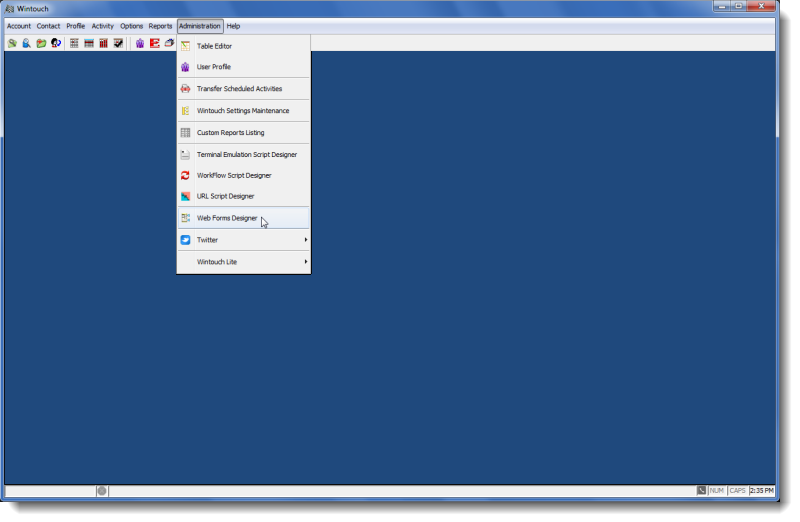
- From the Main Desktop menu select Administration, and then from the drop-down menu select Web Forms Designer.
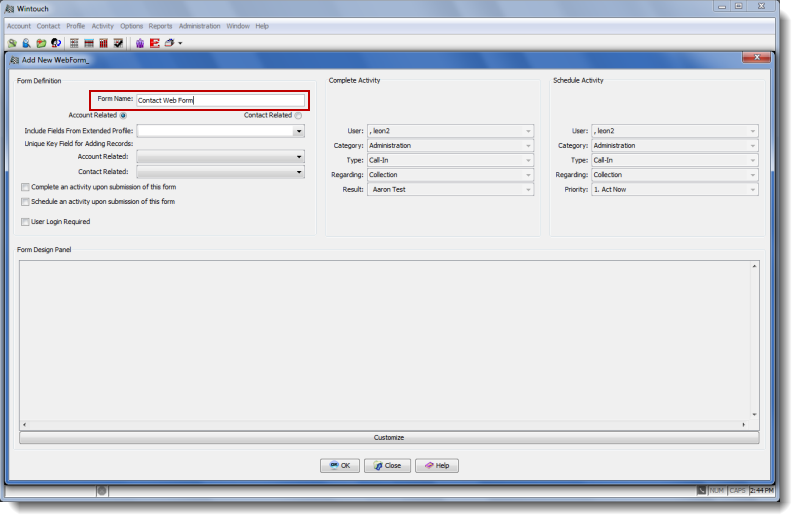
- In the Web Forms Designer window you can see a list of web forms that have been previously created. From this window we can Add new forms, and Edit or Delete existing forms. Because we are creating a new form we will select the Add button.

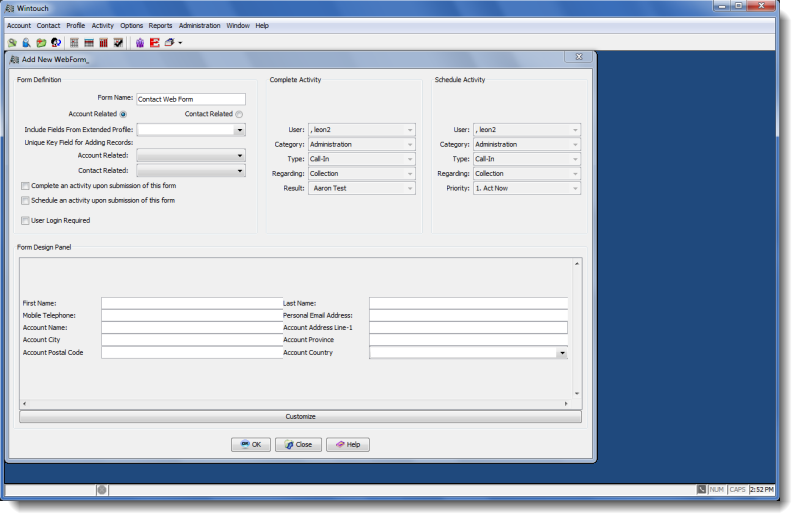
- Locate the Form Name field and give the Web Form a name. For this example we have selected the name Contact Web Form.
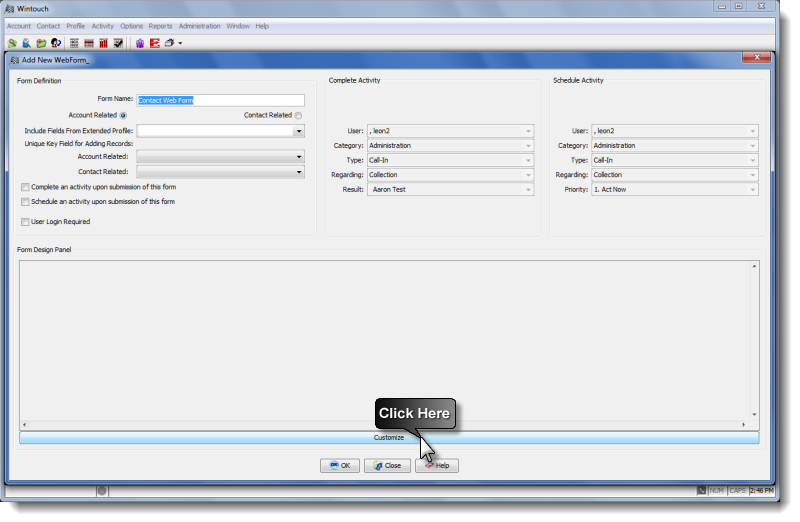
- From this point we have many options available to customize our Web Form. For example we can customize the form to schedule or complete an activity upon submission as well as require the user to log in prior to completing the form. For our form we will keep it simple by using the default settings. Select the Customize button as illustrated below to open the Customize Tool window.
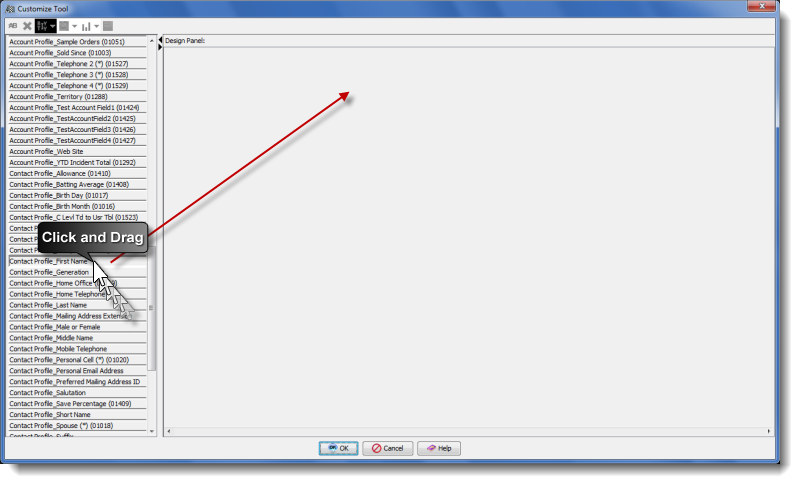
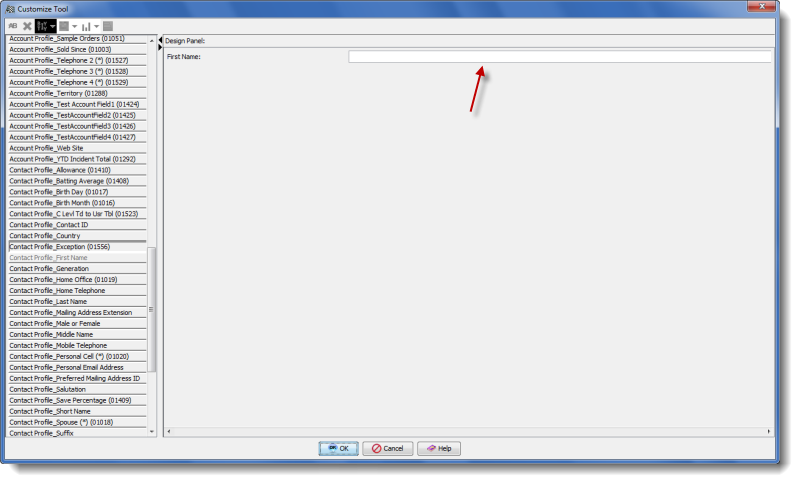
- In the Customize Tool window there are two window panes. The window pane on the left contains all the available fields that can be added to the web form. Simply drag the fields of choice into the right window pane to add them to the form. Drag the Contact Profile First Name into the right window pane.
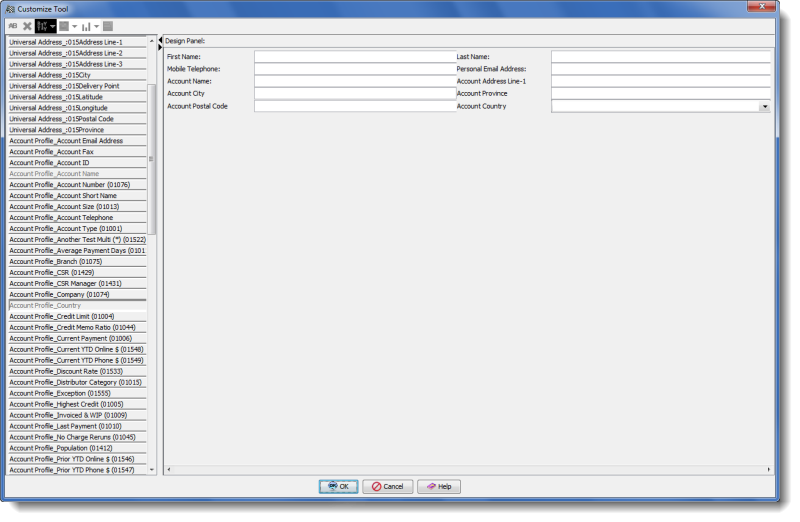
- Here you can see the field has now appeared in the right window pane. You can change the title by right clicking on the field and selecting rename. Now we will drag each field that we want appearing in the form into the right window pane. Please view step 7 for the final result.
- As you can see we have added the fields in two columns. You can add as many columns as you wish. This is how the fields will appear when the form in dynamically rendered in the Web Site contact page. Now select the OK button and the Customize Tool window will close.
- Take a moment to review the fields and if you are satisfied with the arrangement select the OK button.
- The success dialog will pop up indicating that the server will be updated with the new form. Select the OK button.

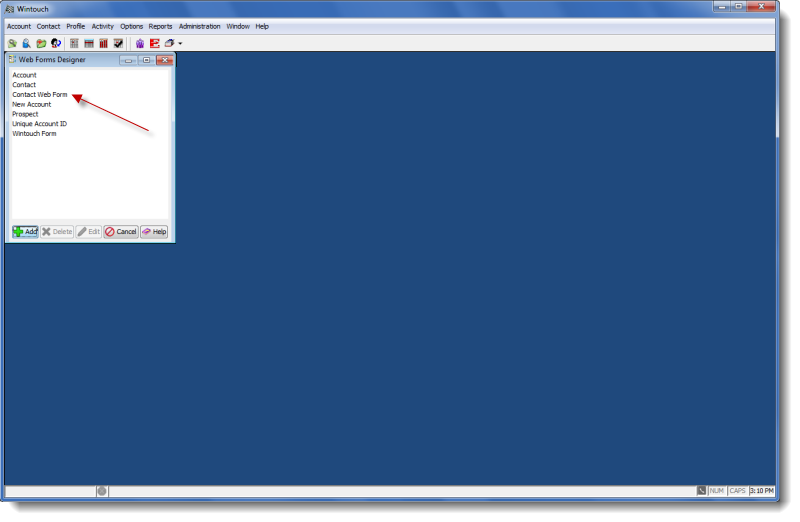
- You will see the new form appear in the designer list. You can edit this form any time by highlighting the name and selecting the edit button or by double clicking on the name.
Embedding the Form into the HTML Page
The following instructions are technically involved and it is assumed that the reader has some basic knowledge about HTML, CSS and JavaScript. You should be familiar with how to access your web site source code and how to make basic changes to a web page. The Example HTML section below is an example of how the code would be placed in the HTML Source code.
Example HTML
Illustrated below are all the code snippets that must be placed in the HTML page.
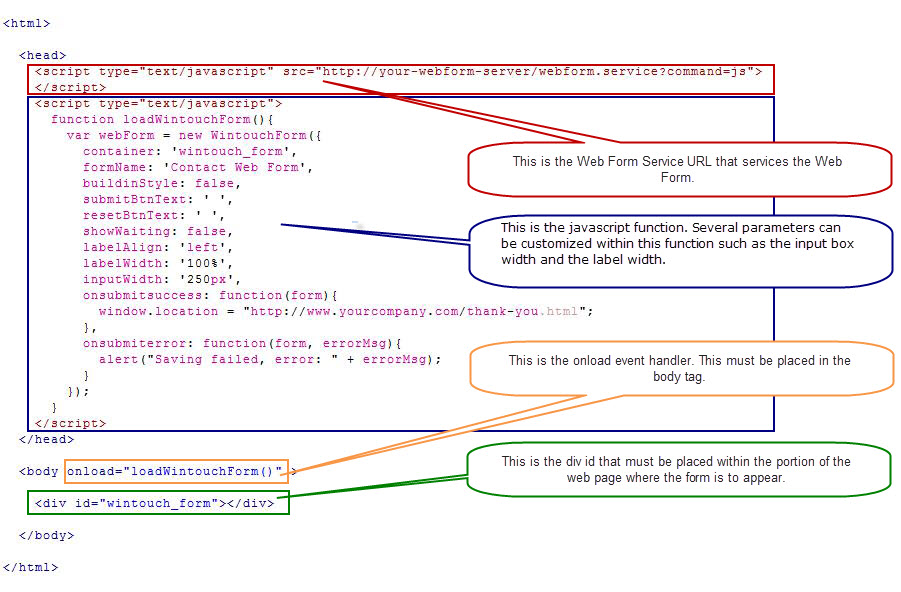
- Web Form Service URL: The web service URL is a header script tag that links to the javascript needed to run web forms. This tag must be placed in the header.
- JavaScript Function: The JS function typically is placed in the header.
- Onload Event Handler: The event handler must be place in the beginning body tag.
- Div ID: The Div ID must be placed within the HTML in the portion of the page you wish to see the form appear. This div can be place within other div tags just as you would when creating standard static forms. The column orientation is controlled in the Web Forms Script Designer in Wintouch. Please follow this link for detailed instruction on controlling field lengths and other styles using JS parameters and CSS.