
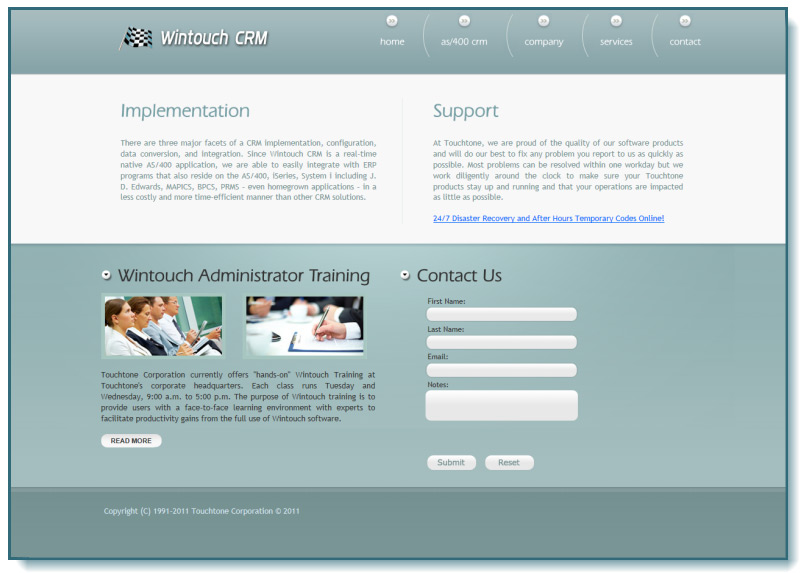
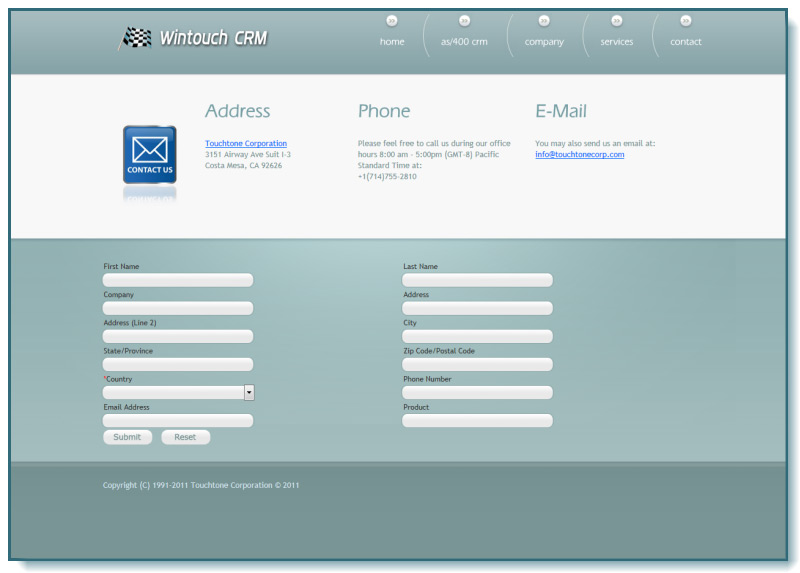
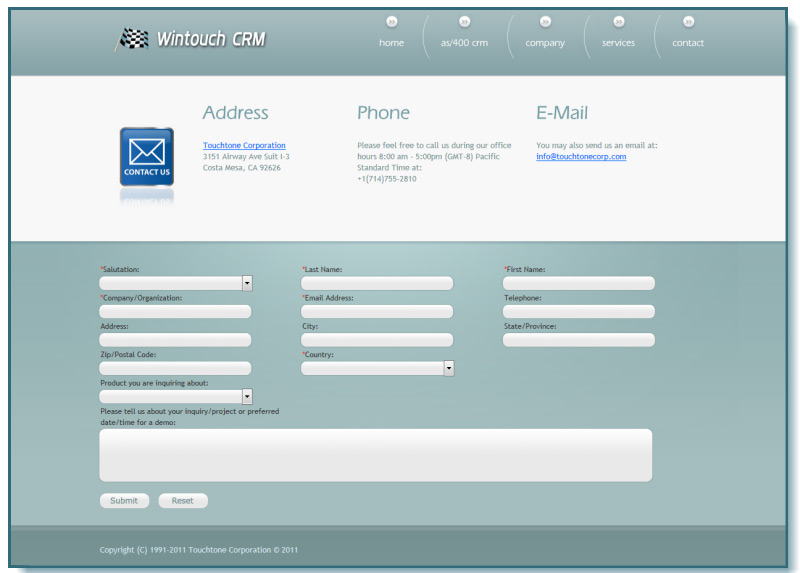
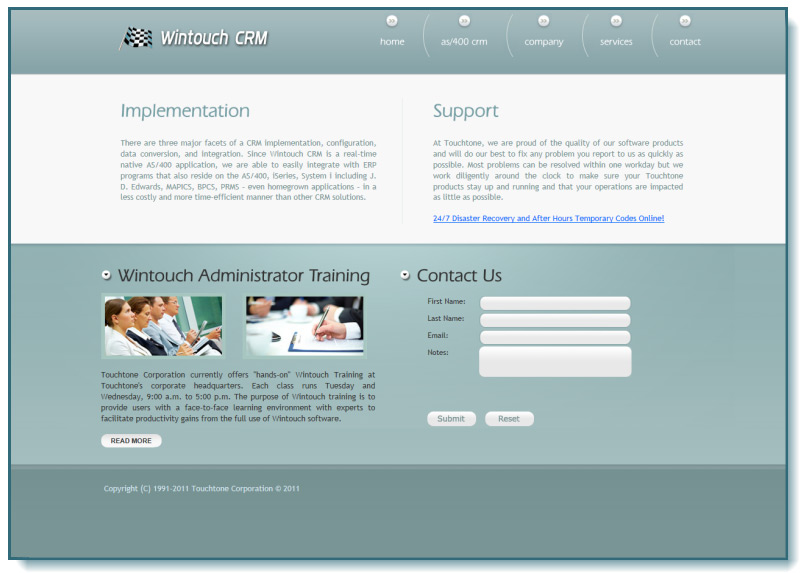
The web form can be styled to fit any kind of form from a small contact form found in a navigation column to a complete contact page with complex field arrangement. Below are four examples that have been created to illustrate the diversity of the forms.
CSS
The following CSS markup is used to target to div tag that contains the form. Simply add width and height to define the dimensions of the form.
#wintouch_form {
}The following CSS markup is used to target the input fields of the form. For example padding, field height, font color, font size etc. Do not attempt to control the field width using CSS. To define field width use the parameters in the js function described below.
#wintouch_form input[type="text"] {
}Use this markup to target the select fields (drop-down boxes) in the form. Do not attempt to control the field width using CSS. To define field width use the parameters in the js function described below.
#wintouch_form select {
}Use the following markup to define the dimensions of the text area (notes fields). You can define the width and height and other common CSS rules.
#wintouch_form textarea {
}Use the following markup to generate a button image for the submit button if you chose to remove the default button settings.
#wintouch_form input[type="submit"] {
}Use the following markup to generate a button image for the reset button if you chose to remove the default button settings.
#wintouch_form input[type="reset"] {
}
Java Scritp Parameters
The following parameters are found in the javascript function. These are the parameters that are relevant for styling the form.You can view the definitions below.
formName: 'Contact Web Form',
submitBtnText: ' ',
resetBtnText: ' ',
labelAlign: 'left'
labelWidth: '100%',
inputWidth: '250px',
window.location = "http://www.wintouch.com/thank-you.html";
formName: Any form that is made in the Wintouch Web Forms Designer will have a name that the form was given before the form was created. The name of the form that you want rendered must be placed in this parameter. The form name used in this example is 'Contact Web Forms'.
submitBtnText: This parameter controls the default setting for the text that appears on the submit button. If you want to use an image with a certain style of text that is part of the image and you do not want the default text to show, type an empty space in between the parentheses as seen in our example. If you wish to use the default text, then type whatever text you want displayed on the button in between the parentheses. For example 'submit'.
resetBtnText: This parameter controls the default setting for the text that appears on the reset button. If you want to use an image with a certain style of text that is part of the image and you do not want the default text to show, type an empty space in between the parentheses as seen in our example. If you wish to use the default text, then type whatever text you want displayed on the button in between the parentheses. For example 'reset.
labelAlign: Use this parameter to align the label to the right or left.
labelWidth: Use this parameter to specify a width for the label in pixels (px). In Example 4 above the label width was set to 90px, and the label was aligned to the left. If you would like the label to appear at the top of each field as seen in the first three examples above, define the parameter with 100% instead of using a pixel value. That will force the label on its own line.
inputWidth: Use this parameter to define the length of input and select fields. Remember you can use CSS to target text areas.
window.location = This parameter is used to redirect your user to another page after form submission, most commonly a thank you page. Simply place the url or the pathway to the page you want to redirect to in between parentheses as seen in our example.