The Portal Manager is used to manage portal functionality. After portals have been created they are added to a list and displayed in this window. From here you can add new portals by selecting the Add button or edit existing portal settings by highlighting the portal and selecting the Configure button. Additionally you can edit portal names or context paths by highlighting the portal and selecting the Edit button and you can delete any unwanted portals by selecting the portal and pressing the Delete button.

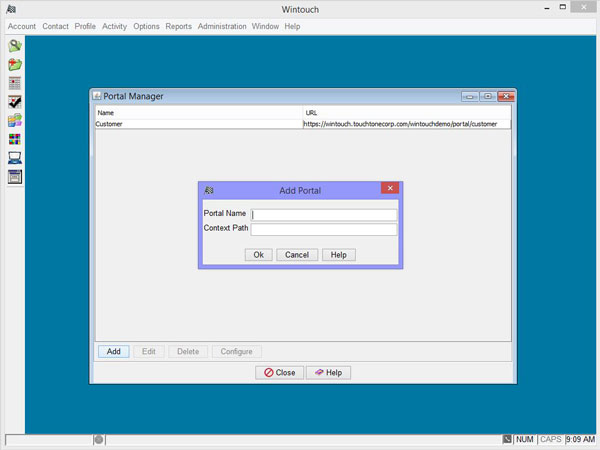
Add: Select the Add button to begin the process of adding a new portal.
Note: After selecting the Add button the Add Portal dialog will open requiring you to add a portal name and context path. Once you have done that the Portal Configuration window will open taking you to the configuration process.
Edit: Highlight a portal entry and press the Edit button to edit the Portal Name or Context Path.
Note: The Edit button only allows you to edit the portal name of configuration path. To edit the configuration settings select the Configure button.
Delete: Highlight a portal entry and press the Delete button to delete an existing portal.
Configure: Select this button to edit the configuration settings of any existing portal.
Name: A unique name used to identify the portal.
Context Path: The Context Path defines the final fragment added to the URL used to identify which Portal Sign in form the user will access. An example of the resulting url can be seen below. The context path could be customer or wholesaler.
The Add Portal window is where you define the name of your portal and its context path. Once you have done this the portal will be stored in the list of available portals.