
The Administrator must configure the Portal Settings before the Service Portal can be used. This dialog is opened during the initial workflow while creating a new portal. The Portal Configuration window can also be accessed by highlighting a portal from the list of portals in the Portal Manager, and then clicking on the Configure button.
The Portal Configuration window contains sections which are divided into tabs. Within each tabular section there may be more tabs containing detailed configuration options.
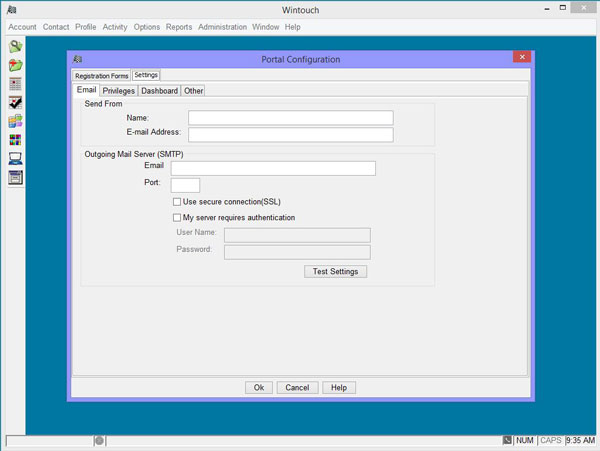
The Email settings is for connecting to the SMTP server. These settings are used for sending emails in instances when a user has forgotten their password.

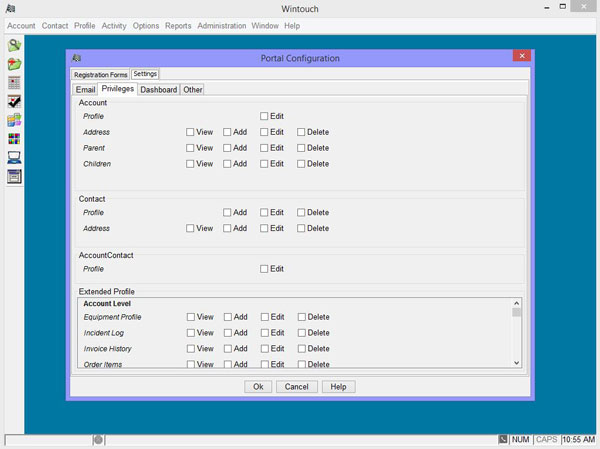
This section is used to define the access privileges for your customer portal users. From here you can give them view, add, edit or delete privileges. The privileges are set independently for each profile.
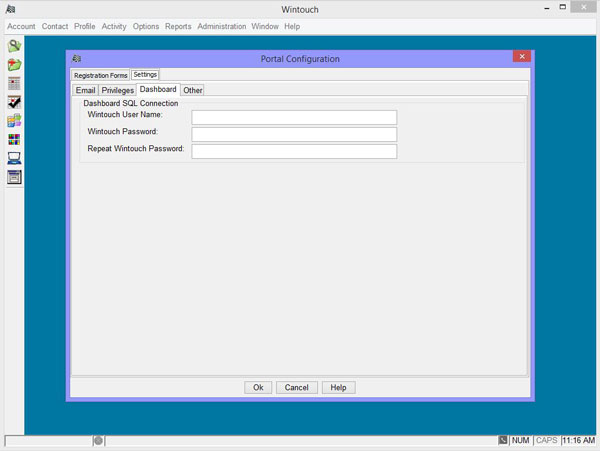
Dashboards can be displayed for the portal users. In order to use this feature a dashboard must be created. The dashboard requires an SQL connection so the username and password for a Wintouch user must be added to these settings.
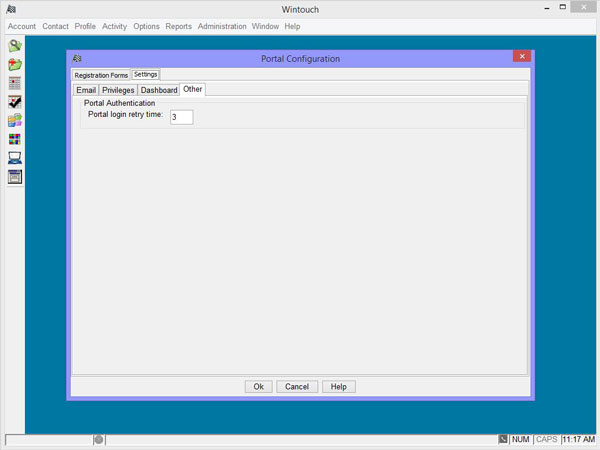
Portal Authentication The value set here will determine how many attempts the user has to enter the correct password before they are locked out of the system.
The Registration Forms tab is for managing your forms. Each portal can only use one form at a time but the form manager allows you to create and save as many versions as you like. This can be very helpful during development for testing different versions as well as instances in which a portal may require alternating forms. Forms can be copied, edited, renamed and deleted from this window. To select which form to use simply highlight the form and click the Use button.
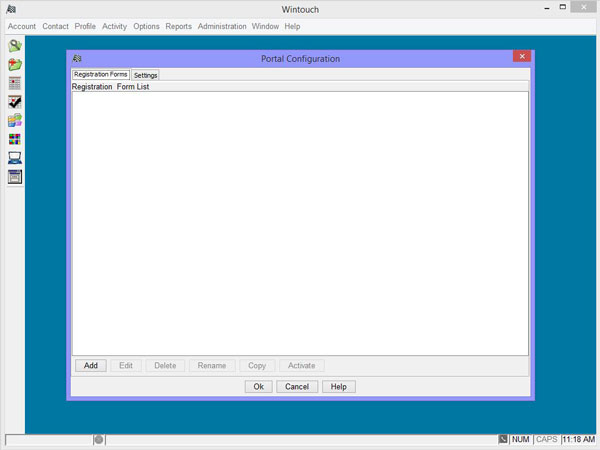
Add: Select the Add button to open the Registration Form Designer for creating a new form.
Edit: Edit any existing form by pressing this button.
Delete: Use the Delete button to delete any unwanted forms.
Rename: Select this button the rename any existing form.
Copy: This button allows you to copy any existing form.
Use: Choose which form will be active by highlighting the form and selecting the Use button.