
Creating service portals is done with the following steps:
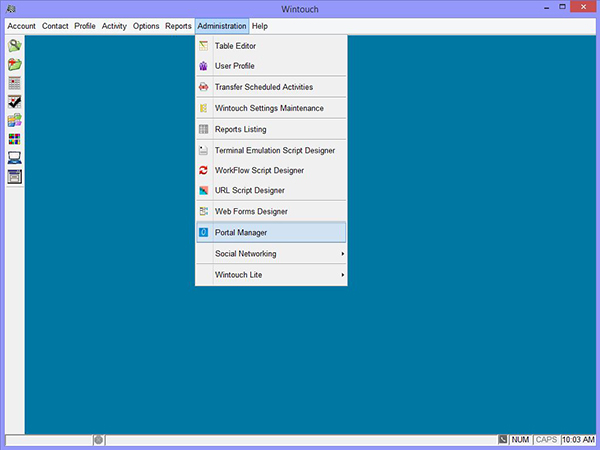
1. From the Main Desktop menu select Administration, then Portal Manager from the drop down menu.
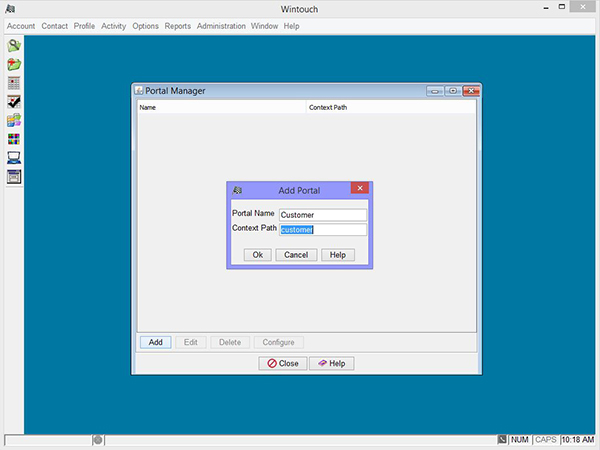
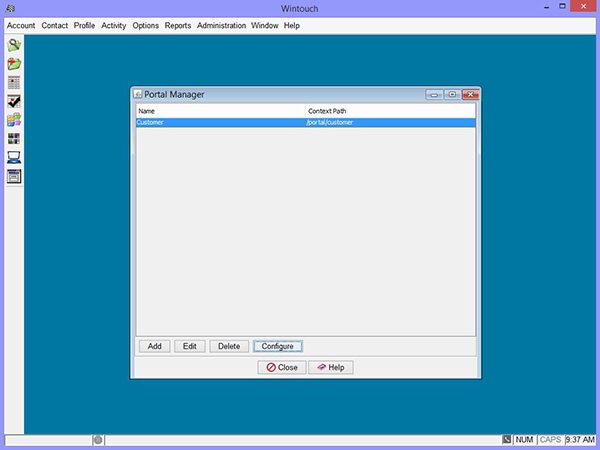
2. When the Portal Manager opens select the Add button.

3. In the Add Portal dialog, enter a Portal Name and a Context Path, then click Ok.
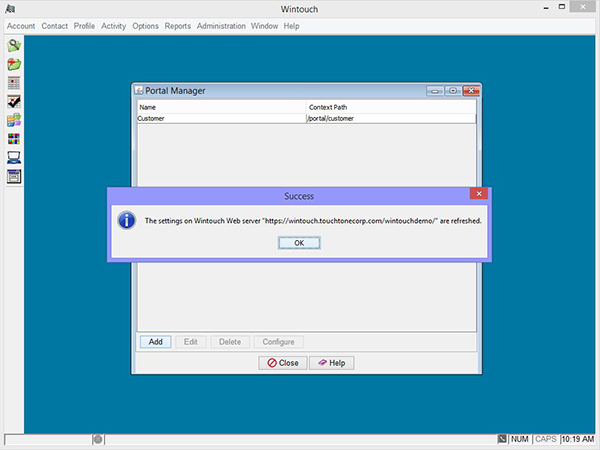
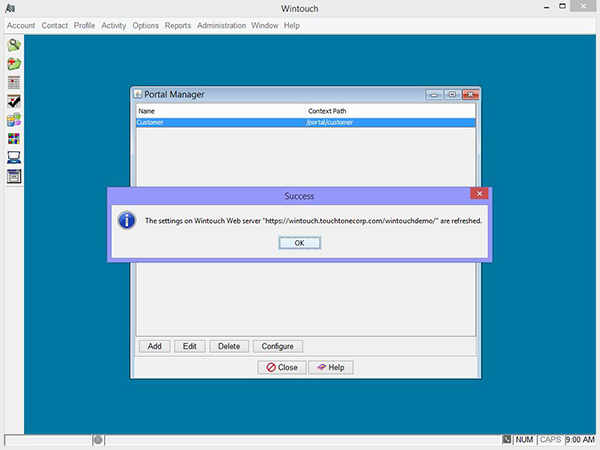
4. A confirmation dialog will open confirming the changes were made on the server. If something went wrong this dialog will contain an error detailing the server was not updated.
This concludes the first step of adding the new portal. Press the Ok button to continue.
5. From the Portal Configuration window select the Settings tab. Enter the required information in the Email tab. Click here for field definitions. After you have finished select the Test Settings button. A message dialog should appear confirming the outgoing server settings are correct. If the confirmation is successful select the Privileges tab.
Note: If an error occurs Wintouch will attempt to tell you which field produced the error.

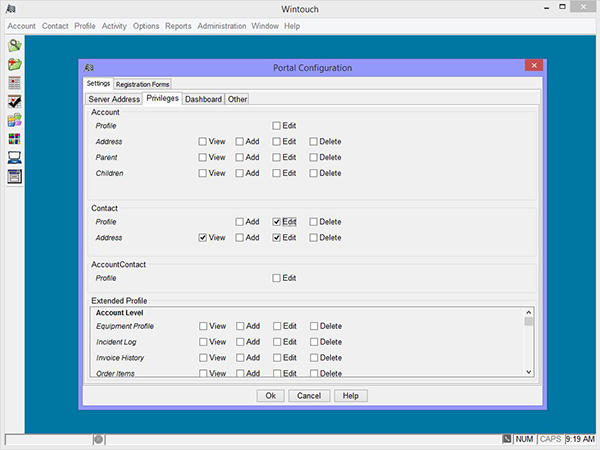
6. In the Contact section check the View and Edit checkboxes for the Address item, and check the Edit checkbox in the Profile item. This will give the portal user the ability to independently change their address and contact information. Once you have configured the settings select the Dashboard tab.
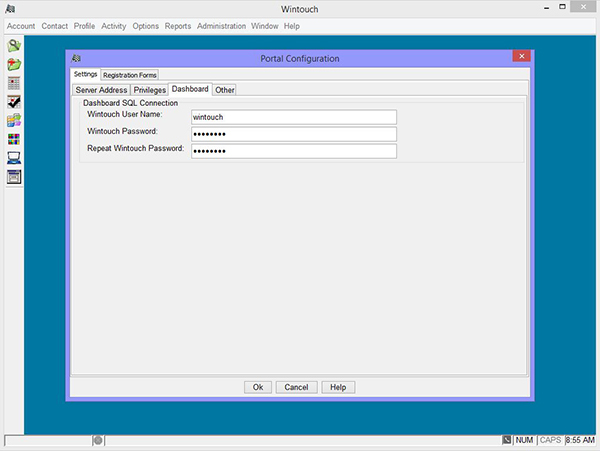
7. If you want to display a dashboard for this portal enter the username and password required to make the SQL connection, and then select the Other tab.
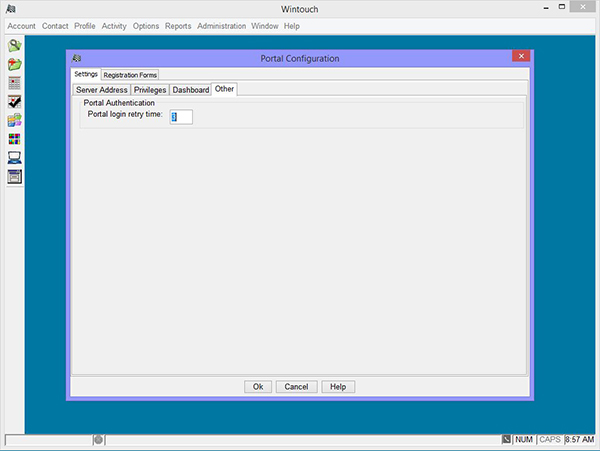
8. Enter a value for login retry attempts if you wish to change it from the default, and then select Ok.
9. Again you will see a confirmation that the server was updated or notified if an error occured. Next select Ok.
When a portal user registers, Wintouch needs a way to locate the account that the user will be associated to. This is done using any unique field values that are related to the associated account. The field values must be unique and cannot be found as duplicate values for multiple accounts during the lookup process. If multiple results are found Wintouch will not identify the associated account and the registration process will fail. There isn't any limit on the amount of unique fields you can add to the registration form, but the more fields you add increases the number of values the user must enter correctly into the registration form.
The portal registration logic will register a user following one of two protocols.
After the associated account is found, Wintouch will search the Contact List to see if it can match the user name entered into the first and last name fields of the registration form with any existing contact names in the contact list. If a match is found, Wintouch will get the user email address and password entered into the registration form, and add them to the Portal Email Address and Portal Password fields in Wintouch Account/Contact Relationships profile.
After the associated account is found, if Wintouch does not match the user name entered into the first and last name fields of the registration form with any existing contacts in the Contact List, Wintouch will add a new contact to the Contact List using the information the user passes through the registration form, and will also add the email address and password entered into the registration form into the Portal Email Address and Portal Password fields in Wintouch Account/Contact Relationships profile.
If one the protocols is successfully completed the user will be registered and redirected to the login form.
For our example we have selected to use two fields that will require unique values from the Invoice History.
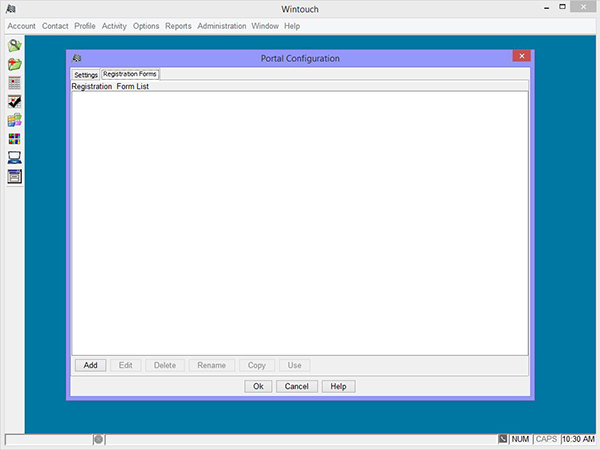
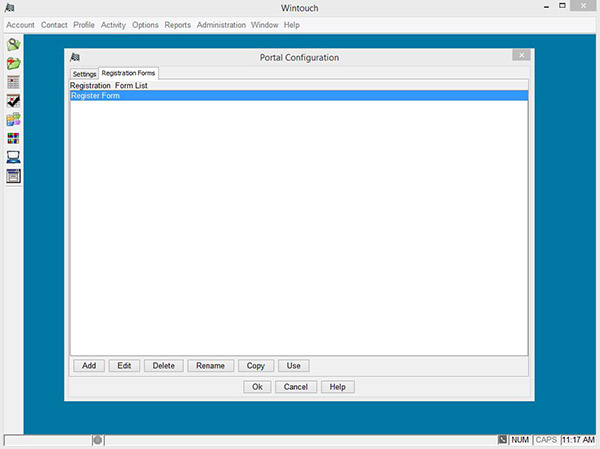
1. In the Portal Manager highlight the portal we just created, then double click on it or press the Configure button.
2. From the Registration Forms tab click the Add button.
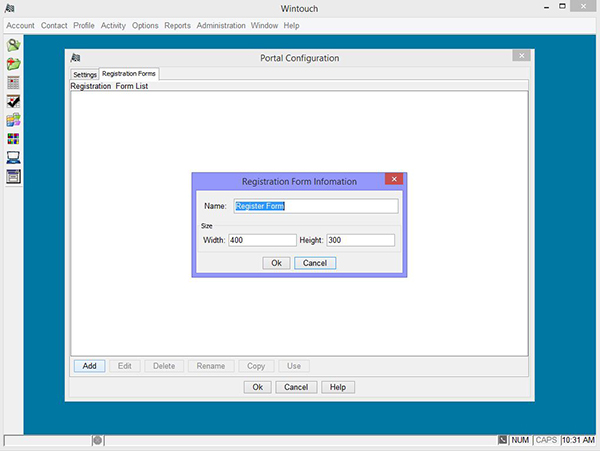
3. When the Registration Form Information dialog opens:
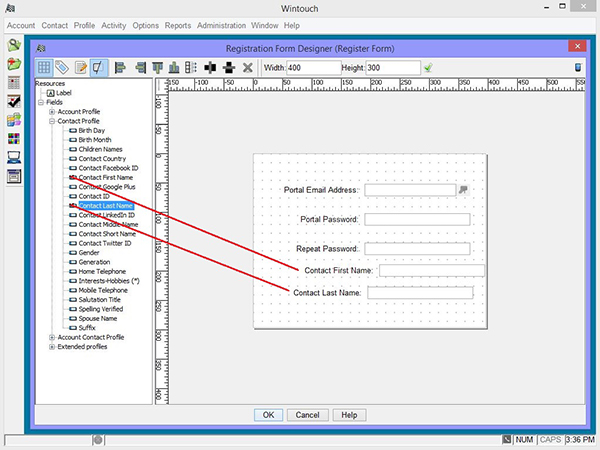
4. The default fields are required for the registration process, First Name, Last Name, Email Address, Password, and Repeat Password.
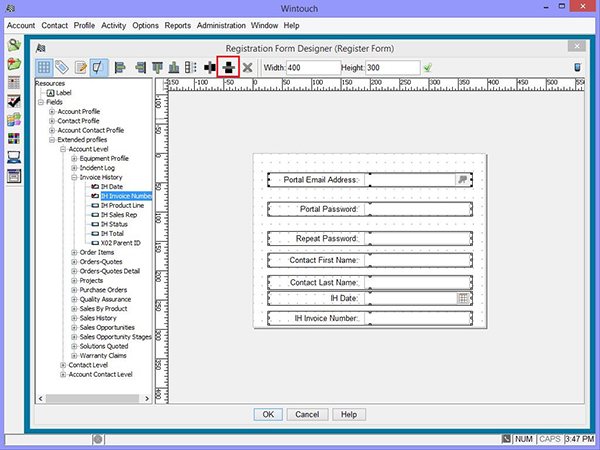
5. From the Extended Profiles --> Account Level --> Invoice History item in the tree menu, drag IH History, and IH Invoice Number into the design pannel. These fields will accept the unique values the user must know when they submit the form. The field values are associated with the users account and Wintouch will attempt to match the user input with the values recorded in Wintouch.

6. Drag your mouse over all the fields in the design panel and let go. Now the fields are active and you can apply changes to them all at once.
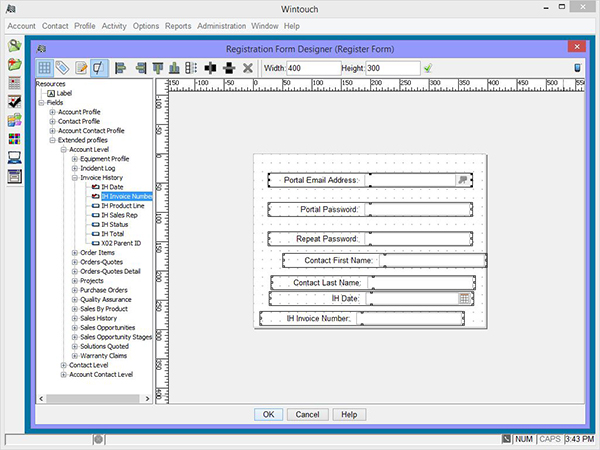
7. Select the Left Alignment button to align the fields to the left.

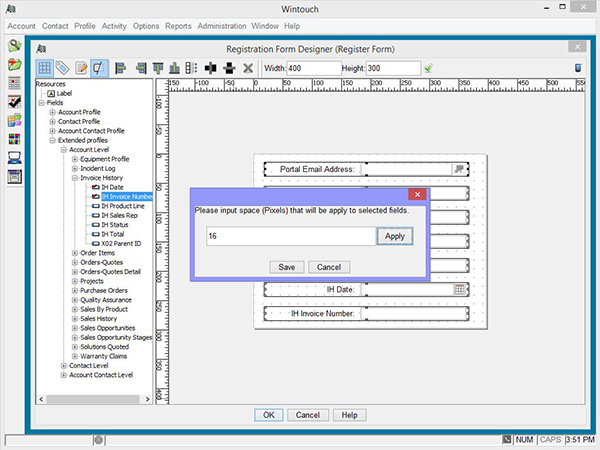
8. Next select the Vertical Space button
9. When the dialog opens enter a pixel value to be applied to the space between the fields, then select Apply.

10. Next select the Apply button, and then press the Save buton.
11. If everything looks good press the Ok button,
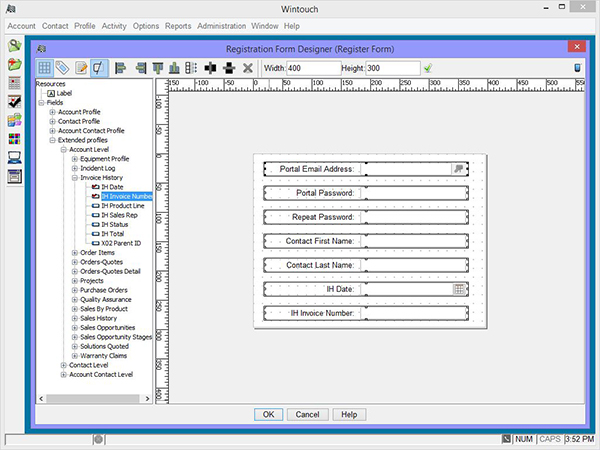
12. If everything went ok then Wintouch will ask you if you want to activate the form. Select Yes and the form is ready to be used.
Generally we only want to portal users to see a limited number of fields associated to whatever privileges they are given. Next we will customize the portal to display the necessary fields needed for the portal users. There are four windows that must be customized for every portal, additionally any other window you give portal users access to must be customized.
The four mandatory windows are:
1. To begin, open any Account Summary window. The portal entry point is basically an account summary customized with the fields we want available for the portal users when they access the portal. The field selection can vary greatly depending on the purpose of the portal. Next select the Customize button.
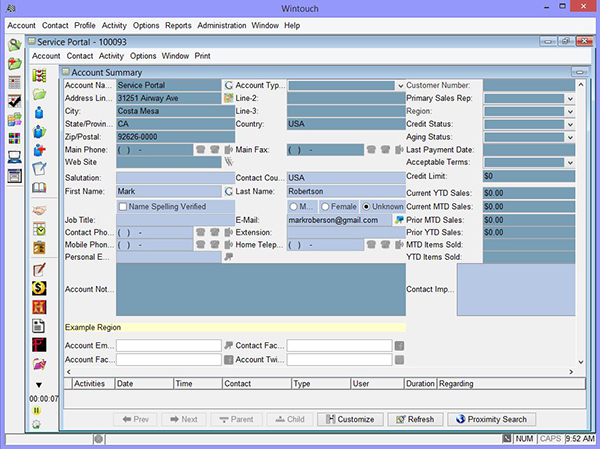
2. When the Customize Tool widow opens customize the design panel with the fields you want the portal user to see.
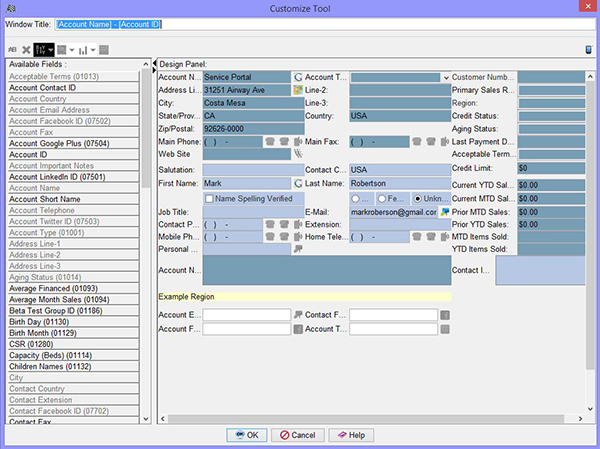
3. After you are done customizing the field layout select the Ok button.

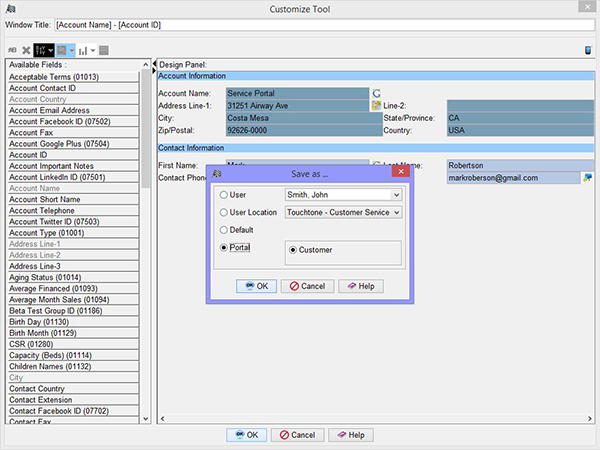
4. In the Save As dialog tick the Portal radio button. Then locate the portal you want to apply these settings to and tick the corresponding radio button. In our example we only have a single portal called Customer, but there can be many to choose from in a production scenario. Finally select the Ok button.
Note: After saving the changes you must log into the portal to see the layout.
Important: You must customize every window you make available to portal users, or they will not have access to the window and will receive an error when attempting to do so.
5. Next customize the Account, Account/Contact, and Contact profiles the same way as we just did with the Account Summary.