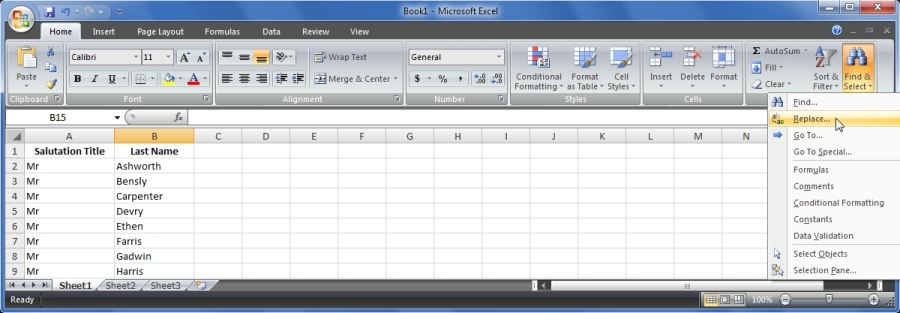

In the following example, we will replace all instances of Mr. with MR
1. Locate the Find and Select button, and in the menu select Replace .

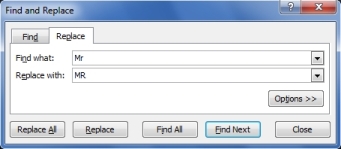
2. When the Find and Replace dialog opens, type Mr. in the Find what field, and MR in the Replace with field, then select the Replace All button
.
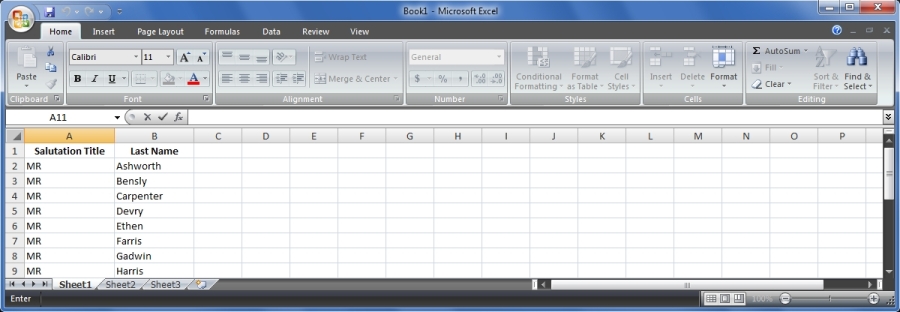
3. Notice in the example below all the Mr were changed to MR .
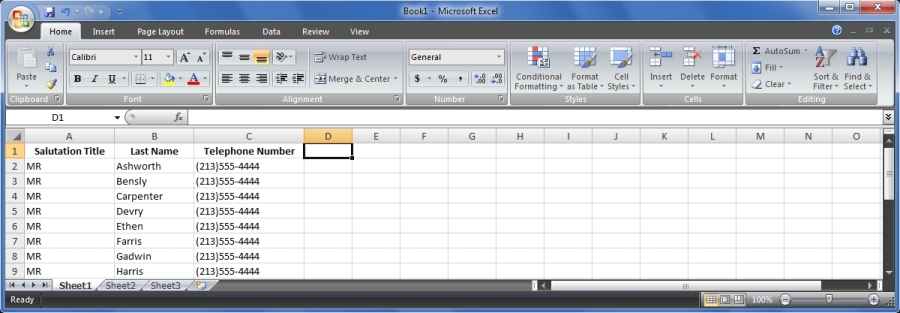
Telephone numbers should be left unjustified and have no formatting. eg: a US number format is typically (714) 755 - 2810. Before importing this number the format must be removed and the result should be 7147552810. Formatting must be removed from Telephone Number fields prior to importing. It is easy to remove formatting from field values using MS Excel.
1. Locate the Find and Select button, and in the menu select Replace .
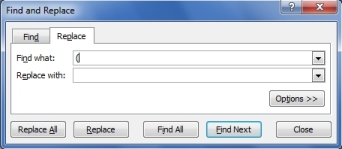
2. When the Find and Replace dialog appears enter the symbol for the left parentheses ( in the Find what field, and leave the Replace with field blank. Then select Replace All button.
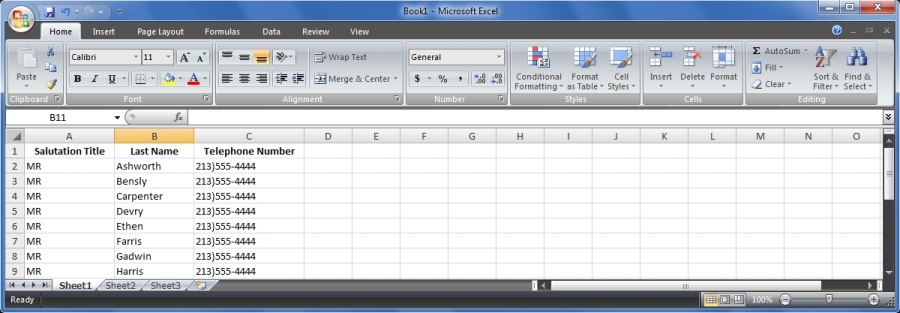
3. Notice in the below example that all the left parentheses have been removed. Now repeat the same steps to remove the right parentheses and once again to remove the hyphen.
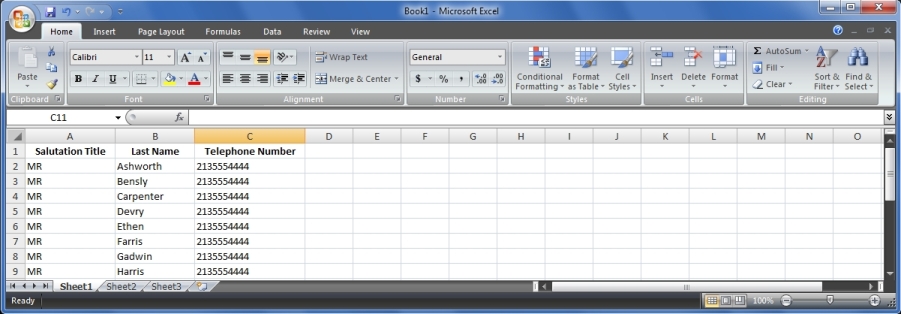
4. The below example is complete and ready for import.
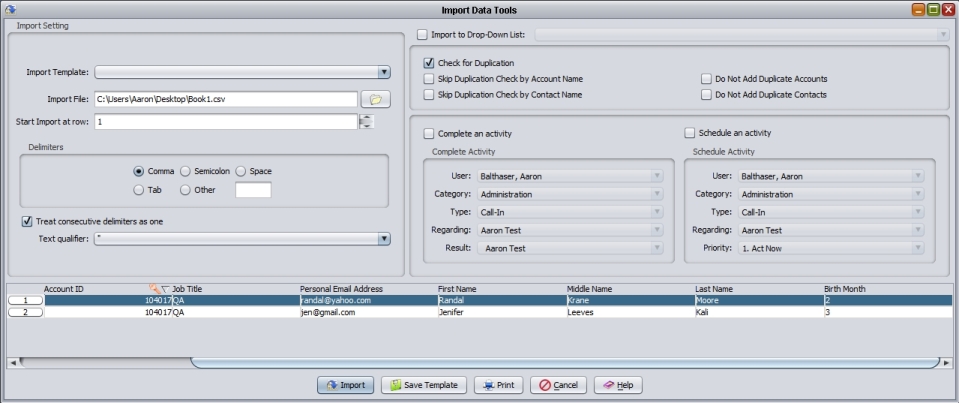
In order to import data to an existing account or contact we must include the account or contact ID in the data that we are importing. We must use a special function called Set as Unique Key so Wintouch knows where to designate the data that is being imported. In the following example we will import 2 contacts into an already existing account in Wintouch. In the following example, in the first column, you can see that an existing Account ID from Wintouch has been specified in the data that we will be importing. Notice in the first row designated number 1, the title of the Wintouch fields that we will be selecting for each column header has been indicated. Of course we will remove row 1 before the import process.
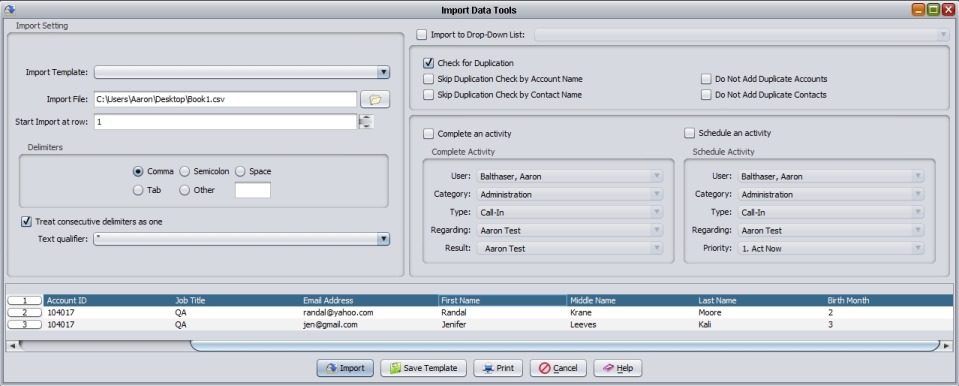
1. Right click in the column header above the first column and in the first pop up menu hover over Account . In the second pop up menu select Set as unique key .
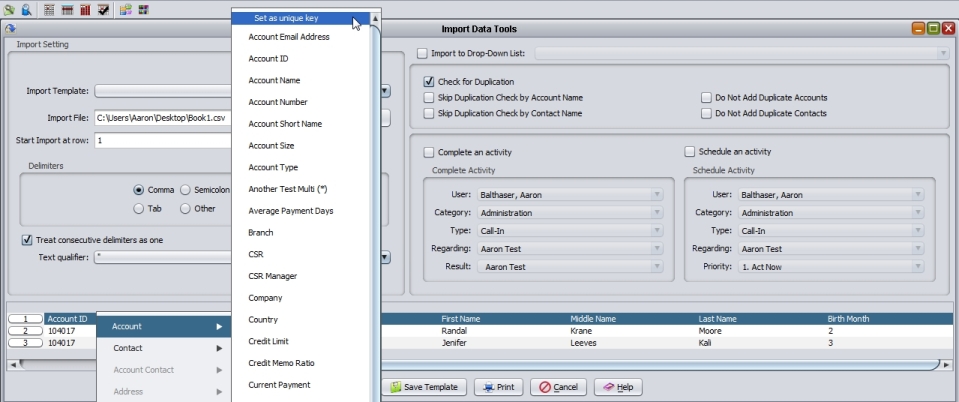
2. After you select the Set as unique key feature you will see a pink key symbol appear in the column header that you selected.
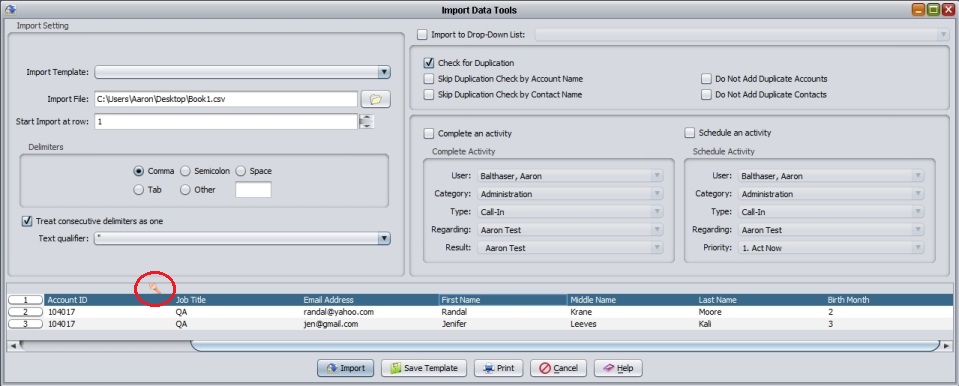
2. Now right click in the same column header that you just assigned the Unique Key feature, and select a column assignment. In this example we will select Account ID .
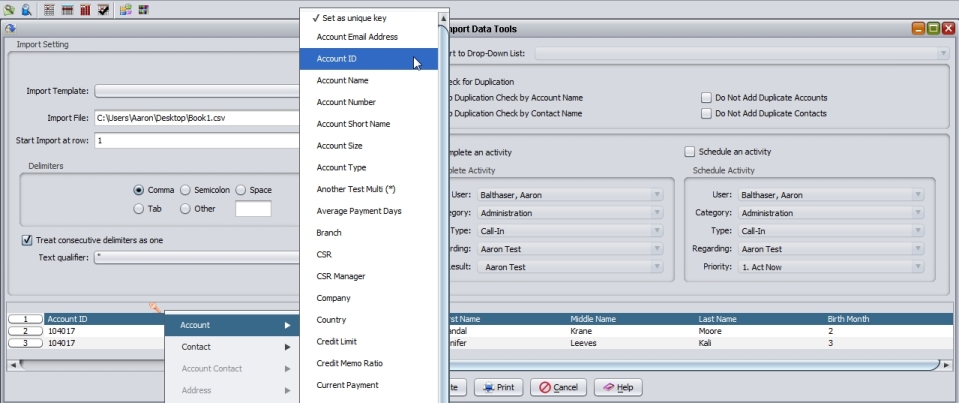
3. Notice that the column header now indicates the field name Account ID in addition to the pink key symbol.
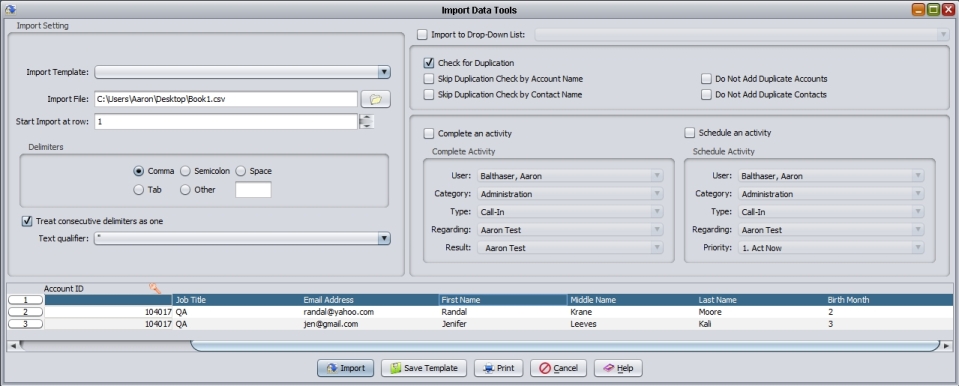
4. Now finish assigning all the remaining column headers with the Wintouch field assignments of your choice as shown in the example below.
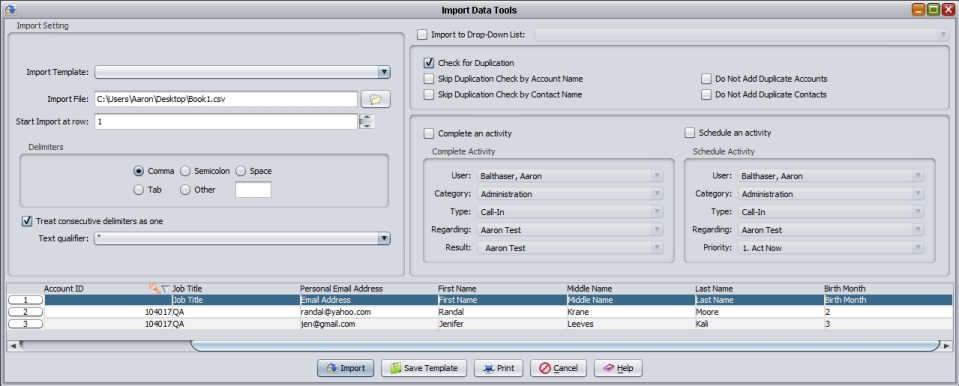
5. Now remember that the first row was only used as an example to indicate which Wintouch fields we were going to assign to the column headers. Now we must remove the first row before we can begin the import process. So right click on the first row and select Delete .
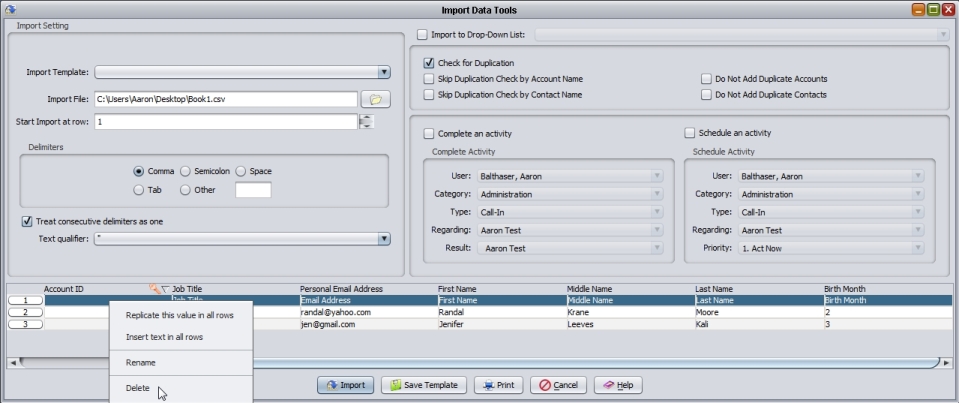
6. After you have deleted the first row the design pane is now complete and ready for import, as shown in the below example. Now select the Import button and begin the import process.
