Creating the Wintouch Macros in Microsoft Word
- Under the Tools menu, Hover over Macro, then Select Macros from the drop-down list.

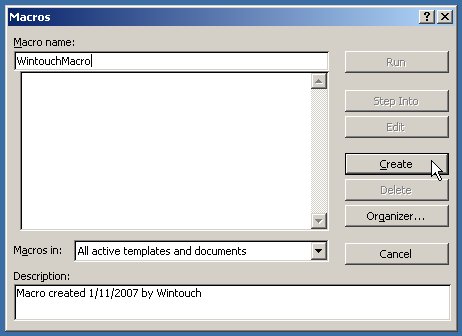
- In the Macros window, Type WintouchMacro in the Macro name: field, then Press the Create button.
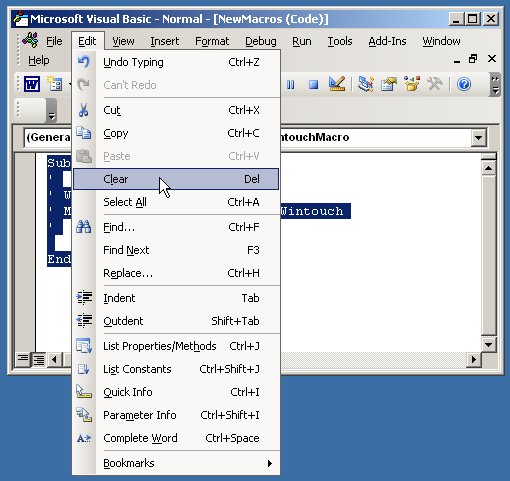
- In the Normal window, under the Edit menu, Select Select All, then Select Clear.
- Click here to download the Wintouch Macro text zip file.
- In the File Download box, Press the Save button.

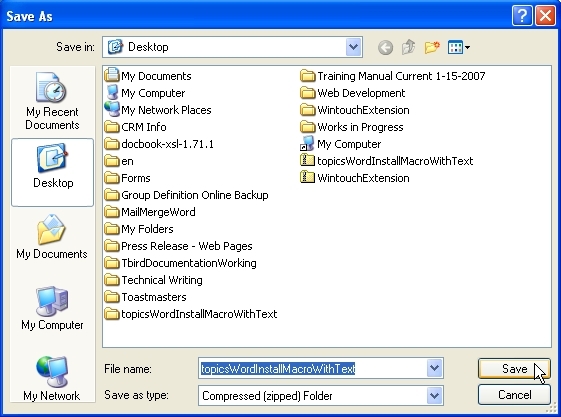
- In the Save As box, press the Save button to save the Wintouch Macro text zip file to your Desktop.
- In the Download complete box, Press the Close button.

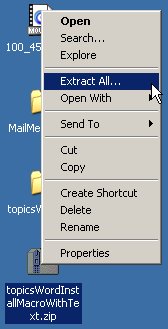
- On your Desktop, Click once on topicsWordInstallMacroWithText.zip, then Right Click, and Select Extract All, then follow the Extraction Wizard instructions.

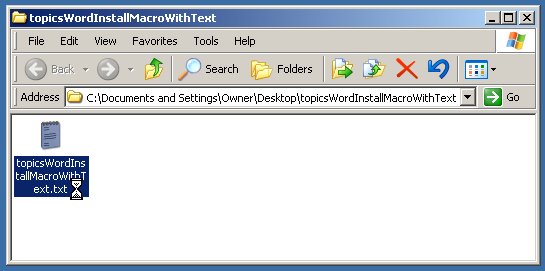
- When the topicsWordInstallMacroWithText window opens, Double Click on topicsWordInstallMacroWithText.txt to open the Wintouch Macro text in your Notepad.
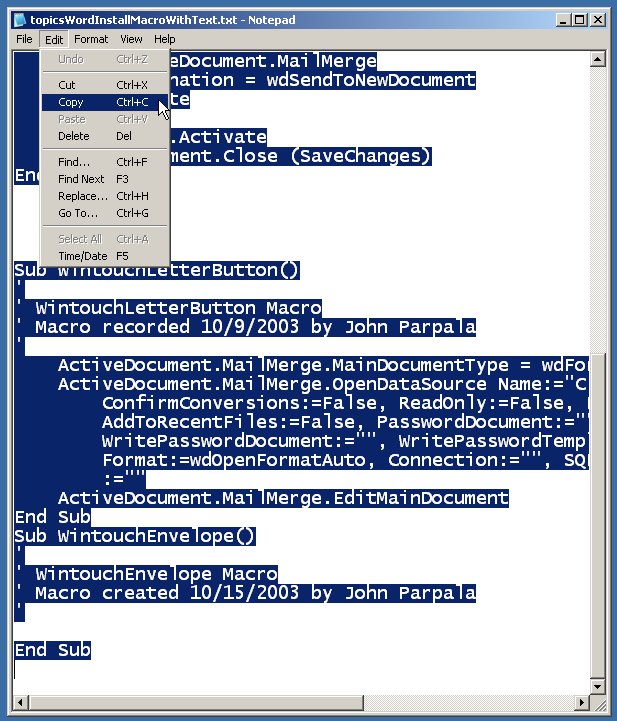
- Under the Edit menu, Select Select All.

- Under the Edit menu, Select Copy.
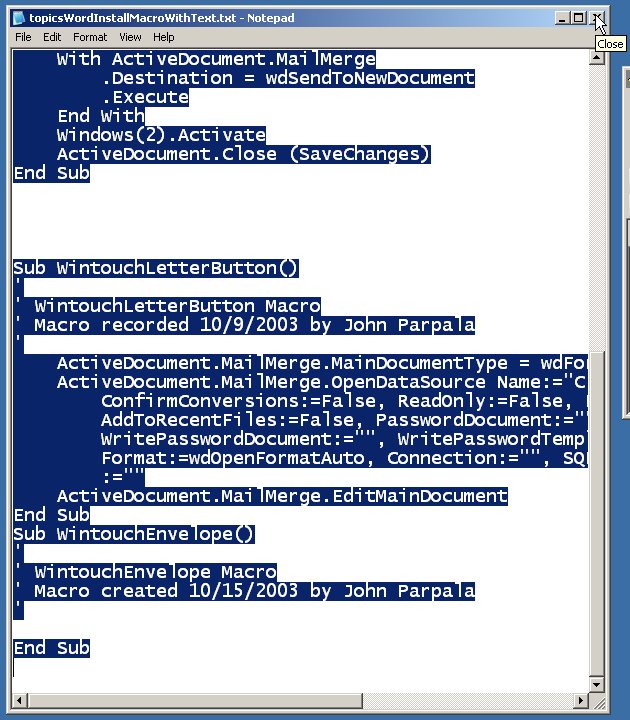
- Close the Notepad.
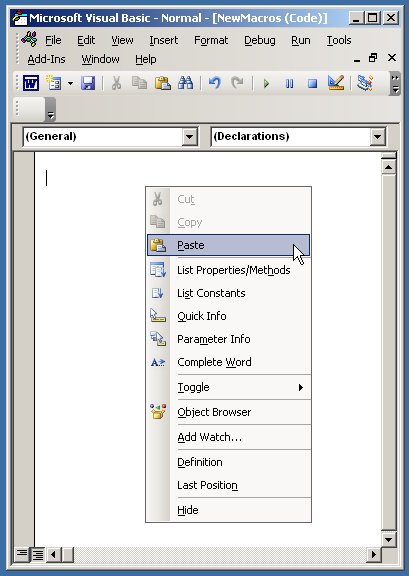
- In the Normal window, Right Click, and Select Paste.
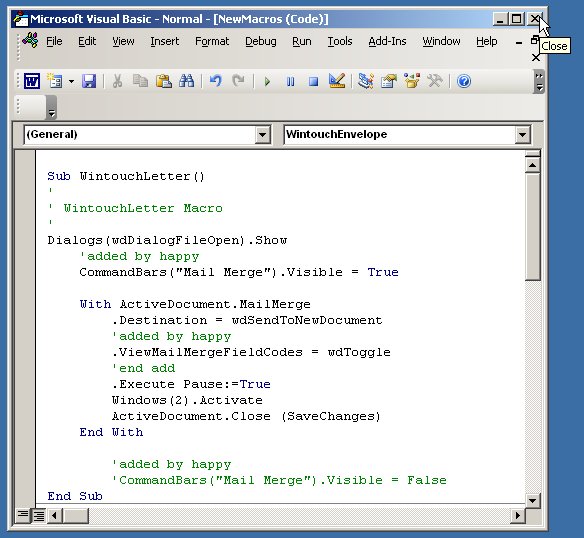
- Close the Normal Window. The Macros will automatically save.
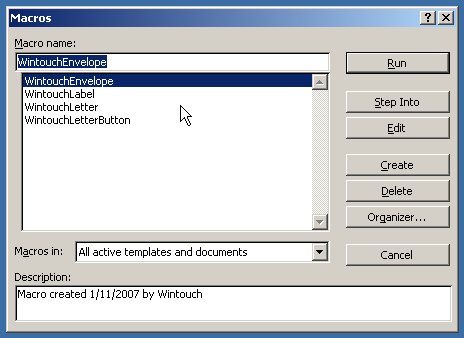
- Under the Tools menu, Hover Over Macro, and Select Macros to open the Macros window and verify that the Wintouch Macros are present.