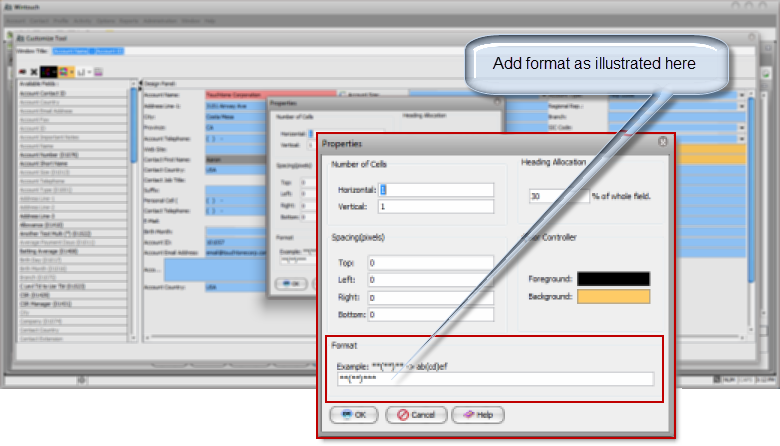
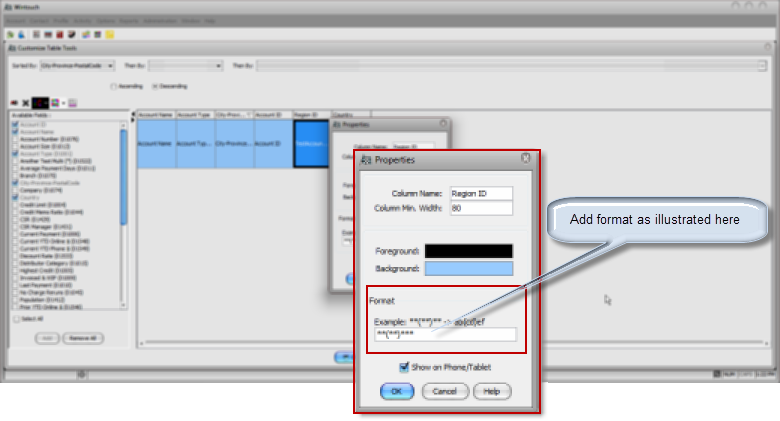
The number formatting feature allows you the ability to add specialized formats to numeric and alphanumeric fields. This is extremely helpful in many cases. A company may have a specialized number that needs to be viewed in Wintouch by the users in a manner that is different from the default format stored in the database. For example you may have an alphanumeric field that stores numbers in the database in the following format "P339812", but you may want the users to see the numbers arranged in the following format "P-33-981(2)". This can be done using the formatting feature and the arrangement will not affect the way the data is stored in the database.
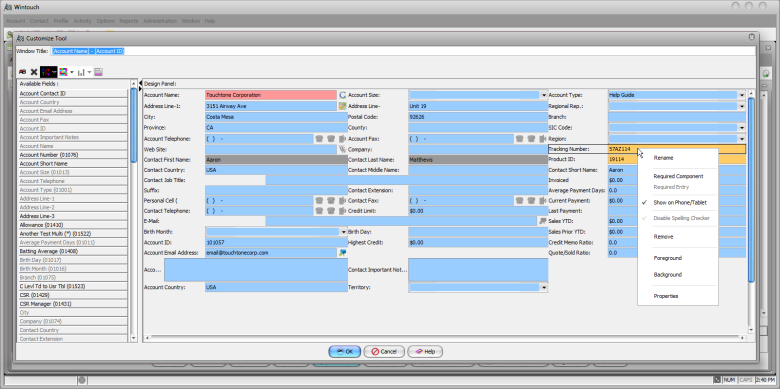
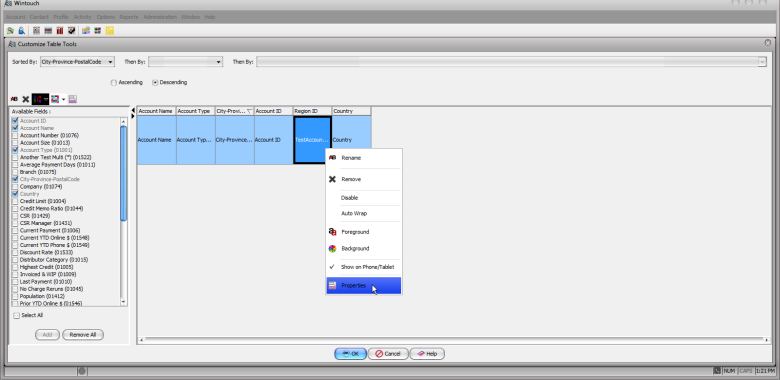
The customizations are made in the Customize Tool and the Customize Table Tool windows. These customizations can be enabled in any profile or listing window.
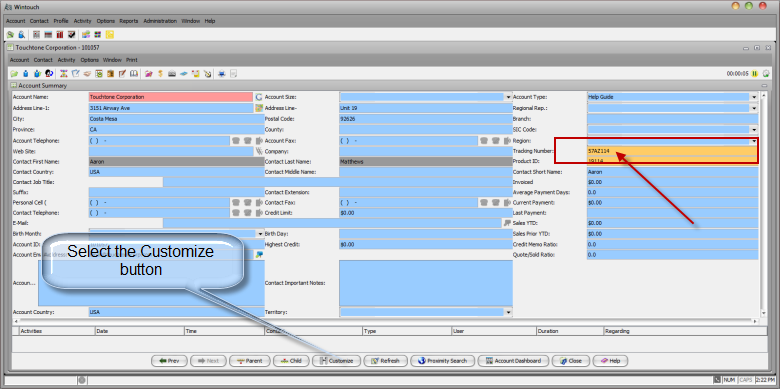
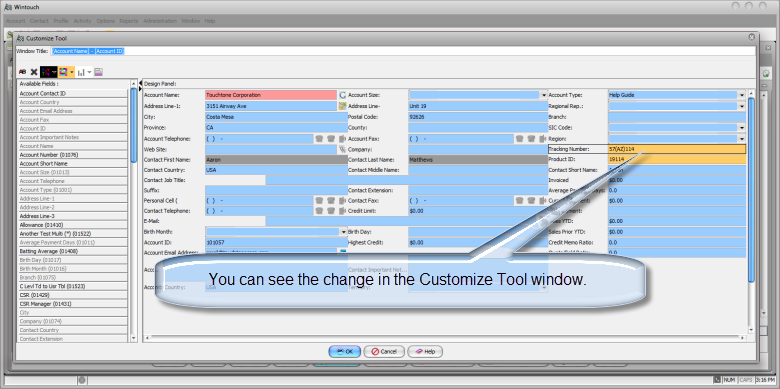
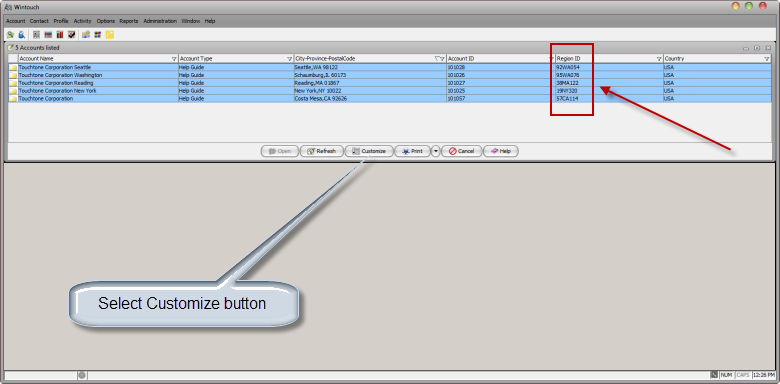
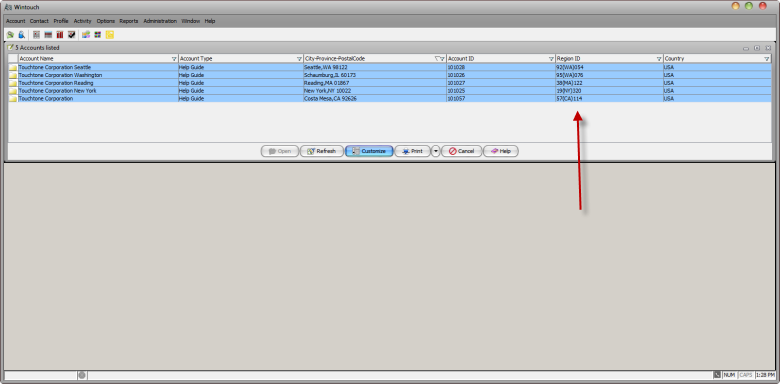
We are going to show two examples in which a formatting customization will be applied to fields in both the profile and listing windows. In the example below we see the field Tracking Number has the data displayed as 57AZ114. This is how the data is stored in the database. For our example we will say this number is viewed in the format of 57(AZ)114 in all other company documents such as invoices and shipping labels; so it would be more practical for the Wintouch users to see this number in the format in which they are accustomed.