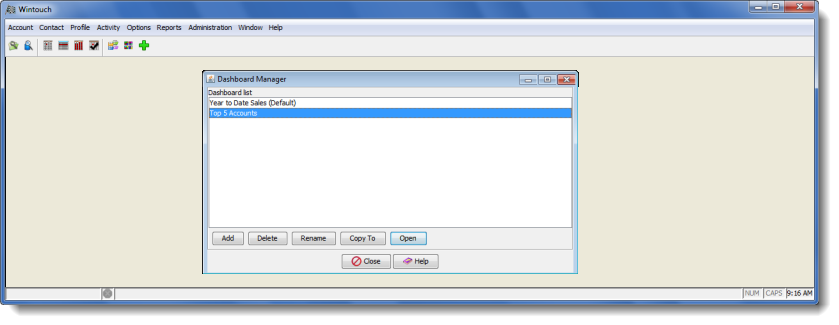

The Dashboard Manager allows the user to manage the Dashboards that appear in the list. From this window the user can begin creating a new dashboard, delete dashboards that are no longer needed, as well as open existing dashboards that may need editing. The Administrator also has the ability to copy dashboards to other Users, Locations, or to the Default level.
Add: Press this button to add a new dashboard. The administrator user can add a dashboard to any user, location, or default level. However the dashboard will only be viewable if the users in any of these variables has access to the custom report.
Delete: Highlight a selected dashboard and press this button to delete the dashboard. The administrator user can delete any dashboard in the Dashboard Manager.
Rename: Highlight a selected dashboard and press this button to rename the dashboard. The administrator user can rename any dashboard in the Dashboard Manager.
Copy To: Highlight a selected dashboard and press this button to copy any existing dashboard to any user, location, or default level. When the dashboard is copied all the components that constitute the dashboard are copied as well. If you copy a duplicate dashboard to the same user or user location, the dashboard name will be followed by a number in parenthesis. For example YTD Sales , and YTD Sales (1) . For instruction about the Copy To feature click here.
Open: Highlight a selected dashboard and press this button to open the selected dashboard. The administrator can open to view and or customize any dashboard in his or her Dashboard Manager.
Cancel: Press this button to cancel out of the window.
Help: Use this button to display the online help for the active window.
Note: The Dashboard can only be saved to the default level or any location level. If you need to create a dashboard for a specific user you must create the dashboard at the default or location level first, and then use the Copy To feature.
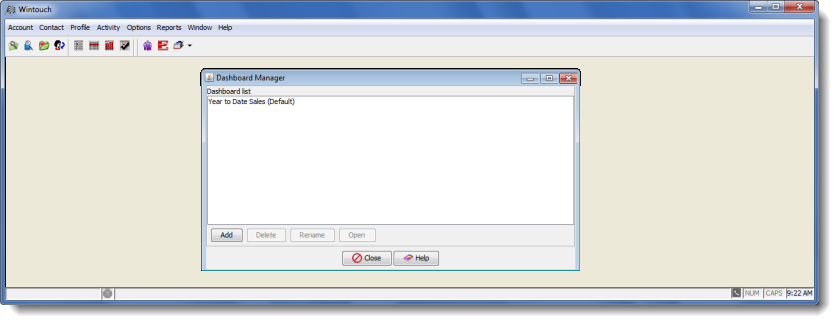
Add: Press this button to add a new dashboard. The non administrator user can only add dashboards to his or her user, and cannot add dashboards to any location or default level.
Delete: Highlight a selected dashboard and press this button to delete the dashboard. The non administrator user can only delete dashboards from his or her user, and cannot delete dashboards from the location or default level.
Rename: Highlight a selected dashboard and press this button to rename the dashboard. The non administrator user can only rename dashboards from his or her user, and cannot rename dashboards from the location or default level.
Open: Highlight a selected dashboard and press this button to open the selected dashboard. The non administrator user can open all existing dashboards in his or her dashboard manager, however not all the dashboards that are listed in the dashboard manager may be viewable. Each dashboard relies on a custom report and in order for the user to view any dashboard the user has to have access to that custom report.
Cancel: Press this button to cancel out of the window.
Help: Use this button to display the online help for the active window.