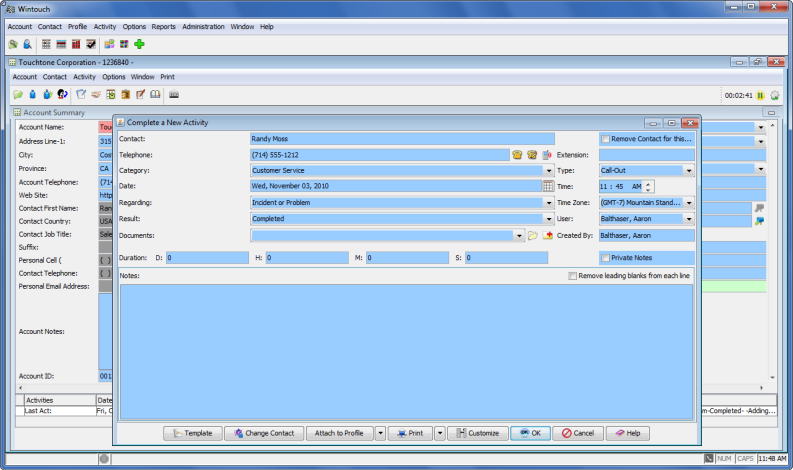

Contact: The contact displayed here is the contact currently displayed in the Account or Contact Summary window.
Note: If you have opened the Complete a New Activity window from the Account Summary, you can change to displayed contact to another contact from the Contact List in that Account.
Follow this Link: For Instructions to Change the Displayed Contact
Remove Contact Check Box:To create an activity NOT associated with any contact, check the Remove Contact for this activity check box. This will remove the Contact field from the activity.
Category: Select a category (i.e. department) for the activity being completed from the drop-down list.
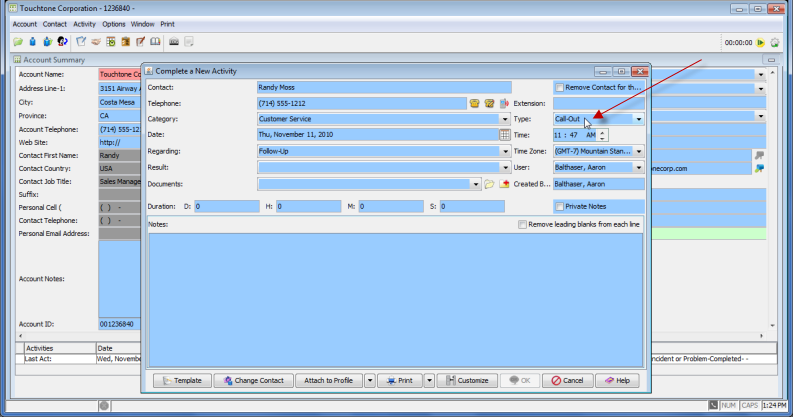
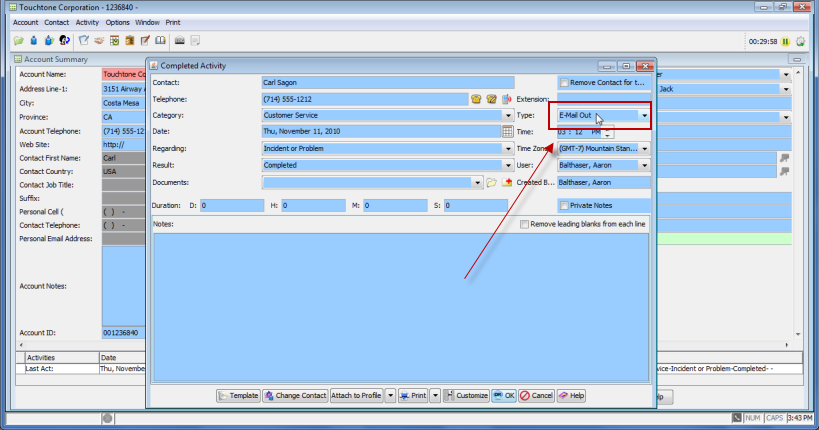
Type: Select the type of activity (e.g. Call In, Email Out, Meeting) being completed from the drop-down list.
Date: Today's date will be the default value for this field. To change the date for the activity being completed, click on the date field. A calendar will open. Press the right/left arrows to go to the next/previous day, month, and year. Click on the desired date, then press the OK button to select your new date.
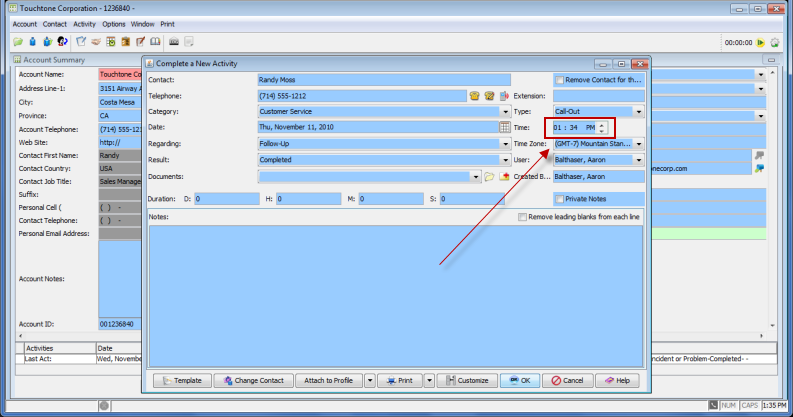
Time: The time at which you opened the Account or Contact Summary screen will be the default value for this field. To change the time for the activity being completed, tab to and select the new hour and minute and AM or PM values. If you prefer, you can use the up/down arrows to change to a later/earlier time.
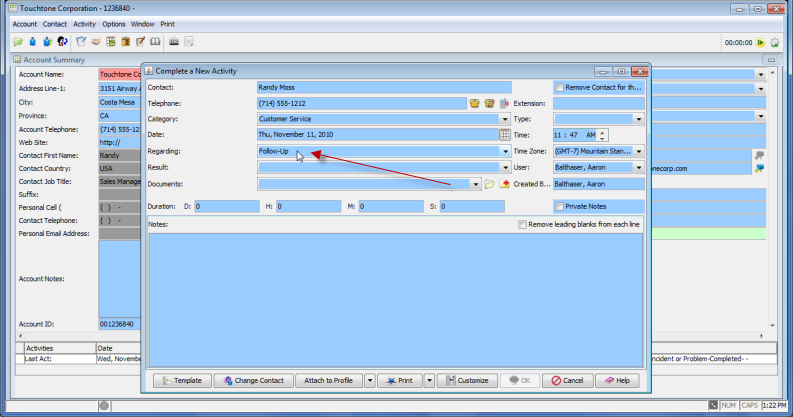
Regarding: Select a regarding (i.e. the nature of the activity) for the activity being completed from the drop-down list. The category you selected above will determine the options available in the Regarding drop-down list.
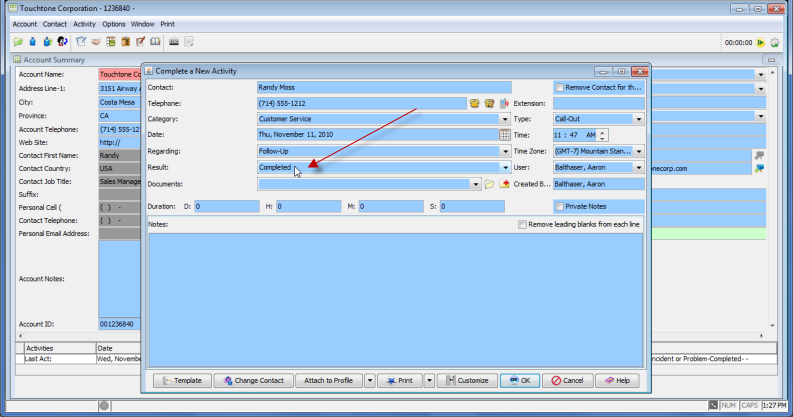
Result: Select a result for the activity being completed from the drop-down list.
User: The name of the user currently signed-on will be the default value for this field. Select the name of the user who actually completed the activity when completing an activity for another user.
Created By: This view-only field will contain the name of the user who created the activity.
Document: The user can attach one or more documents to the activity being completed. To add a document, right-click in the document field and select Add. In the window that opens, select the document you wish to attach, then press the Open button.
Note: To open an attached document, highlight the name of document you wish to open, then click on the folder icon to the right.
Note: To delete an attached document, highlight the document you wish to delete, right-click within the field, then select Delete.
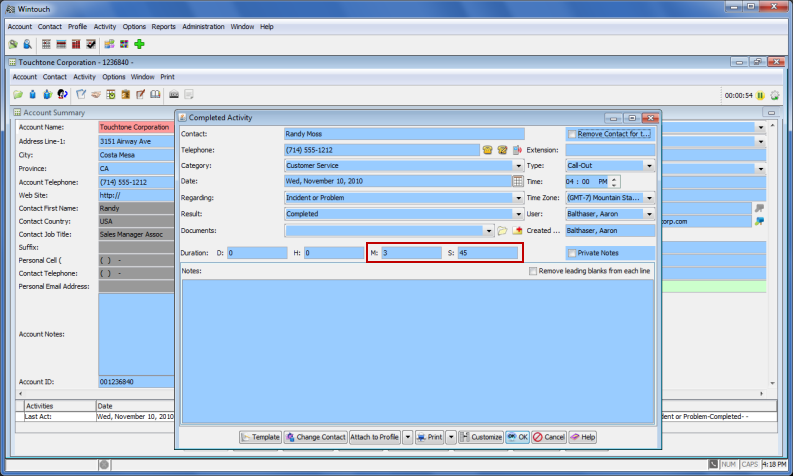
Duration: The Wintouch Timer feature will record the length of time it takes to complete an activity. The timer begins recording the duration when you open the Account or Contact Summary window and ends when you press the OK button in the Complete a New Activity window. Duration is recorded in Days, Hours, Minutes, and Seconds.
Note: The user can also enter the duration manually.
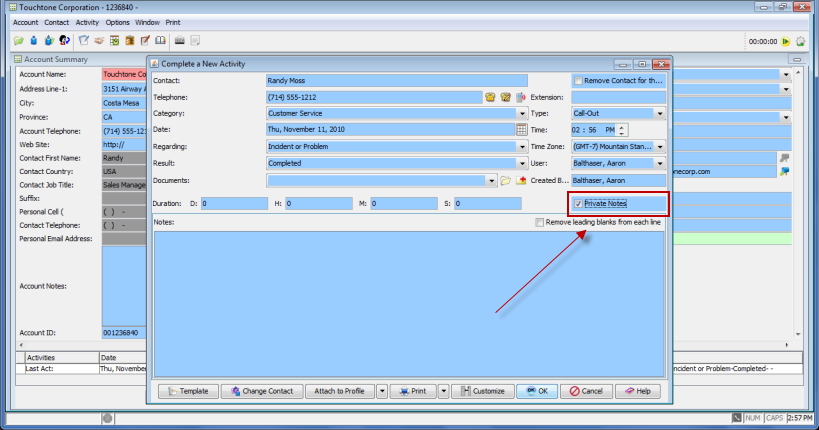
Private Notes: If this box is checked, the notes in the box below can only be viewed by the user for whom the activity was scheduled, the user who created the activity, and users with administrator privileged.
Notes: Enter critical information about the activity in this field. Ideally, the information you provide should be enough that any member of your team would know what took place after reading it.
Required Fields = Fields that must contain a value for you to be able to compete the activity. The OK button will be disabled (grayed-out) until all required fields are completed.
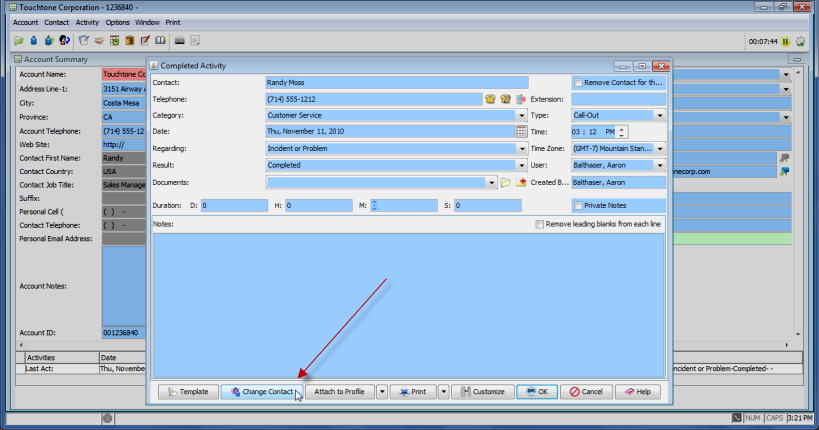
Contacts: Use this button to open the Contact List and change the contact for the activity being completed.
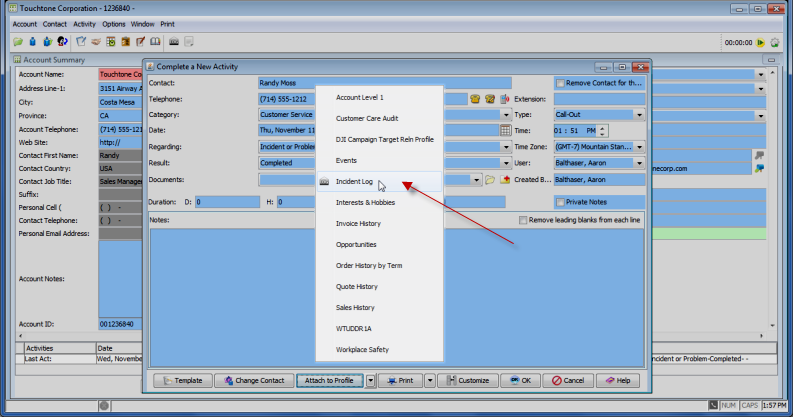
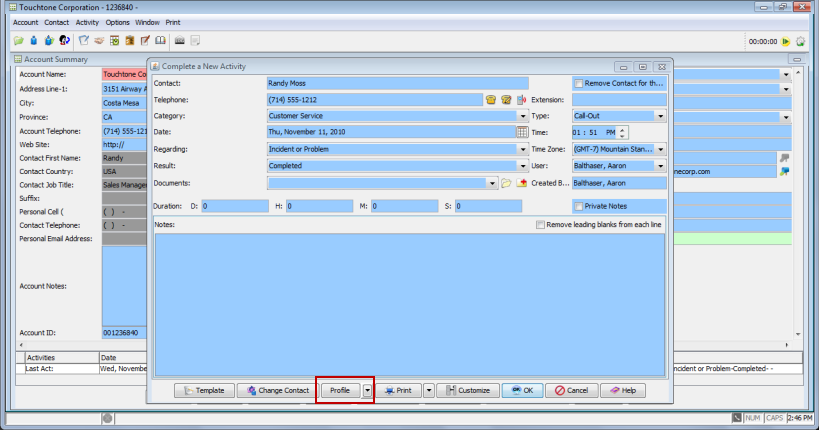
Attach to Profile: Use this button to attach your activity to an extended profile. If the activity has already been attached to an extended profile, the button will be labeled Profile. See below.
Profile: Opens the Extended Profile to which the activity is attached. If the activity has not been attached to an extended profile, this button will be labeled Attach to Profile. See above.
Follow this Link: For Instructions to Attaching the Activity to an Extended Profile
OK: Use this button to save the activity being completed. The OK button will be disabled until all required fields are filled.
Note: The OK button will be disabled (grayed-out) until all required fields are completed.
Customize: Use this button to customize the layout of the Complete a New or Completed Activity Window. In the Customization Tool window, administrators will be able to add/remove, rearrange, or change the display properties of fields.
Follow this Link: For Instructions to Using the Customization Tool
Cancel: Use this button to cancel the activity and exit the window.
Help: Use this button to display the online help for the active window.
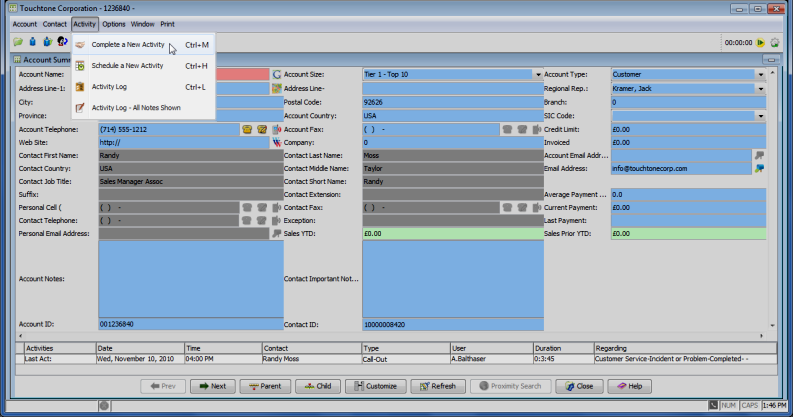
The Complete a New Activity feature allows you to record an activity as you are working on it. Simply open the relevant Account or Contact Summary and the Complete A New Activity window as soon as you begin the activity.
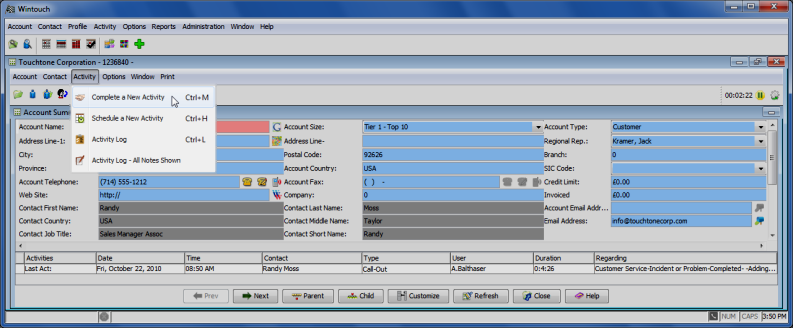
There are three ways to open the Complete a New Activity window from within the Account or Contact Summary window:
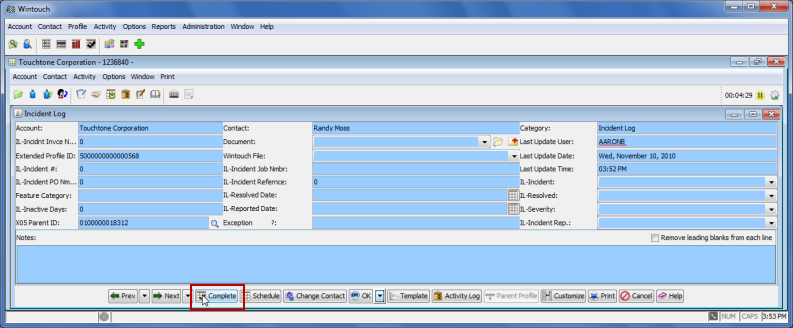
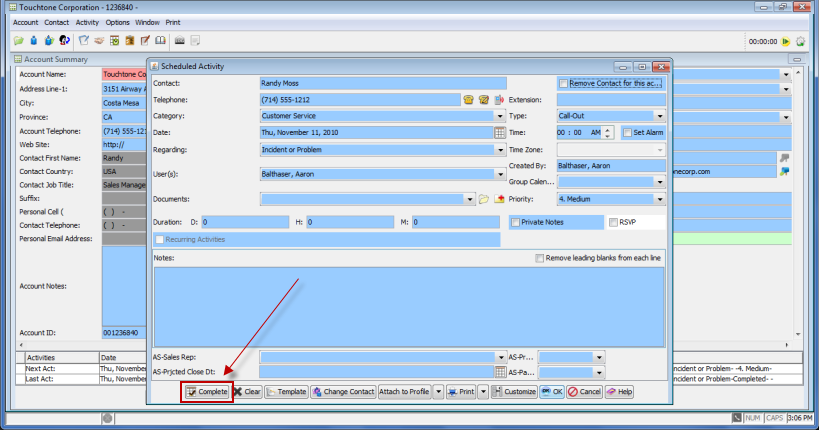
Wintouch gives you the option of attaching activities to a related extended profile. For example, you might want to attach a sales quote activity to your Sales History Extended Profile or a support call activity to your Incident Log Extended Profile. You can use the Complete button from either the Extended Profile Listing window or the Extended Profile window to Complete A New Activity linked to the selected Extended Profile record.
In the Extended Profile window, Press the Complete button to open the Complete A New Activity window.
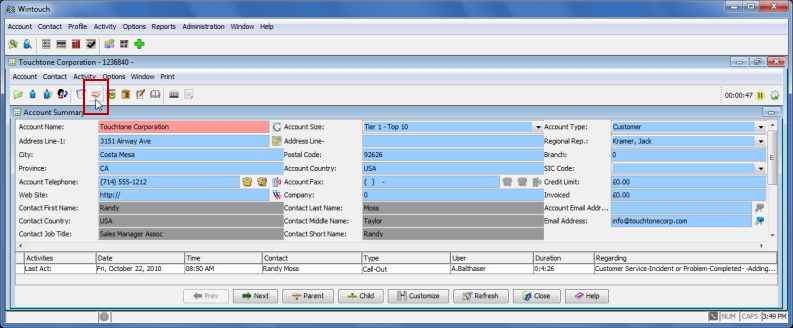
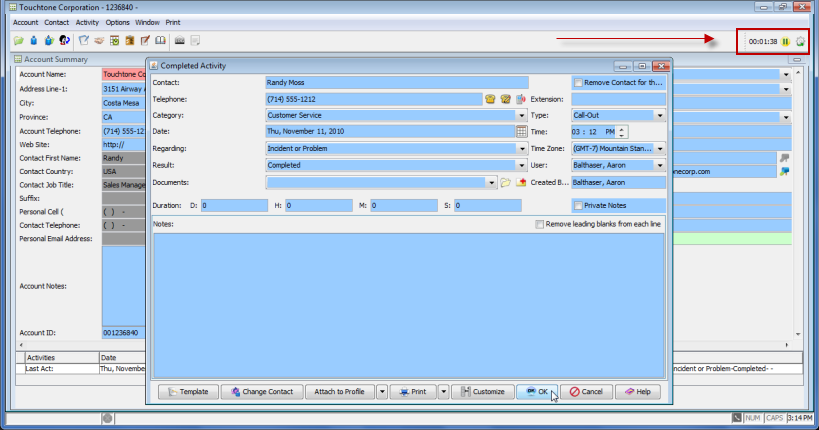
Wintouch will automatically record the duration of an activity from the time that you open the Account or Contact Summary window to the time that you Press the OK button in the Complete A New Activity window. Thus, you should open the associated Account or Contact Summary window as soon as you begin working on an activity. If you keep the Account or Contact Summary window open after completing a new activity, the timer will reset and start counting up again until you complete the next activity, and so on. You also have the option of manually pausing or resetting the timer using the tool bar icons.
In the following example, we opened the Account Summary and Complete a New Activity windows upon beginning our activity.
Note: Note the timer in the upper right corner of the below screen shot.

Note: The completed activity will maintain the duration of the activity. Note the duration of the activity in the below example. It is the record of the time between opening the Account or Contact Summary window and pressing the OK button.
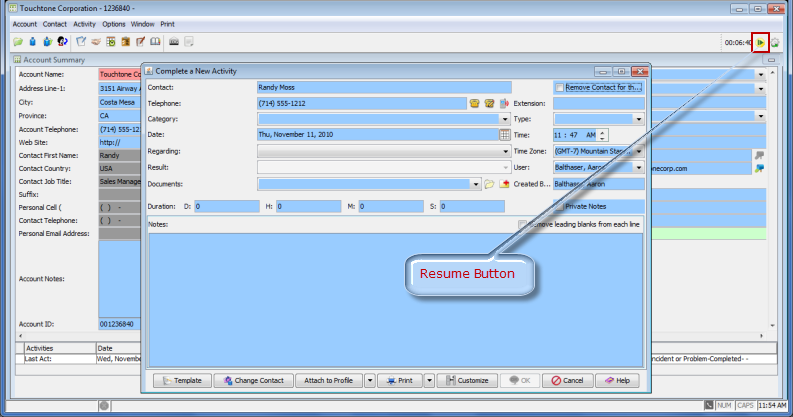
If you are interrupted in the middle of your activity, you can hit the Pause button. The timer will stop counting until you hit the resume button.

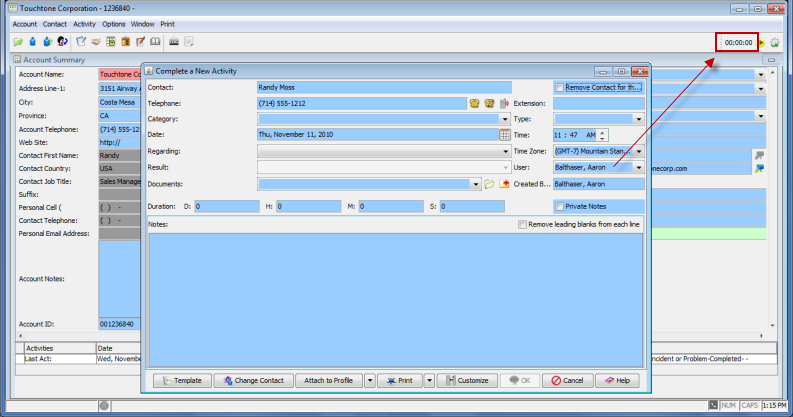
If the Account or Contact Summary window has been open, but you have not been actively working on an activity, you will need to reset the timer before completing an activity.

Note: Note the times in the screen shots above and below. Before pressing the Reset button, the timer reads 00:06:40. After pressing the Reset button, the timer reads 00:00:00. After pressing the Reset button and timer zeros out, and the timer will resume.
When completing an unscheduled activity, use the Complete a New Activity feature. These completed activities will then show up in the Activity Logs for the Extended Profile record, Account, or Contact the activity is attached to.
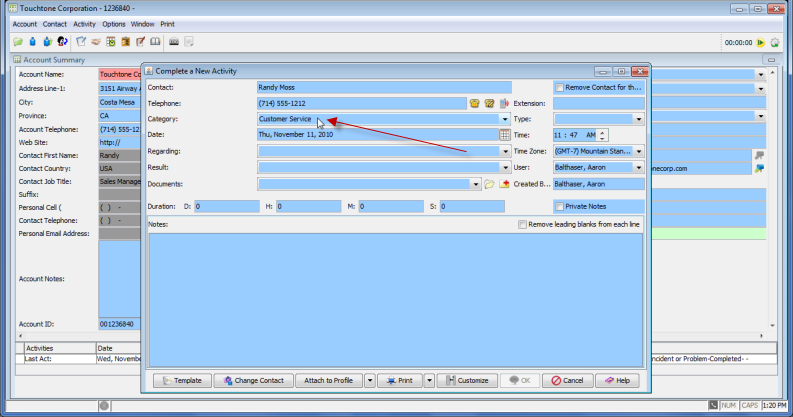
Note: After you have selected an option for the four required fields shown above, the OK button will light up, giving you the ability to select OK , and record the completed activity. The instructions that follow are optional.
The Time field will show the time that you opened the Complete a New Activity window. You may change it if necessary.
In the Notes box, concisely enter information about the activity. Ideally, the information you provide should be enough that any member of your team would know what took place after reading it.

In many cases, the activities that you schedule will be related to an extended profile record. For example, activities related to a particular sale or incident should be related to a record in the sales history or incident log extended profile, respectively. Attaching your activity to a record in an extended profile is like storing it in a folder. It will allow you to easily look at the activities associated with that particular extended profile item, without having to look through all activities associated with the account or contact.
In the following procedure, we will attach an activity to an extended profile.


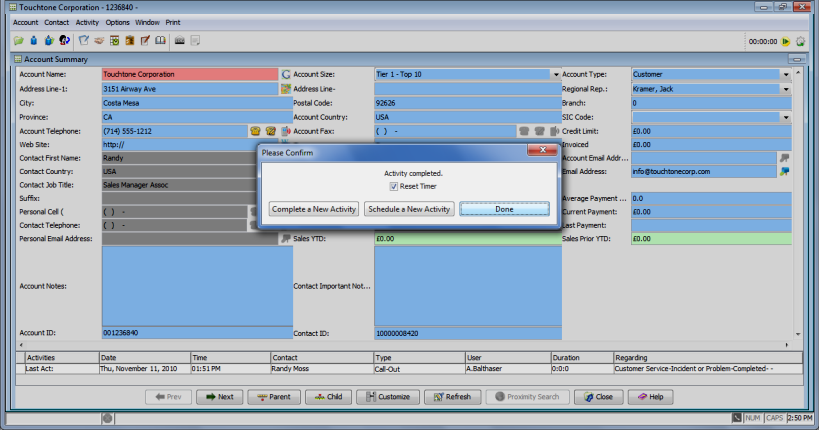
Note: When the Confirmation dialog appears you also have the choice to complete another activity or schedule a new activity. You can see the activity you created in the Activity Log of the extended profile to which you attached the activity.
If the notes for a particular activity contain sensitive material, Wintouch gives you the option of making those notes private. If you check the Private Notes box, only you and those users with Administrator privileges will be able to see the notes for the activity.

Note: You may manually change the date, time, and duration of your activity.
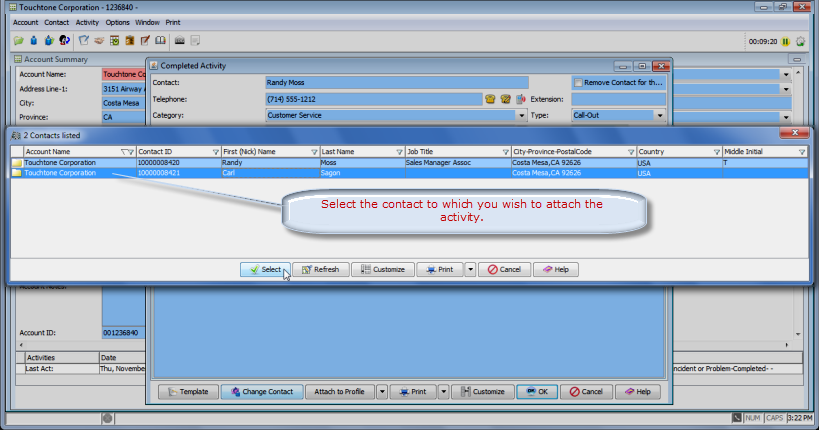
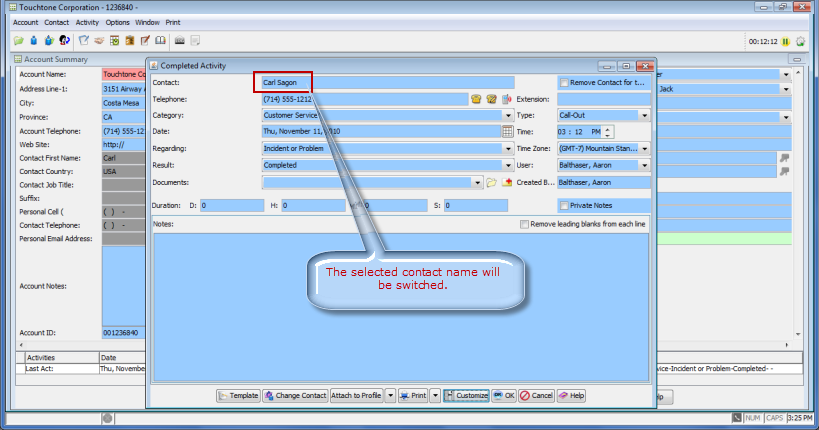
The Contacts button allows you to select or change the Contact associated with an activity from either the Complete a New Activity or Completed Activity windows. Instead of having to clear an activity that is associated with the wrong contact, you can simply edit the contact field value. When you Press the Contacts button, the Contacts window will open, allowing you to select a contact from those associated with the account.
When you select Email-Out as your activity type, Wintouch will automatically open a Compose window in your preferred email client.
For instructions on how to open the Complete a New Activity window from the Account or Contact Summary Click Here
For instructions on how to open the Complete a New Activity window from an Extended Profile window Click Here
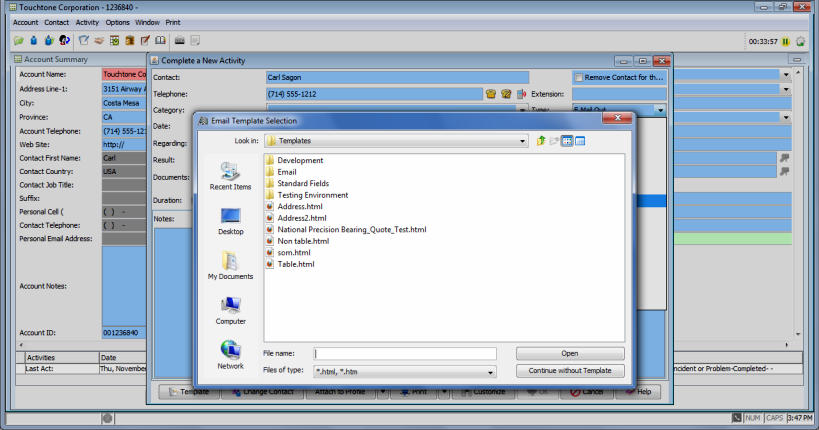
Note: Click here for instructions on how to change your preferred email client in Wintouch Preferences.