Because of the tight integration between Wintouch and the open-source email client, Mozilla Thunderbird, it is possible to navigate in Wintouch from your Thunderbird toolbar. The Wintouch toolbar icons in Thunderbird allow you to do such things as open related customer records or add contacts from within Thunderbird email with a single click. Incoming emails can be saved as completed activities within the related accounts in Wintouch, with attachments stored as documents. Outgoing emails to individual open accounts can be generated from the Complete an Activity window, using Email templates which save time, allow insertion of data from Wintouch into the message body or subject line, thus creating consistent and professional communication from you to your customers. Email broadcasts make use of the same templates, and will be saved as completed activities within Wintouch.
- Using Internet Explorer, Go To http://www.mozilla.com/thunderbird/.
- Click Free Download.
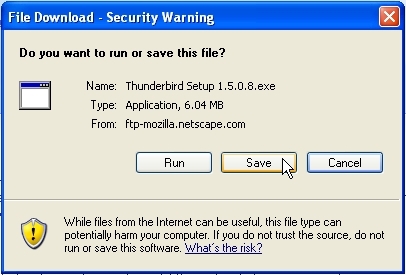
- In the File Download box, Press the Save button when prompted.
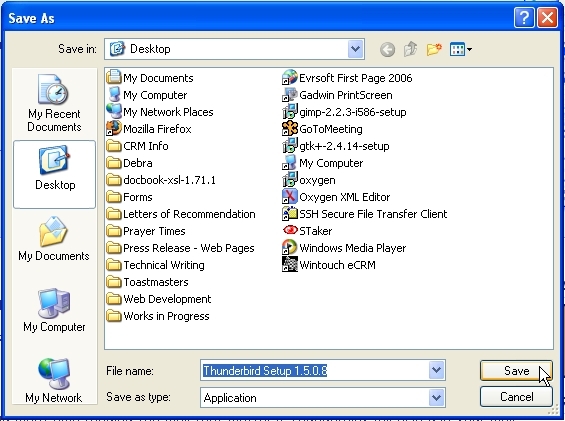
- When the Save As... box opens, in the Save in Field, select Desktop, then Press the Save button.
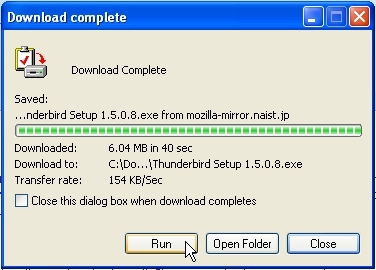
- In the Download Complete box, Press the Run button.
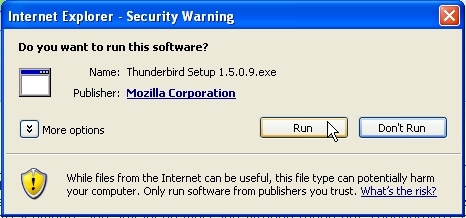
- In the Security Warning box, Press the Run button when prompted.
- In the Thunderbird Setup box, Press the Next button.

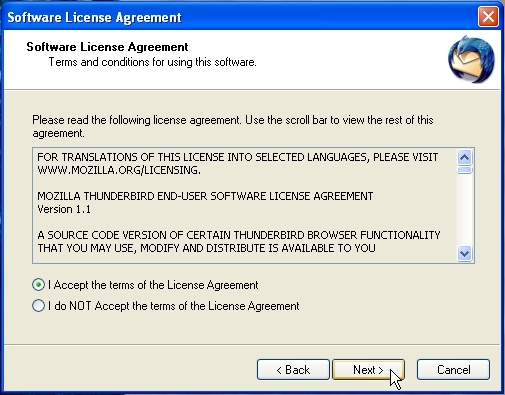
- In the Software License Agreement box, Select I Accept..., then Press the Next button.
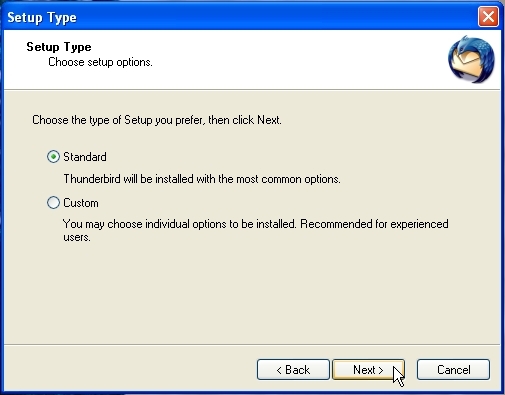
- In the Setup Type box, Select Standard, then Press the Next button.
- In the Summary box, Press the Next button.

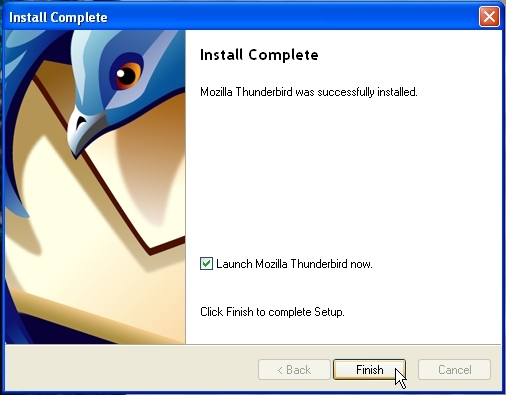
- In the Install Complete box, Check Launch Mozilla Thunderbird Now, then Press the Finish button.
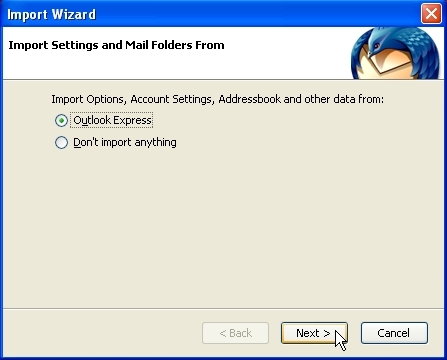
Thunderbird will now ask you if you want to import settings and mail folders from another Email client. If you choose to import from another Email client, the Import Wizard will take you through the steps. If you choose not to import anything, the Account Wizard will guide you through the steps to set up your account settings.
Import Wizard
- Select the radio button for the Email Client you have been using, and Press Next.
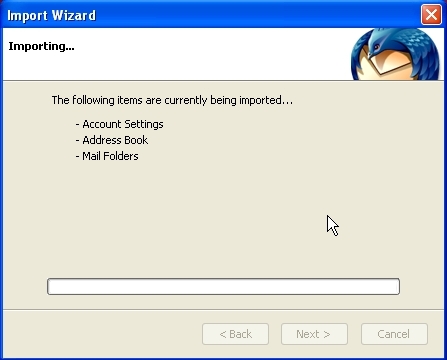
Thunderbird will now import your Account Settings, Address Books, and Mail Folders.
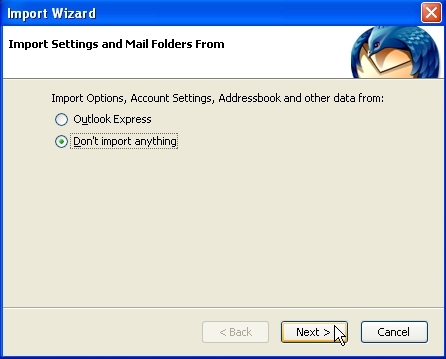
Account Wizard
- Select Don't import anything, then Press the Next.
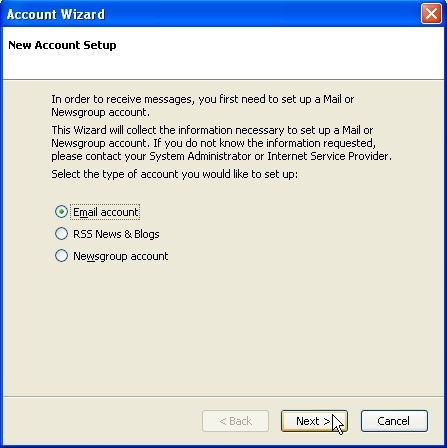
- In the Account Wizard New Account Setup box, Select Email account and press the Next button.
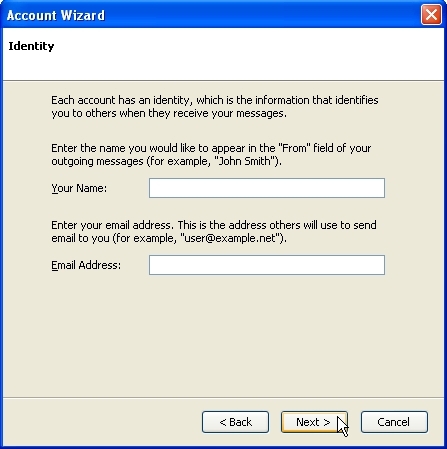
- When the Account Wizard Identity box opens, In the Your Name field, Type your name as you would like it to appear in the From field of your outgoing messages. Then in the Email Address field, Type your email address.
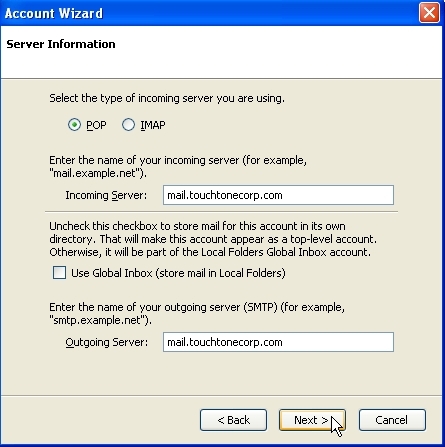
- When the Account Wizard Server Information box opens, enter your server information. If you do not know the names of your Incoming and Outgoing mailservers, ask your network administrator. We recommend that you DO NOT check the Use Global Inbox.
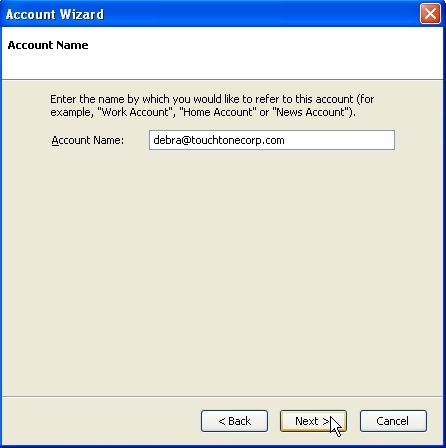
- When the Account Wizard Account Name box opens, Enter the Account Name you would like to use.
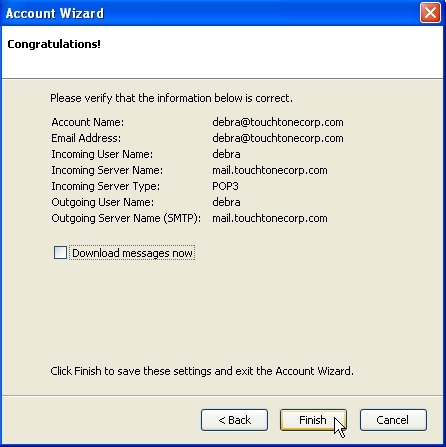
- In the final Account Wizard box, verify your account information, make sure the Download messages now box is unchecked, then Press the Finish button. DO NOT download your messages. If you do, they will no longer be on your server. Once Thunderbird is connected to your server, you can simply press the Get Mail button to access the messages on your server.
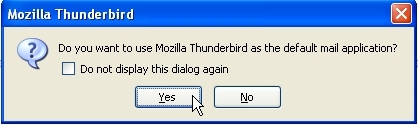
- When prompted, Do you want to use Mozilla Thunderbird as the default mail application?, Press the Yes button.
Downloading Thunderbird's Wintouch Extension
- Click here to Download wintouch.xpi.
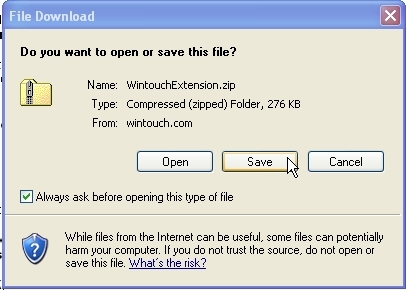
- In the File Download box, Press the Save button.
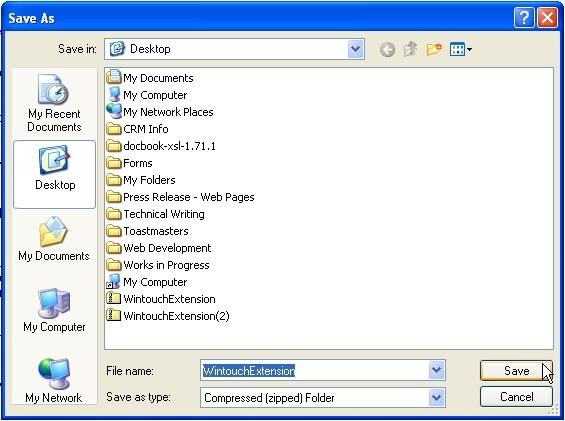
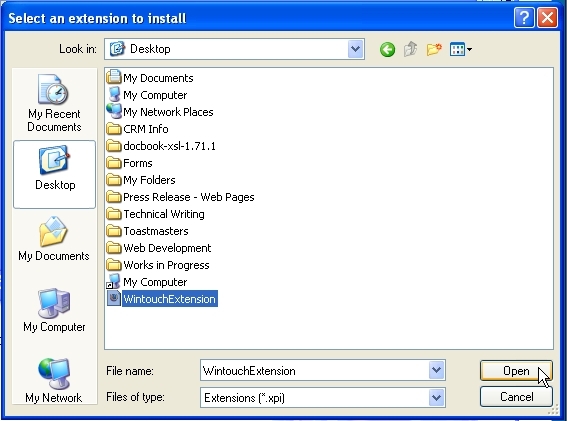
- In the Save As box, Save the Wintouch Extenstion download in the Desktop according to the following screen shot, then Press the Save button.
- In the Download Complete box, Press the Close button.

- Go to your Desktop and Right Click on the WintouchExtension Zip Folder Icon. Select Extract All.

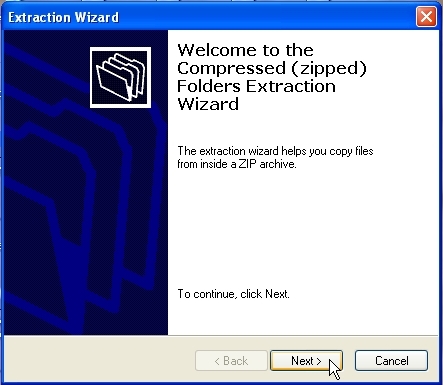
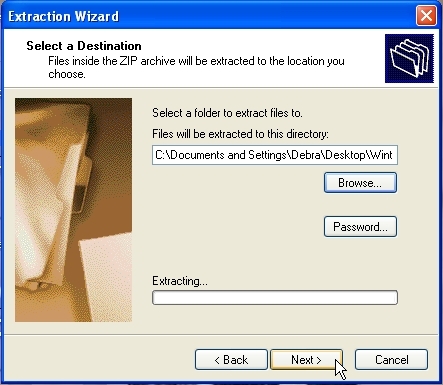
- In the Extraction Wizard box, Press the Next button.
- In the Extraction Wizard Select a Destination box, Press the Next button.
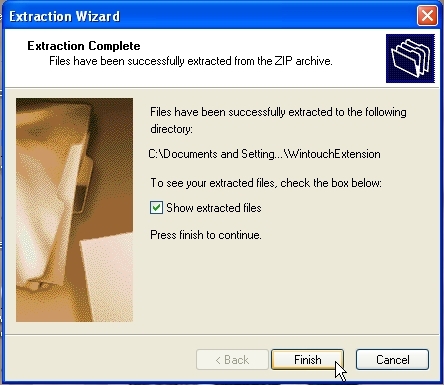
- In the Extraction Wizard Extraction Complete box, Press the Finish button.
- Launch Thunderbird.
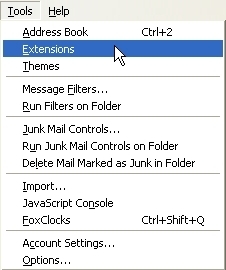
- Under the Tools menu (Alt+T), select Extensions from the drop-down list to open the Extensions box.
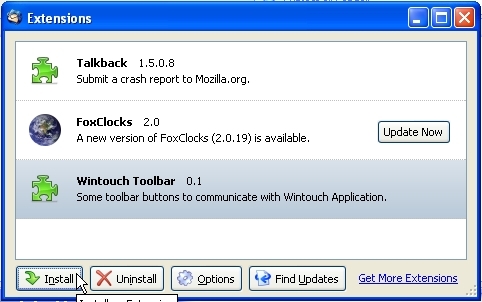
- In the Extensions box, Highlight the Wintouch Toolbar 0.1
Extension, and Press the Install button.
- When the Select an extension to install box opens, in the Look in field, select Desktop from the drop-down list. Select File Name WintouchExtension and File Type Extensions (*.xpi), then Press the Open button.
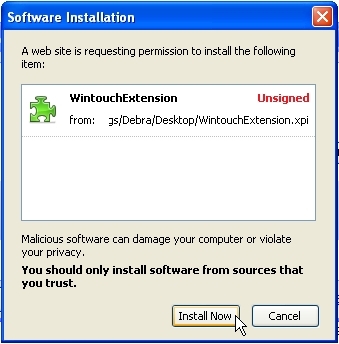
- In the Software Installation box, Press the Install Now button.
- In the Extensions box, Highlight the Wintouch Toolbar 0.1 Extension, then Press the Options button.

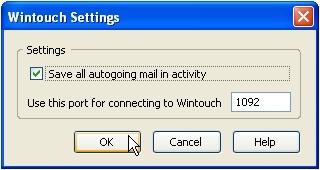
- In the Wintouch Settings box, Check Save all outgoing mail in activity, then Press the OK button.
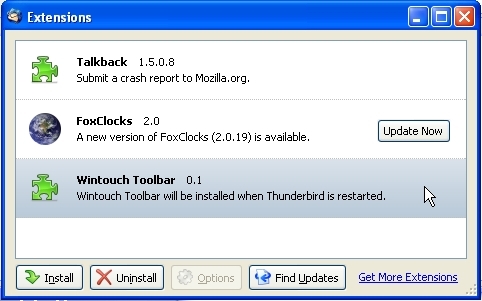
- The Extensions Window should now read Wintouch Toolbar will be installed when Thunderbird is restarted. If so, close the Extensions box.
- Exit Thunderbird.
Launching Thunderbird from Wintouch
Wintouch gives you the ability to launch Thunderbird Email by simply clicking an icon on your Wintouch toolbar. The following procedure will guide you through the process of setting up Thunderbird Email in your Wintouch Preferences and adding the Thunderbird icon to your Wintouch toolbar.
- Launch Wintouch.
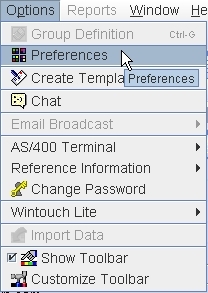
- Under the Options (Alt+P) menu, Select Preferences from the drop-down list. The Wintouch Options Tab should be the active window.
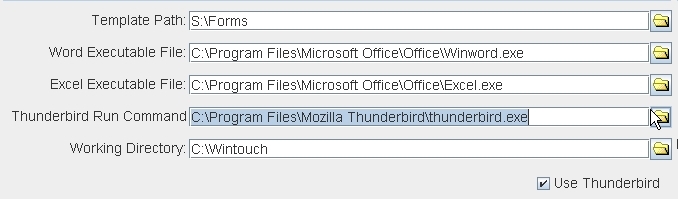
- Copy (Ctrl+C) the following path, C:\Program Files\Mozilla Thunderbird\thunderbird.exe, and Paste (Ctrl+V) it into the Thunderbird Run Command field.
- Check the Use Thunderbird box.
- Copy (Ctrl+C) the following path, file://C:\Program Files\Mozilla Thunderbird\thunderbird.exe
- Right click in the Reference Information URL field, and Select Add.

- Paste (Ctrl+V) the path into the Add box, and Press the OK button.

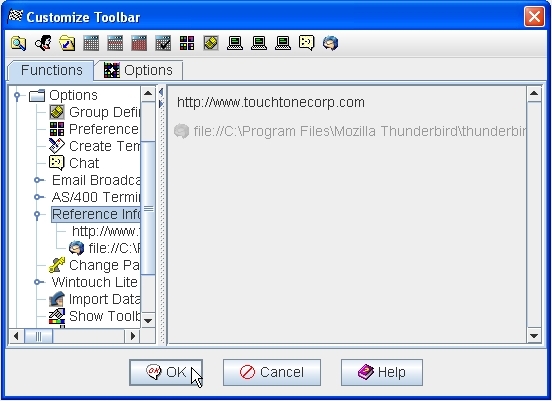
- When the Reference Information URL field looks like the following, Press the Preferences window OK button.

- Exit Wintouch
- Relaunch Wintouch. The new settings should now be active.
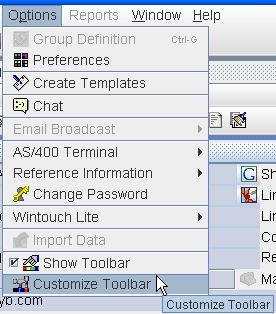
- Under the Options (Alt+P) menu, Select Customize Toolbar from the drop-down list.
- Under Functions in the left-hand tree view, Double Click Options, then Double Click on Reference Information in the right hand list-box.
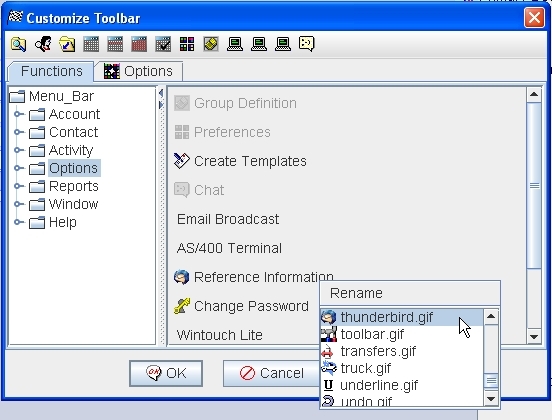
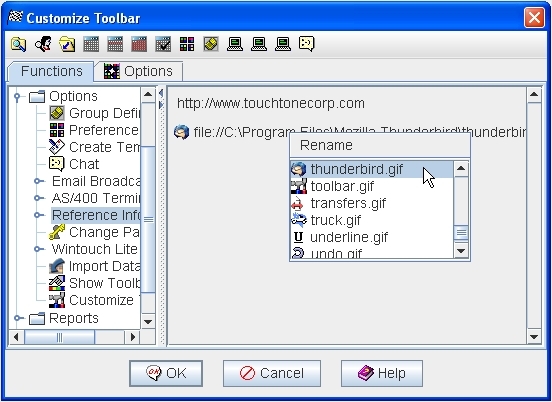
- Right Click on file://C:\Program Files\Mozilla Thunderbird\thunderbird.exe in the Right-hand list-box.

- Scroll Down and Click on the thunderbird.gif icon.
- Drag the Thunderbird Icon up to the Toolbar, then Press the OK button.
- If you are a Wintouch Administrator and have the standard Wintouch Default Preferences for your company, then Save as Default.
- Launch Thunderbird by clicking on the Toolbar Icon.

Adding Wintouch Buttons to the Thunderbird Toolbar
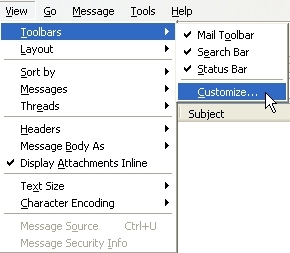
- Under the View (Alt+V) menu, Hover over Toolbars, and from the drop-down list, Select Customize.
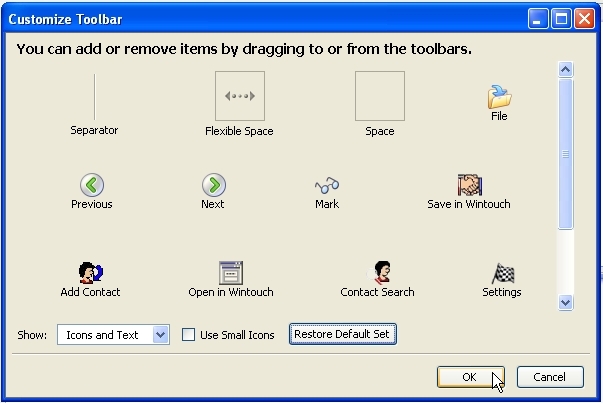
- Drag Wintouch Icons to Toolbar, in the following order:
- Save in Wintouch
- Open in Wintouch
- Add Contact
- Contact Search
- Settings
- Press the OK button.
- Your Thunderbird Toolbar should now include the following icons:

- Thunderbird is now ready for use.
Note: The Wintouch Icons will appear on your Thunderbird toolbar upon launching from now on.
Add Wintouch Buttons to the Thunderbird Compose Toolbar
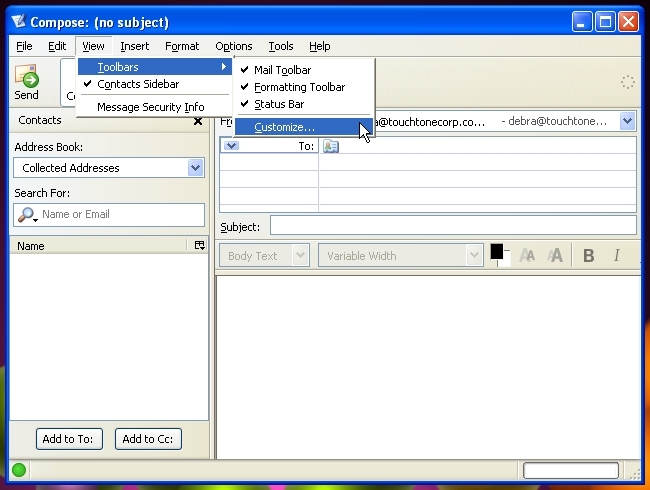
- Under the View (Alt+V) menu, Hover over Toolbars, and from the drop-down list, Select Customize.
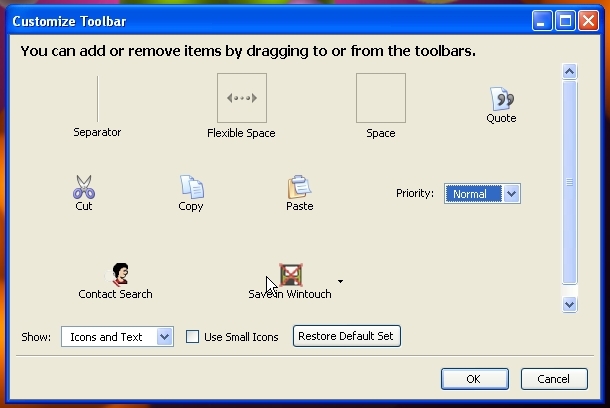
- Drag Wintouch Icons to Toolbar, in the following order:
- Save in Wintouch
- Contact Search
- Press the OK button.
- Your Thunderbird Toolbar should now look like the following. If so, Press the OK button.
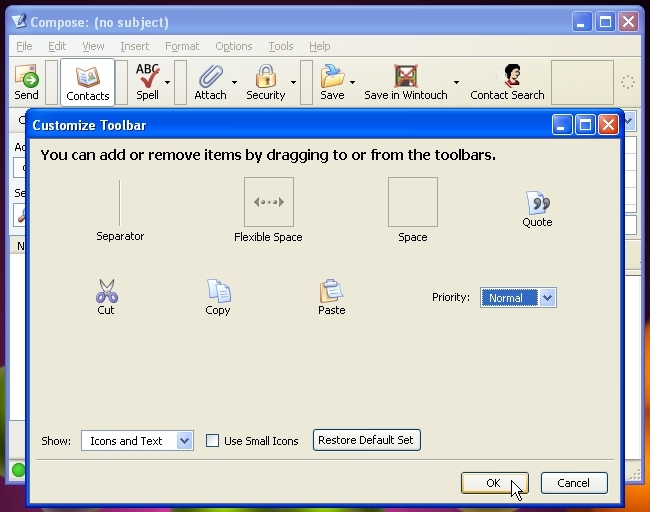
You will now be able save outgoing e-mails in Wintouch.
Your Thunderbird Account Settings
As an alternative to using either the Import Wizard or the Account Wizard, you will can also enter your account settings either through the Account Settings feature or the Import feature of the Tools menu. If you do not know the names of your Incoming and Outgoing mailservers, please consult your network administrator.
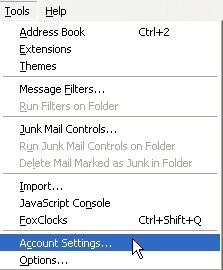
- Under the Tools (Alt+T) menu, Select Account Settings from the drop-down list to open the Account Settings window.
Account Settings
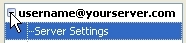
- Double click on the first line of the tree-view box, i.e. username@yourserver.com, to input/change Account Settings.
- In the Account Name field, type your company e-mail address.
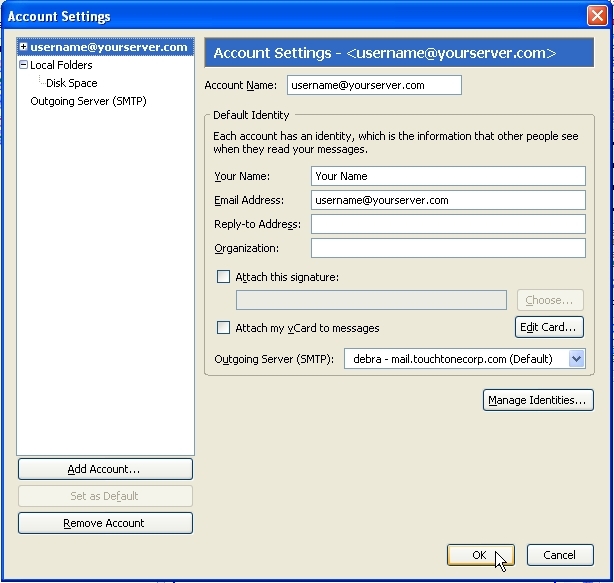
Default Identity
- In the Your Name field, Type your name, as you wish it to appear to recipients of your e-mails.
- In the Email Address field, Type your company e-mail address again.
- To Add a signature, Check the Attach this Signature box, and Press the Choose button.
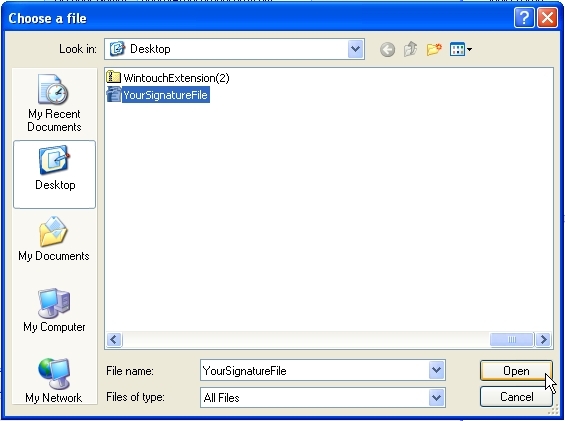
- In the Choose a file box, Select your signature file, and Press the Open button.

- Your Attach this signature: field should now look like the following. If so, Press the OK button.
Server Settings
- Click on the plus to the left of the username@yourserver.com branch to expand it and display its subitems.
- Double Click on the Server Settings subitem to display/edit your Thunderbird Server Settings.
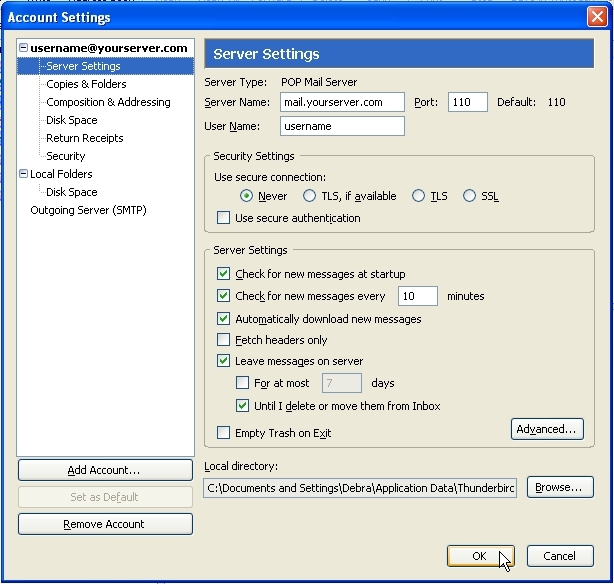
- In the Server Name field, Enter your server name. If you are unsure of this information, please consult your network administrator.
- In the User Name field, Type your user name.
- We recommend the server settings found in the screen shot below.
- For correct security settings, please consult your network administrator.
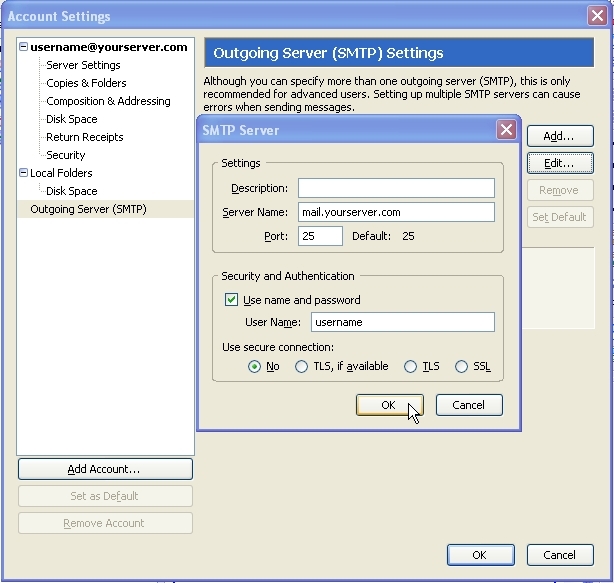
Outgoing Server
- Double Click on Outgoing Server (SMTP) branch to display/edit your Outgoing Server Settings.
- Press the Add button.
- In the SMTP Server box, Type your server name in the Server Name field.
- Press the OK button in the SMTP Server box.
- Press the OK button in the Outgoing Server (SMTP) Settings box.
Trouble Shooting for Importing from Other Email Clients to Thunderbird
Importing from Outlook
In this section you will find an alternative method of importing your settings from Outlook, or other email clients. The other method is to use the Import Wizard upon installation. See step 12 of Downloading Thunderbird.
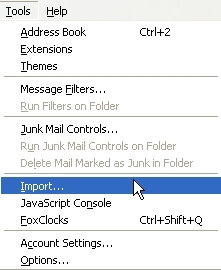
- Under the Tools menu, Select Import.
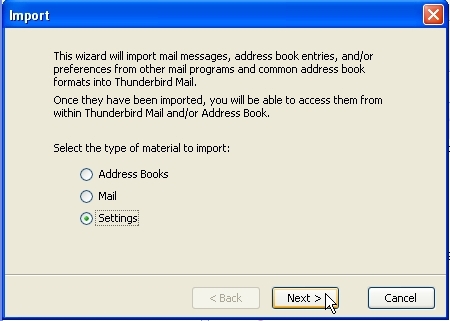
- In the Import box, Select Settings, and Press the Next button.
- In the next Import box, Select Outlook, and Press the Next button.

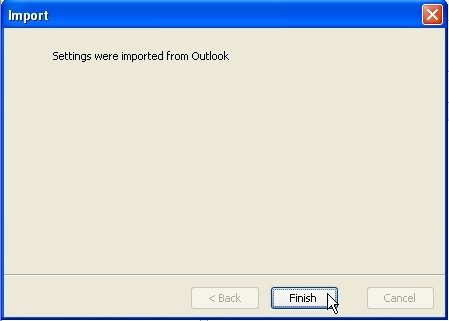
- When the next Import box says, Settings successfully imported from Outlook Press the Finish button.
- Under the Tools (Alt+T) menu, Select Import.
- In the Import box, Select Address Books, and Press the Next button.
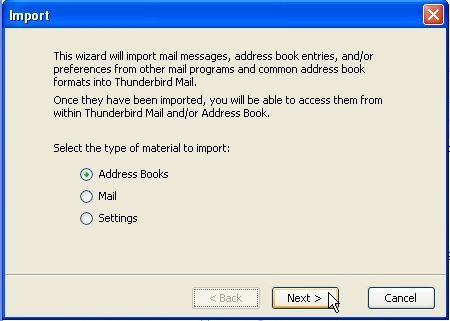
- In the next Import box, Select Outlook, and Press the Next button.
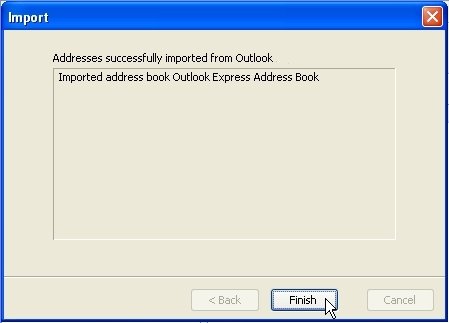
- When the Import box tells you that your Addresses have been successfully imported from Outlook, Press the Finish button.
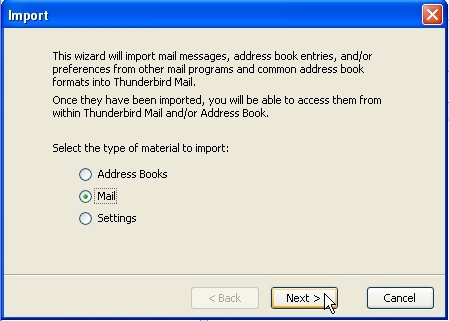
- Under the Tools (Alt+T) menu, Select Import.
- In the Import box, Select Mail, and Press the Next button.
- In the next Import box, Select Outlook, and Press the Next button.
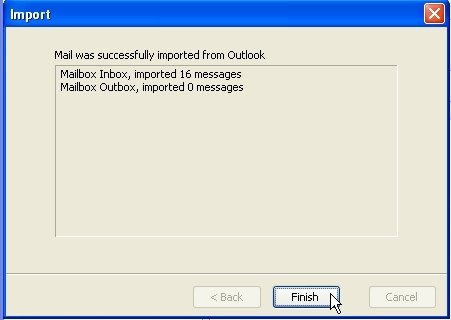
- When the Import box says, Mail was successfully imported from Outlook, Press the Finish button.
All of your Outlook settings, mail, and addresses should now be available to you in Thunderbird.
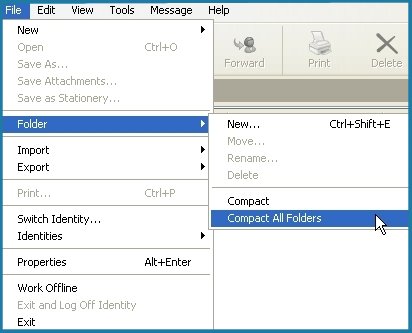
Compacting Your Outlook Mail Folders
If you have a lot of e-mails in your Outlook folders, you may have difficulty importing them into Thunderbird. Before you begin importing your mail, it is best to compact your Outlook folders.
- Launch Outlook.
- Under the File menu, Highligh Folder, and Select Compact All Folders.
Using the Wintouch Thunderbird Extension
Establishing a Connection between Wintouch and Thunderbird
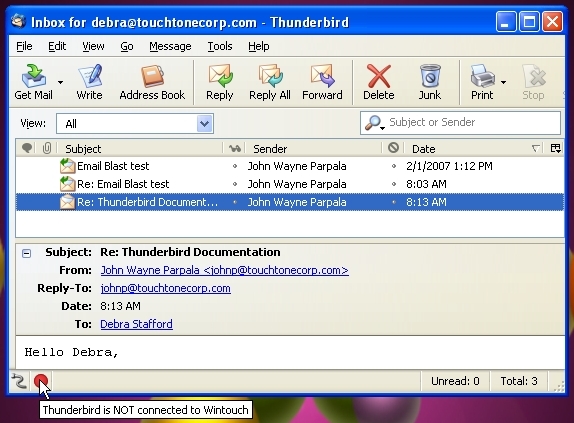
If you open Thunderbird Email using the Thunderbird icon on the Wintouch toolbar, the connection between the two should automatically be established. If not, follow the instructions below to establish the connection.
- In the following screen shot, the red light in the bottom left-hand corner of the Thunderbird window indicates that Thunderbird is not connected to Wintouch. To establish a connection, click on the red light. The light should turn green.
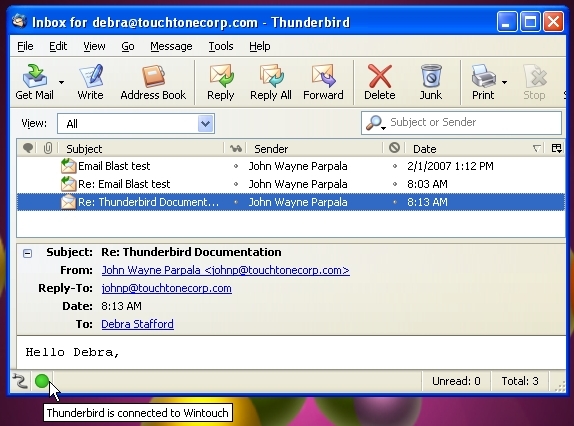
- In the following screen shot, the green light in the bottom left-hand corner of the window, indicates that Thunderbird is connected to Wintouch.
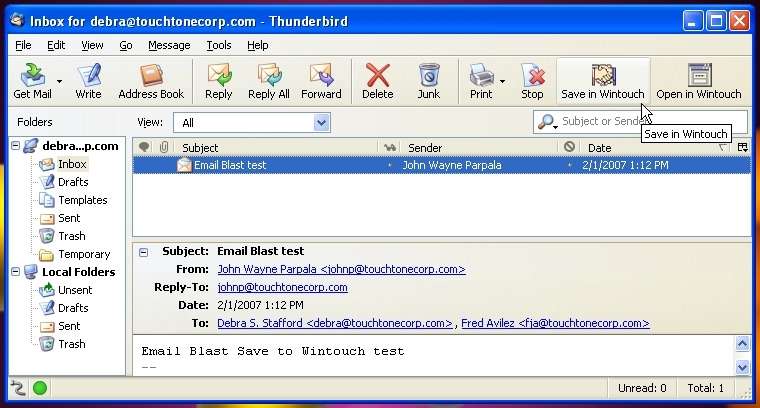
Saving an Email as An Activity
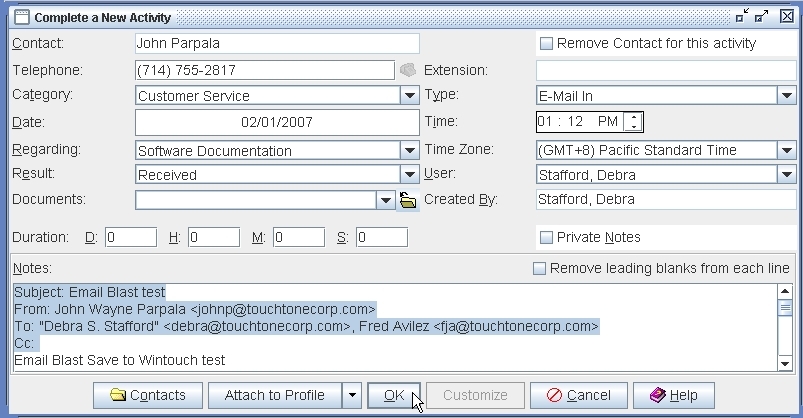
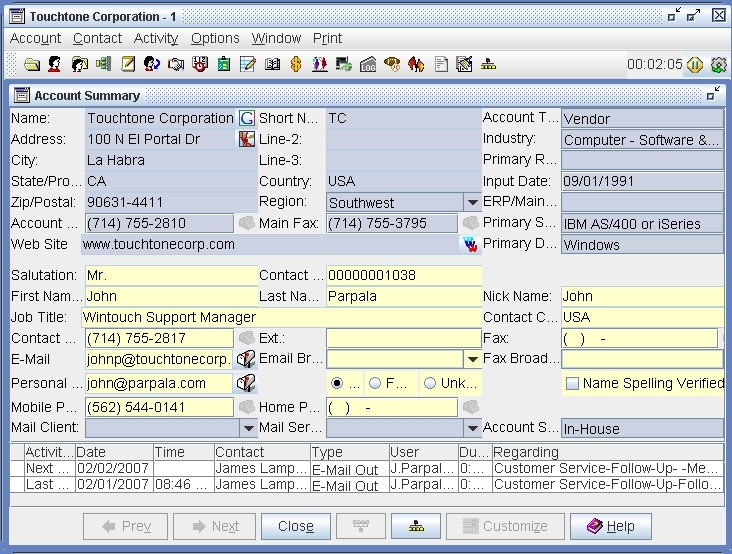
- Highlight the email you wish to save in Wintouch, then Press the Save in Wintouch button. This will open the associated Account Summary window as well as a Complete a New Activity window associated with the contact who sent the email.
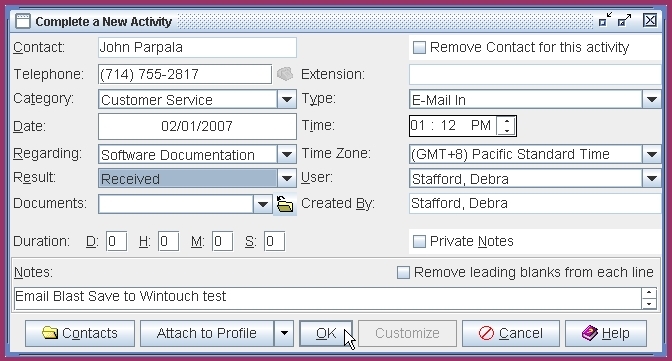
- Wintouch will automatically populate the Contact, Telephone, Date, Time, and Type fields. Therefore, with the exception of the Subject, the information from the email header is already stored in Wintouch. It is, therefore, best to Highlight and Delete the header, except the subject line, from the Notes section. Next, Select field values for Category, Regarding, and Result.
- Press the OK button.
Automatically Saving All Outgoing Email to Wintouch
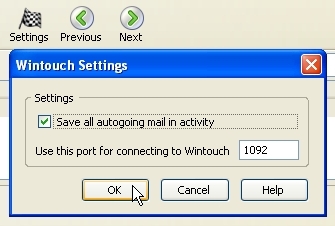
You can change your settings to save all outgoing email to Wintouch using the Wiontouch Settings button.
- Press the Settings button, Check the Save all outgoing mail in activity box, then Press the OK button.
Now, all outgoing emails should be saved to the associated account in Wintouch.
Opening the Account Associated with an Email in Wintouch
For any sent or received email, you can open the associated Account Summary window using the Open in Wintouch button.
- Highlight the email associated with the account you wish to open in Wintouch, then Press the Open in Wintouch button.
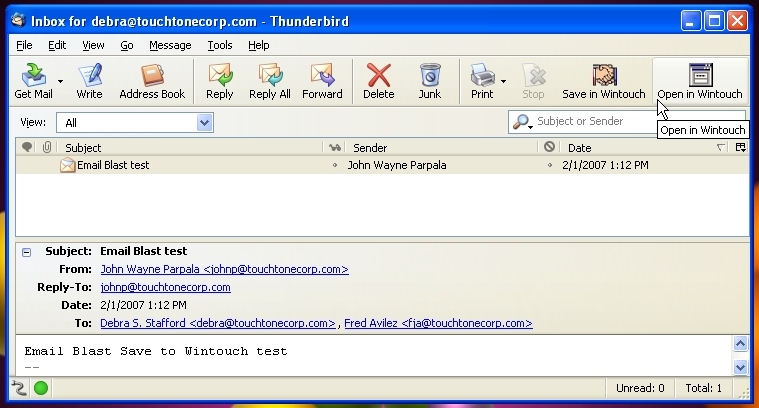
- The associated Account Summary window will now open with the contact who sent the email.
Adding Contacts in Wintouch from Thunderbird Email
You can add the sender or recipient of any email in your account as a contact in Wintouch using the Add Contact button. You can either add the contact to the Wintouch active window, or you can add the contact as an individual, not associated with any account. Both will be demonstrated below.
Adding A Contact to the Wintouch Active Window from Thunderbird Email
The active window in Wintouch is whichever window is currently open. If you choose to add a contact to the Wintouch active window, you must make sure that the Account that is currently open is the one you wish to add the contact to.
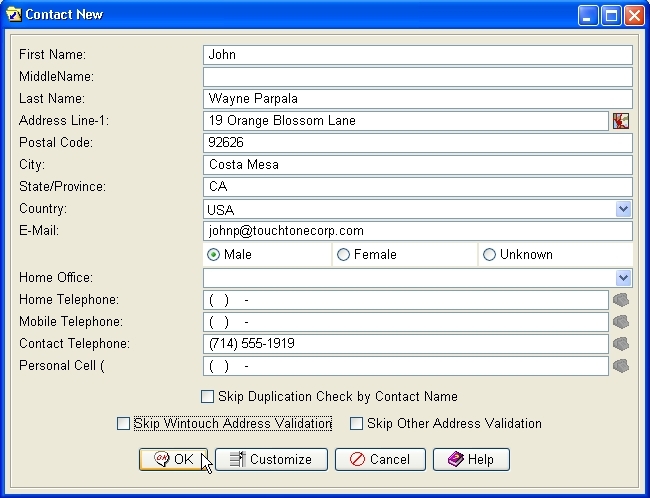
- Highlight the email sent or received by the contact you wish to save in Wintouch, then Press the the down arrow on the right side of the Add Contact button, and Select To Active Account. This will add the sender of the email to the account you have open in Wintouch.

- Complete Contact Information, then Press the OK button.
Adding A Contact to Wintouch as an Individual from Thunderbird Email
If you add a contact as an individual, s/he will not be associated with any account. To link your new contact to an existing account, use the account relations function of the Contact Profile window.
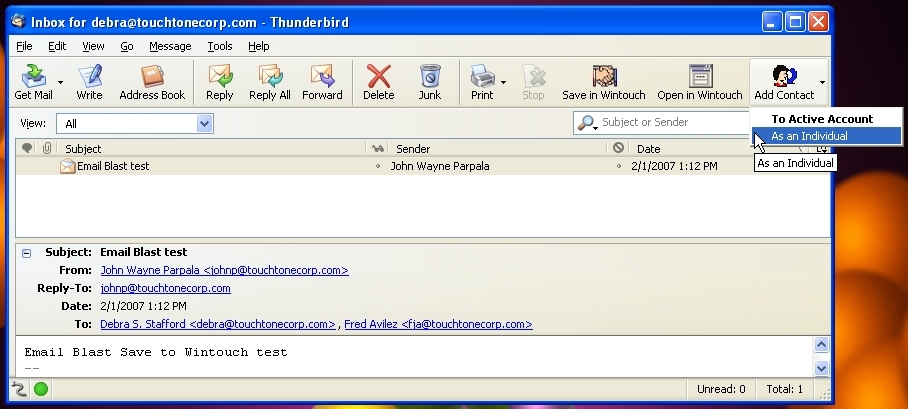
- Highlight the incoming email from the contact you wish to save in Wintouch, then Press the the down arrow on the right side of the Add Contact button, and Select As an Individual. This will add the sender of the email as a contact in Wintouch not associated with an account.
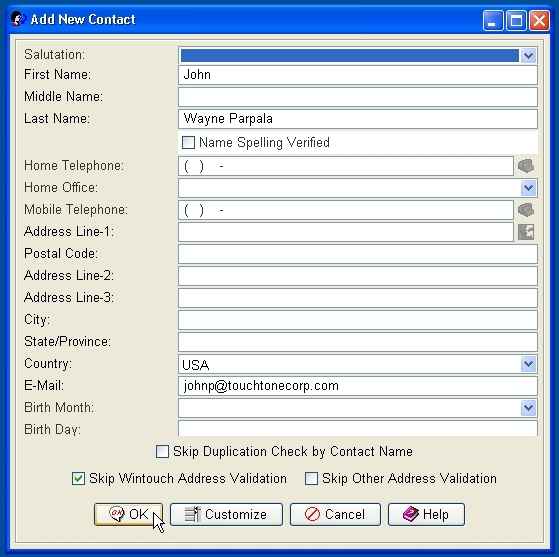
- Complete Contact Information, then Press the OK button.
Note: The Contact you just added will not be associated with an account in Wintouch. To add a new contact to an already existing account in Wintouch, see the sectionAdding a contact to the Wintouch Active Window from Thunderbird Email.
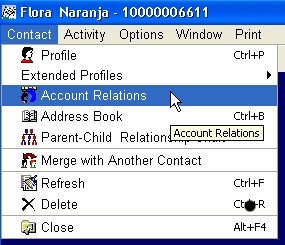
- Once you have added your new contact, under the Contact menu, Select Account Relations.
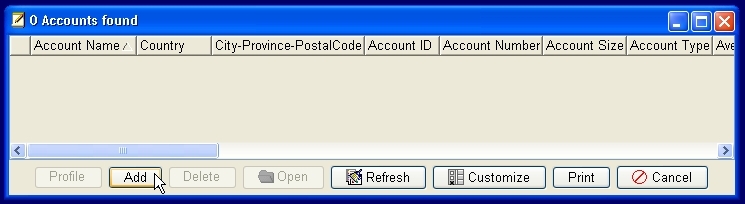
- In the Account Relations window, Press the Add button to open the Account Search window.
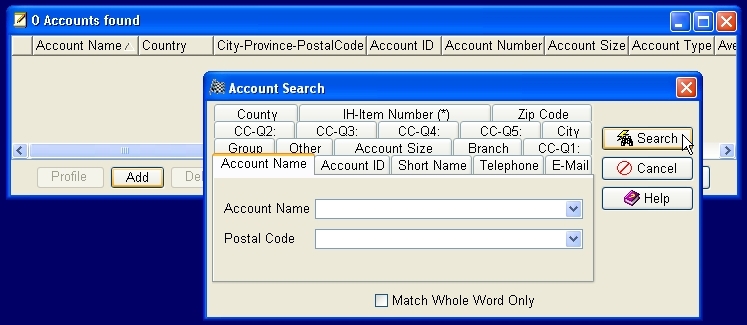
- Click on the Account Name tab, Enter the name of the account you wish to associate with this contact, then Press Search button.
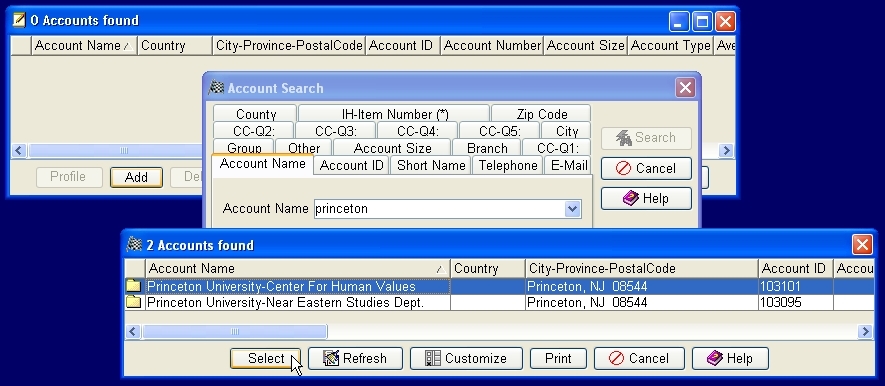
- Highlight the account you wish to associate with this contact, then Press the Select button.
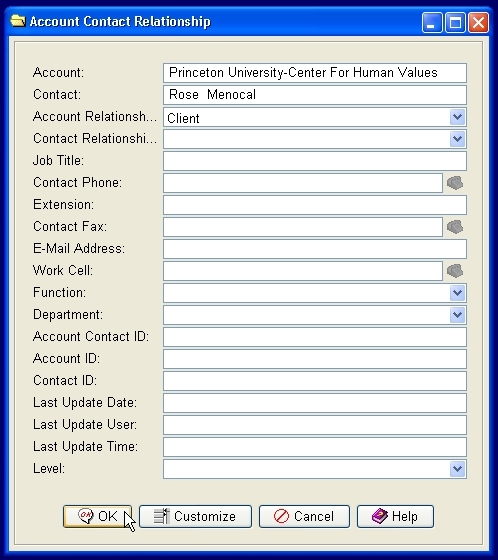
- Complete the fields, then Press the OK button.
Using the Wintouch Buttons in the Compose Window of Thunderbird Email
Using the Contact Search Button in the Compose Window
The connection between Thunderbird and Wintouch allows you to search Wintouch for the email addresses of your contacts, and insert them into outgoing emails.
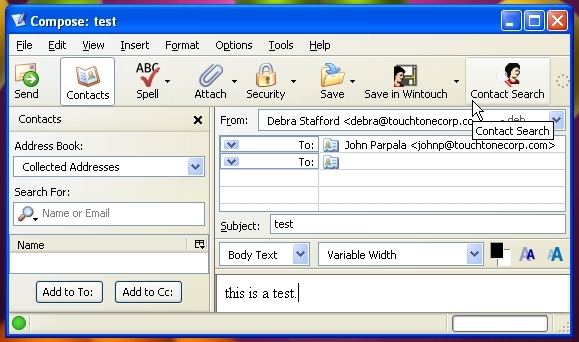
- To search for the e-mail address of one of your Wintouch contacts, Press the Contact Search button.
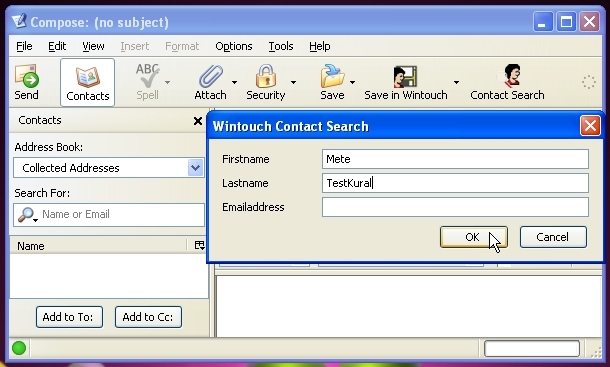
- In the Wintouch Contact Search Window, Type the name of the Wintouch contact you wish to send an e-mail to, then Press the OK button.
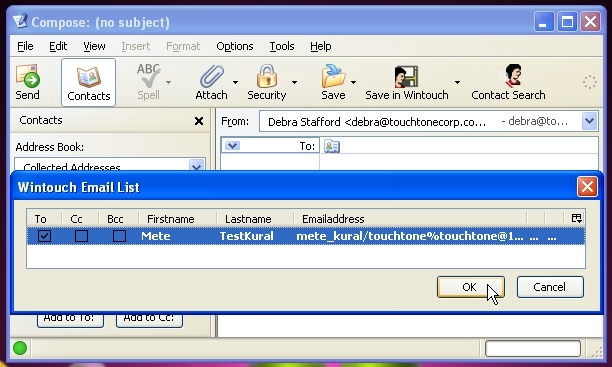
- From the Wintouch Email List, Highlight and Select the Contact you wish to e-mail, then Check the To: box.
- Compose your e-mail, then Press the Send button.
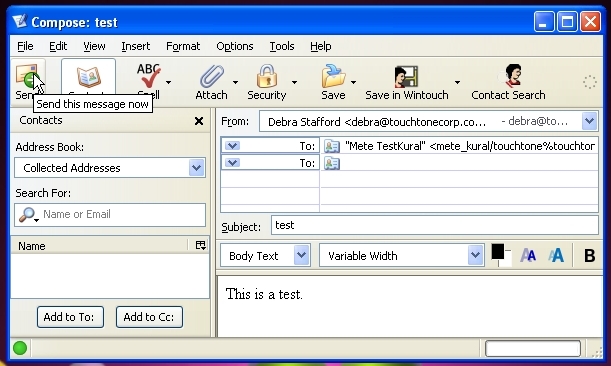
Saving Your Outgoing Email in Wintouch
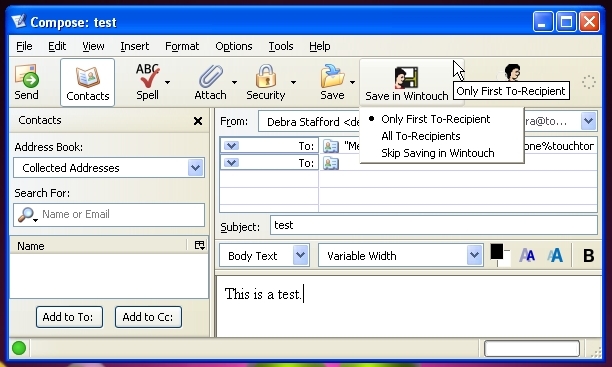
If in Settings you selected Save All Outgoing Mail in Wintouch you will be able to use the Save in Wintouch button in the Compose window to select for which Contact(s) in Wintouch you want to save the email. The three options for where to save your email are: Only First To-Recipient, All To-Recipients, or you can choose to Skip Saving in Wintouch.
The Only First To-Recipient Option
If you choose this option, the Account Summary window for the Account associated with the first recipient listed in the email will open, as well as a Complete a New Activity window with the email in the Notes section.
- Press the Save in Wintouch button, and Select Only First To-Recipient.
- Select the Recipients, Compose your email, then Press the Send button.
- Complete the activity that opens.
The All To-Recipients Option
If you choose this option, the Account Summary window for the account associated with the first recipient listed in the email will open, as well as a Complete a New Activity window with the email in the Notes section. Once you Complete the Activity, the same will happen for the next recipient listed in the email. For each activity you complete Activity, one for the next recipient will open until activities have been completed for all To-Recipients.
- Press the Save in Wintouch button, and Select All To-Recipients.
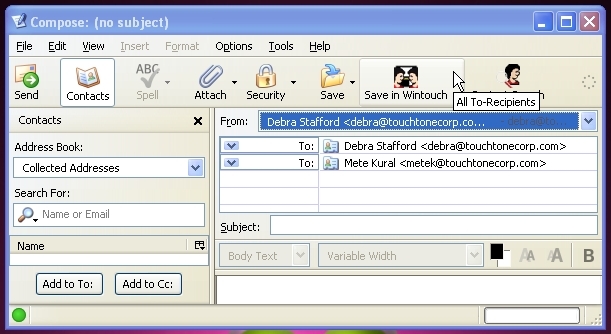
- Select the Recipients, Compose your email, then Press the Send button.

- Complete each Activity as it opens.
The Skip Saving in Wintouch Option
If you choose this option, the email you are sending will not be saved in Wintouch.

