
Depending on the users authorization level, the view and the features that are available are different.
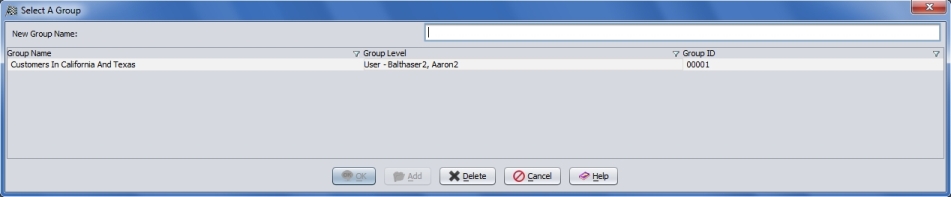
This window will list all of your defined group names and when selected, the group definitions can be viewed and/or edited. The user can also add new group names in the entry field. You can get to this window by using the Select A Group push button in the Group Definition window. Select Options in the Main Desktop Menu-bar, then Group Definition from the pull-down menu.
Fields
New Group Name: To create a new group, enter the name in the New Group Name field at the top of this window. To establish the new name as a group, click on the Add button. The Group Definition window will become the active window, allowing you to define your new group.
Group List Box: This is a list of all your groups. It includes all the groups that are specifically created for your user.
Note: If the Non-Administrator user copies or moves any of his of her groups to another user the destination will temporarily be seen in the Group List box until the window is closed. It will not be seen when the window is reopened.
Note: Also by right-clicking with the mouse on a highlighted group name, the user may change the name of the defined group.
Push Buttons
OK: This button selects the highlighted group name and returns the user to the Group Definition window.
Add: Select this button to add a group name.
Note: This button will remain disabled until a new group name is added.
Delete: This button will delete an existing group definition from the group listing. To delete a group simply highlight the name in the list box and press the Delete button.
Cancel: This button exits the window without saving any new group.
Help: Displays online help for the active window.
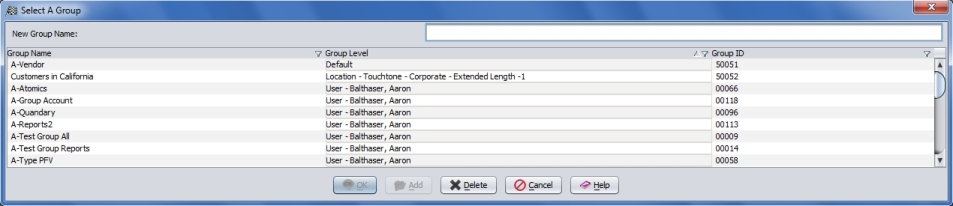
This window will list all of the defined group names for the Default, Location levels, and all the other Users. When any of the groups are selected, the group definitions can be viewed and/or edited. The Administrator user can also add new group names in the entry field and apply them to the Default, Location levels, and all the other Users.. You can get to this window by using the Select A Group push button in the Group Definition window. Select Options in the Main Desktop Menu-bar, then Group Definition from the pull-down menu. The Administrator user can copy or move existing groups to the Default, Location levels, and all the other Users. The Administrator user can also delete groups from all User levels.
Fields
New Group Name: To create a new group, enter the name in the New Group Name field at the top of this window. To establish the new name as a group, click on the Add button. The Save As dialog will open requiring you select the level to which you want to save the new group. After you select either the Default, Location , or User level, the Group Definition window will become the active window, allowing you to define your new group.
Group List Box: This is a list of all your groups. It includes all the Default, Location level, and User groups.
Push Buttons
OK: This button selects the highlighted group name and returns the user to the Group Definition window.
Add: Select this button to add a group name.
Note: This button will remain disabled until a new group name is added.
Delete: This button will delete an existing group definition from the group listing. To delete a group simply highlight the name in the list box and press the Delete button.
Cancel: This button exits the window without saving any new group.
Help: Displays online help for the active window.
To move or copy any existing group to another user simply highlight the group you would like to copy or move and select the right click option. In the following menu hover the mouse cursor over the user selection and a menu will open with a list of users to select from. Select the user and you see the user destination temporarily appear in your Group List box. The non administrator can not copy or move any group to the location or default level. If there is a duplicate copy made to the same user, the group name will be followed by a number in parenthesis indicating the amount of duplicates that are found with that name. You may rename the group if you choose by right clicking on the group name and selecting rename.
To move or copy any existing group to another user, location, or default level, simply highlight the group you would like to copy or move and select the right click option. In the following menu hover the mouse cursor over the selection of your choice, Default, Location, or User. If you selected location or user another menu will open allowing you to pick a location or user of your choice. If there is a duplicate copy made to the same user, the group name will be followed by a number in parenthesis indicating the amount of duplicates that are found with that name. You may rename the group if you choose by right clicking on the group name and selecting rename.