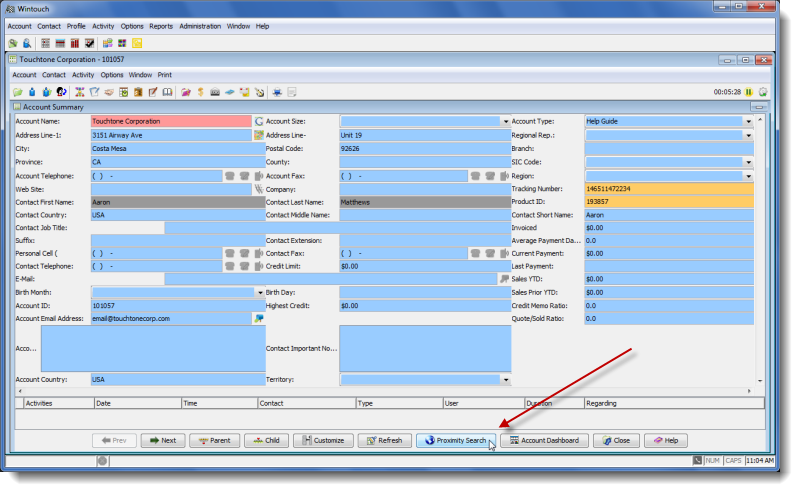
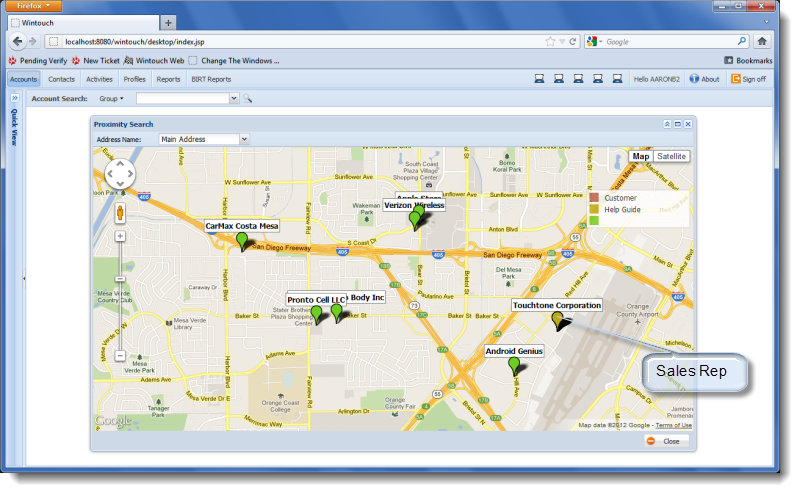
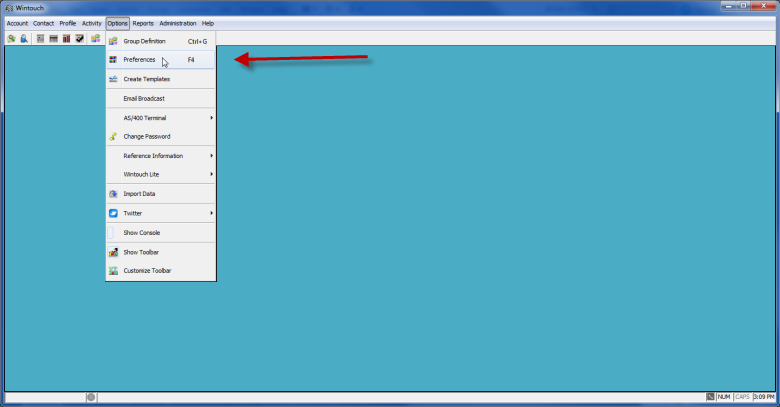
The proximity search feature enables the Wintouch user to locate accounts based on pre-defined conditions and renders them using Google maps. This feature is available within the Account Summary of any open account and is activated by pressing the Proximity Search button. When the button is selected a browser session is launched and will display accounts within a geographical area composed from conditions obtained from a pre-defined Wintouch group. The account from which the application is initialized will be the point of origin that is the basis for the geographical area. This can best be illustrated by using an example scenario.
For our scenario we will imagine we have a sales representative that is visiting accounts on the road. When the representative arrives at his next scheduled appointment he learns that the person he intended to meet was unexpectedly detoured. When he is finished scheduling a new meeting date for his currently active account he presses the Proximity Search button to see if there are any accounts nearby he can visit. The proximity search feature can retrieve current data giving him the necessary address locations as well as the ability to link directly to the accounts in Wintouch to view the latest activity records.
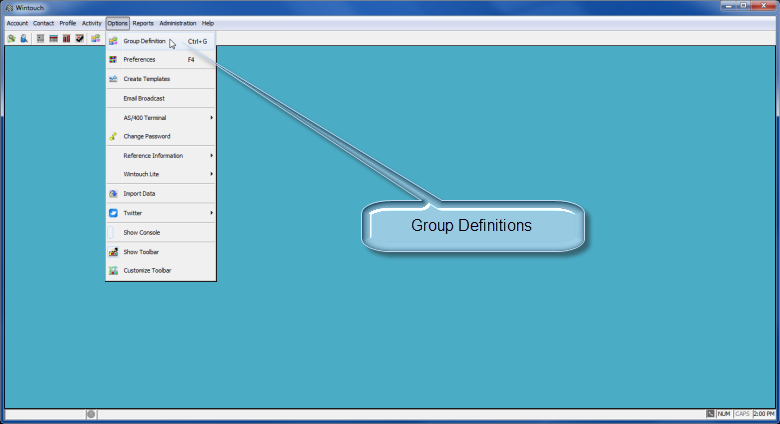
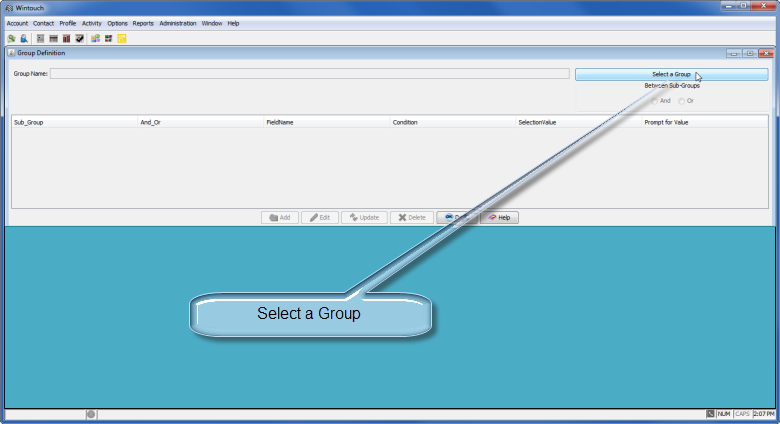
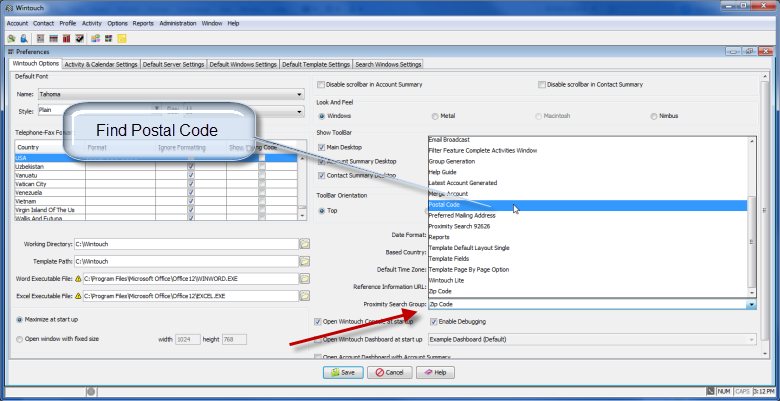
There are two requirements needed before using the proximity search feature.
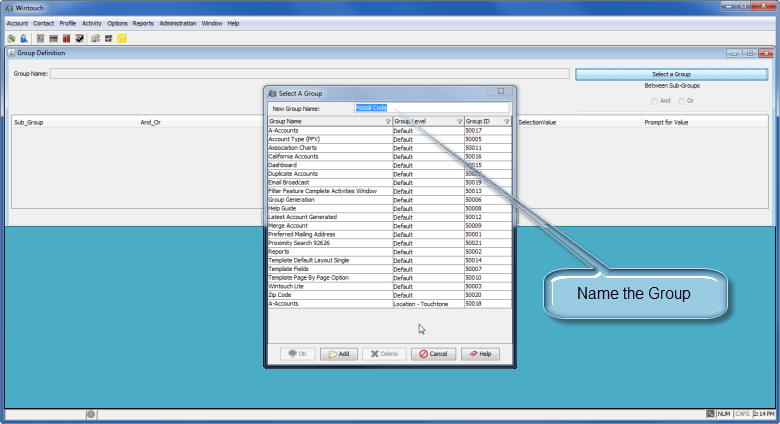
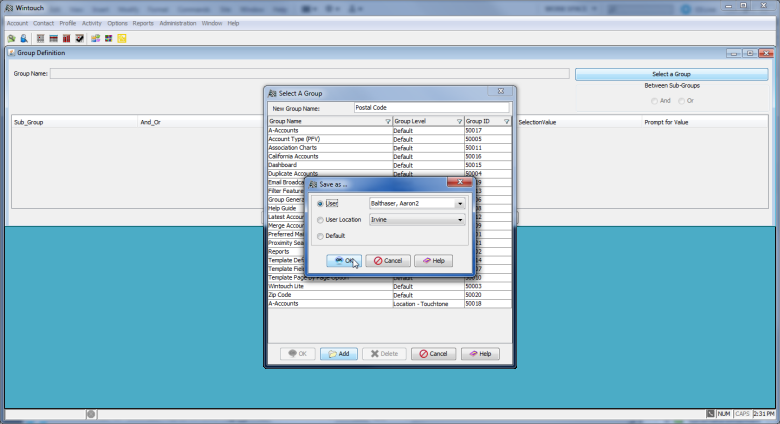
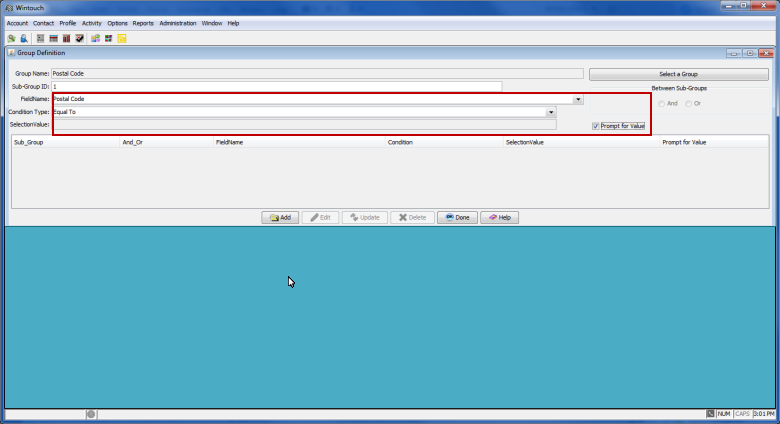
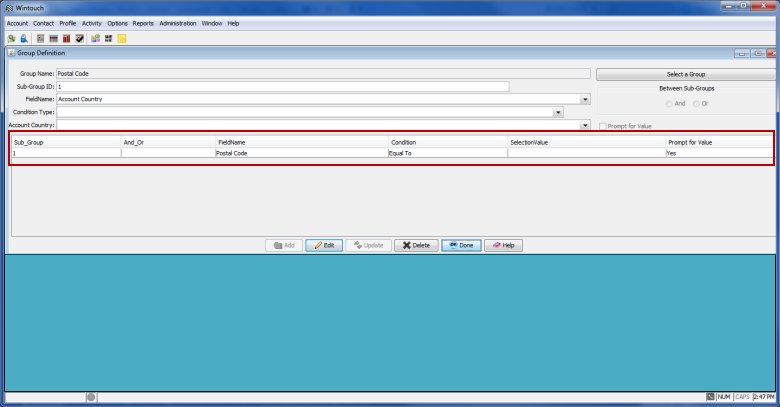
In the scenario above the sales rep is going to use the proximity search to locate accounts near the account he is currently visiting. Our group is going to be created to use the postal code to determine other accounts that are located in that same postal code. The conditions in a group can be set for broader options like county, or region, but for simplicity we are using postal code.
As mentioned before the account from which the application is initialized will be the point of origin that is the basis for the geographical area. With our scenario let's imagine the sales rep has the account summary of his active account open. He has just finished updating his account and is now going to press the Proximity Search button to see which accounts are nearby.