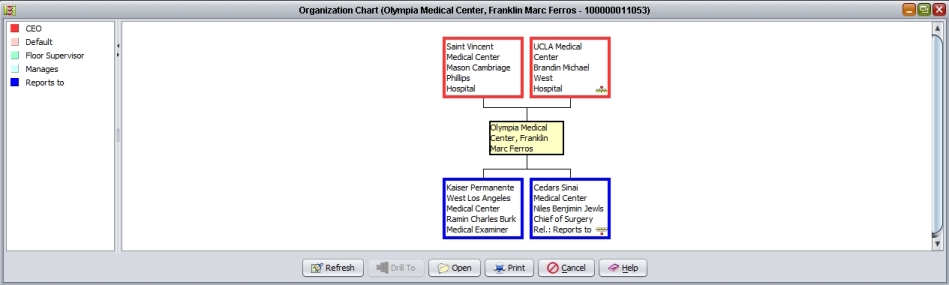

This chart shows the relationships that have been assigned to different contacts in a given account or accounts. These relationships allow you to show a management hierarchy. From this Chart you can add, edit, or delete parent or child relationships between contacts in a given account or accounts.
Left Window Pane: The left window pane displays all of the defined parent or child relationships.
Right Window Pane: The right window pane displays the tree configured relationships.
Note to Administrators: To add or remove the Parent/Child relationship selections that are viewed in the left window pane, go to the Organization Chart Relationship Types folder in the Table Editor, and add or remove items.
Refresh: Select this button to update the list to reflect any changes since the window was opened.
Drill To: Select this button to open the Parent/Child contacts to any highlighted contact boxes where there is a Parent or Child Icon.
Open: Highlight a contact box in the tree view and select this button to open the Contact Summary.
Print: Select this button to print the Parent Child Relationship window.
Cancel: Exits the window without saving any changes or additions made in the fields and returns you to the previous window.
Help: Displays on-line help for the active window.
In the following examples there are three different pop ups that can occur when you right-click on a contact.
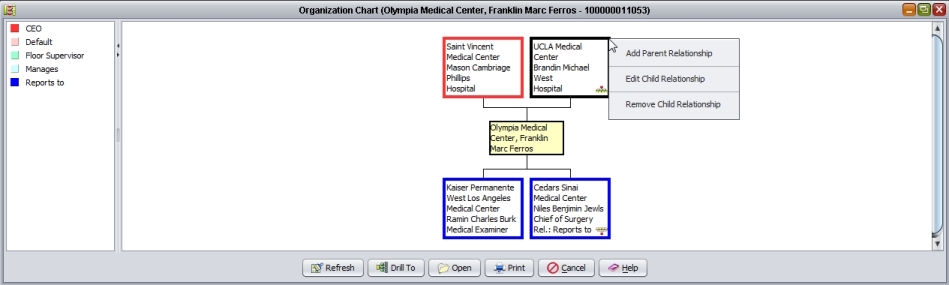
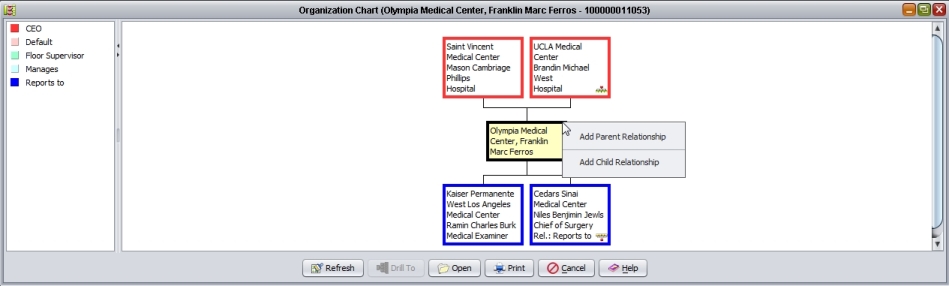
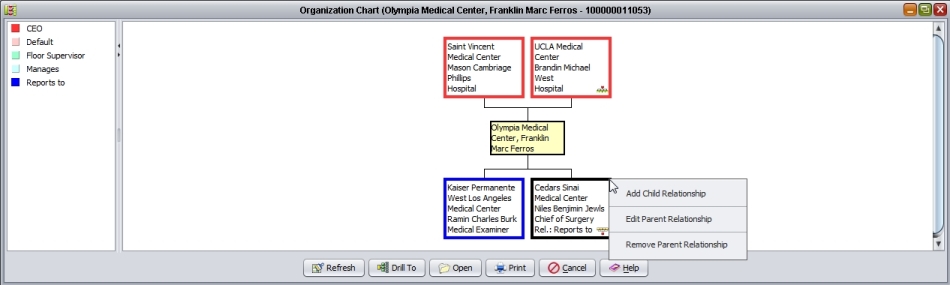
Add Child Relationship or Add Parent Relationship: Use this feature to add a parent or child relationship.
Follow this Link: For a Step By Step Example of Adding a Parent Relationship
Edit Child Relationship or Edit Parent Relationship: When selected the Organization Relationships window will open. Assign the appropriate parent or child relationship.
Remove Child Relationship: Eliminates the selected child contact from the Parent Child Graph. Both parent and child relationships are eliminated.
Remove Parent Relationship: Eliminates the selected contact as a parent. Both parent and child relationships are eliminated.